Why I support #natstatweek #writingmatters each year

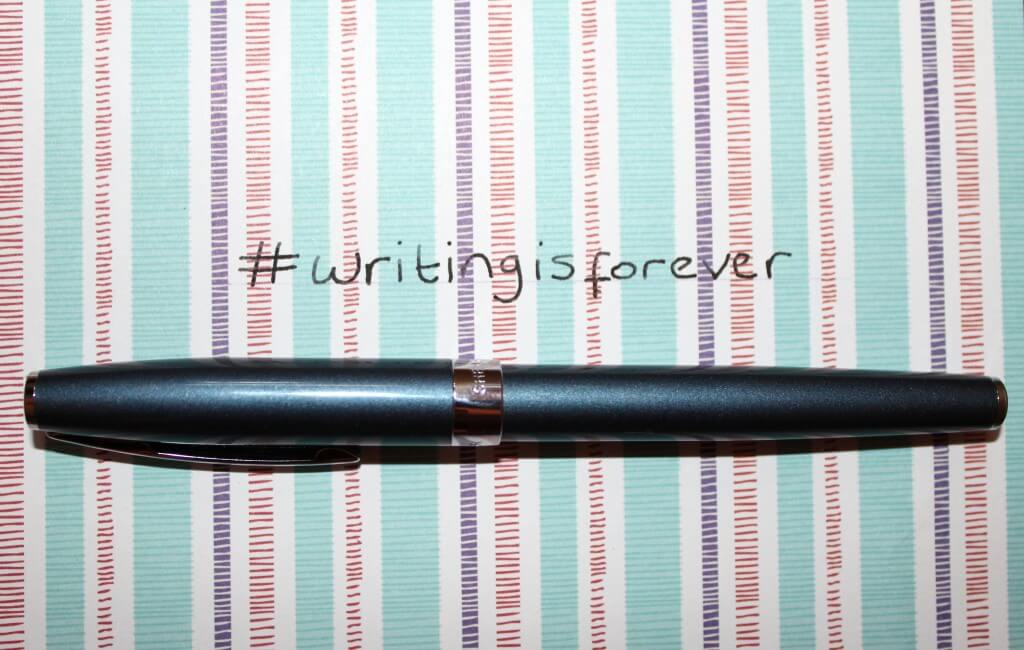
I have a confession to make, I have terrible handwriting, always have, and probably always will.

But writing still matters to me. I think ideas flow more naturally on paper and I like to map out thoughts, linking ideas and colour coding, it’s something the researcher in me loves about working on a big blank sheet of paper!

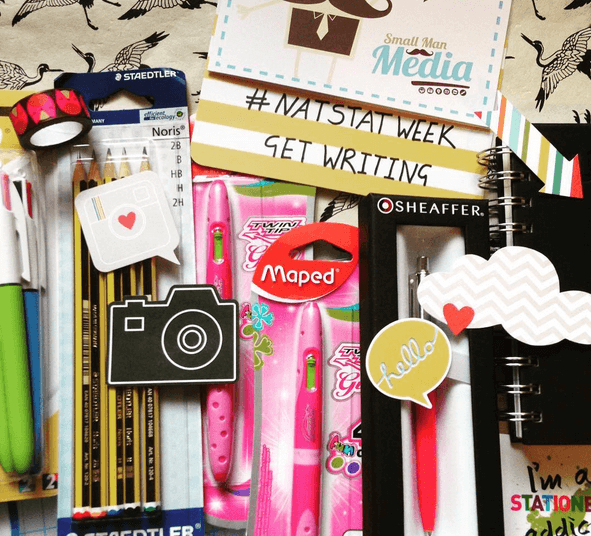
This year National Stationery Week is running from 25th April to the 1st May, and it’s my third year supporting as a #natstatweek blogger.

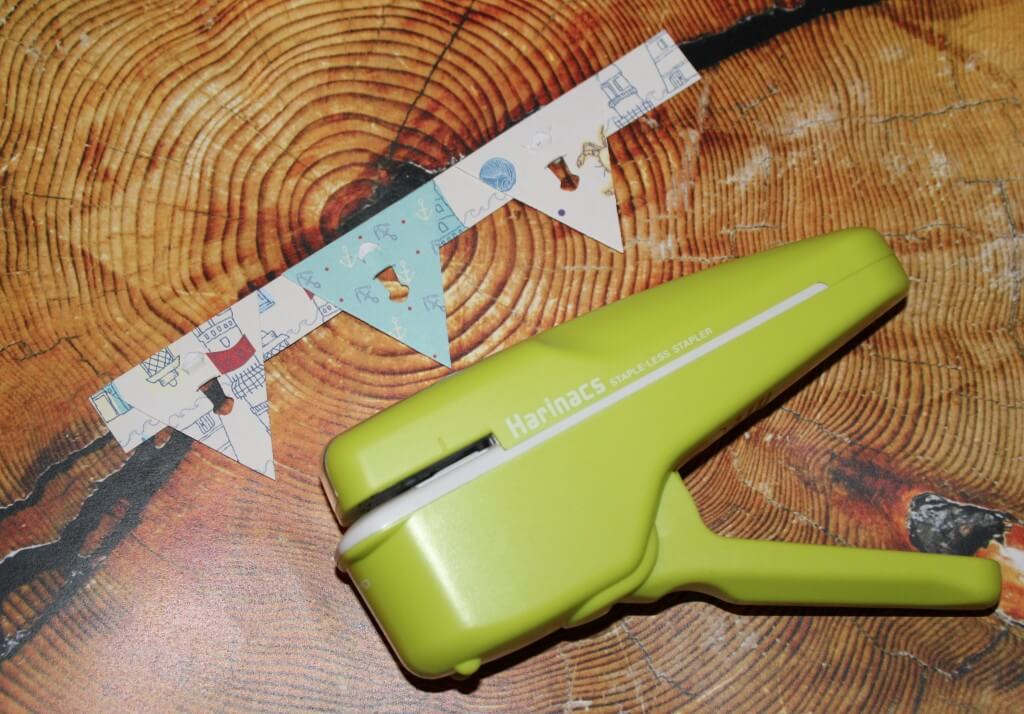
I love to get involved as it takes me back to the beginning of every school year, the promise that came from a new pencil case, new colouring pens, and later even the boring stuff, the maths sets and protractors; I always have and always will love shopping for stationery, I know it doesn’t set everyone’s world on fire but I find it utterly joyful!

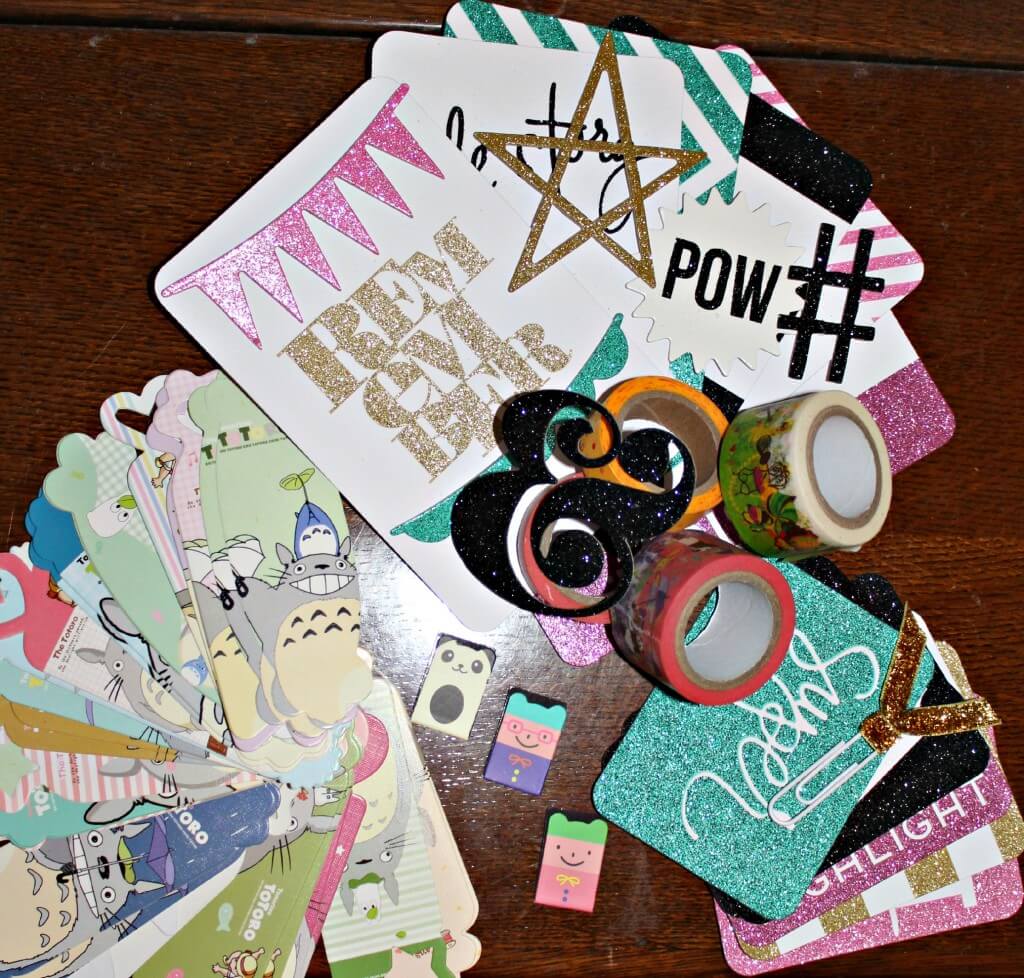
Over the coming weeks I’ll be reviewing a selection of products from Staedtler and Scheaffer to Maped and NuCo, here’s a sneak peak of what’s to come, and I’d love to hear about your must have products too!

Untitled

Using mini baubles to decorate an advent house

using mini baubles 1

It’s Christmas craft time again, the nights are drawing in and I’ve been getting busy with a few activities to relax and unwind. This week I’ve been taking part in a blogger’s challenge set by Ocean Finance to decorate a plain wooden advent house. I’ve been thinking about a little advent tradition for the last few years but didn’t ever get round to doing something about it! I was sent the house and a voucher to decorate it; at first I was a bit daunted, I painted the house a chalky white using a Rustoleum sample, and then felt at a bit of a loss as to what to do next!

I finally had the bright idea of using mini baubles to fill the roof space, when I saw these gorgeous pastel colours I knew I’d set on the perfect colour scheme for J! I got to work with my gluegun, attaching the sequin trim and securing the baubles in place, it was a bit tricky to get them organised into the tight space but a bit of jiggery pokery seems to have done the trick!

This little house was finished off with some really glittery stickers to draw the bauble scheme together, and I added number stickers to each door. I picked up a bargain bucket of playmobil bits and bobs to fill the doors, and of course some chocs too, roll on December 1st, I think my little poppet will love her advent house!

using mini baubles

I’m now off to check out pinterest for ideas for using mini baubles to make other decorations as they’re so sweet I bought two boxes!

A jar of Seaham Seaglass

This summer Joss and I have visited the beach every week, exploring the Northumberland and Tyne and Wear coastlines and we’ve loved it!

When Think Money challenged us to fill a jam jar with our holiday memories for their Jam j-art project I had an idea that it would have a beachy theme, little did I know the treasure that would eventually come to fill our lovely kilner jar as we start to get ready for preschool!

jar

Our seaside visits took us to Seaham Beach, famed for its treasures – seaglass! Seaham seaglass is pretty special stuff. until almost a century ago there was a glassworks at Seaham and waste glass from the hand blown bottles was tipped into the sea, years on and polished by the sea these marine treasures can be found by keen eyed beachcombers. End of day glass is especially prized, tipped into the sea at the end of the day these pieces are multicoloured and so pretty!

sea glass

On our first trip we found a few small pieces which I blogged about at the time, and by the end of the summer we’d become a little bit addicted to the hunt and ended up with some beauties!

These are my favourites:

seaglass montage

Displayed in our kilner jar they’re a reminder of a summer of adventure, and as I’ve lightly oiled some of the more dense pieces to give a gorgeous glow keeping them under a lid keeps them dust free and vibrant!

seaglass 3

A ProjectLife tag with the date tied with some lovely ribbon from a dollypeg makes this a great memento!

kilner jar

Disclaimer: Think Money provided me with the Kilner jar and a contribution towards project materials, all words and photographs are my own

Crafter’s Companion Easter Wreath Make

The challenge

The lovely folks at Crafter’s Companion set me a little Easter challenge, to make an Easter wreath using some goodies they sent me in the post. I love a craft challenge, and haven’t done anything creative for a few weeks so I took up the mantle, and here are the results!

IMG_4497

Supplies

  • A cut out cardboard ring (I made my own by drawing around two different sized plates and cutting out carefully with scissors
  • Two different coloured ribbons (I used a spring green and cream)
  • Collal tacky glue and Collal all purpose glue
  • Crafter’s Companion Centura pearl card pack
  • Patterned paper flowers
  • Buttons

index

Easter Wreath Make: How to

  1. Secure your ribbon to the back of the wreath with a little all purpose glue, then wind the ribbon around until you’ve covered just more than half of the wreath. Switch to your second colour ribbon until the wreath is completely ribbon-wrapped.
  2. Add another length of ribbon using all purpose glue to make a loop to hang your wreath
  3. Cut out your flowers from patterned paper (I used a printable) and cut out some rough leaf shapes from pearl card stock. Assemble your flowers in layers with tacky glue and pop a button in the centre of some of them to add to the 3d effect, stick the leaves to the back of each flower
  4. Assemble your wreath by gluing the flowers into position slightly off to one side of the lower wreath
  5. Cut some ribbon shapes from pearl card and assemble with tacky glue. I cut a large ribbon shape, a smaller copy in a contrasting colour, then assembled a simple 3d bow by gently folding the card stock to make the ribbon ‘stand out’ – a final loop of card to cover the centres of the ribbons finished off the look – again I used tacky glue to affix to the wreath

The finished piece!

I have hung my Easter wreath onto a piece of willow branch, with some contrasting coloured paper eggs to add to the festive feel! I’m really happy with the finished result – thanks Crafters Companion for providing me with the materials and the inspiration for this eggstra special make (no more Easter puns now, I promise!!)

IMG_4504 IMG_4516

Sheaffer Sagaris Metallic Fountain Pen Review

This beauty was a total treat from the folks behind National Stationery Week – I love to write with a proper pen, there’s something really nice about the weight and the ritual of writing with fountain ink! I remember my first Sheaffer fountain pen, it was given to me by my Aunt and I used it all the way through my GCSEs and A Levels, it became my lucky pen until I moved onto university and switched to their rollerball pens.

IMG_4236

In gorgeous metallic blue this is a serious writing implement! Presented in a hard case presentation box complete with cartridges but also the option of filling from an ink pot this would make a lovely gift, it certainly blew me away to receive it as a review item!

I think writing with a proper pen improves my handwriting and makes me take my time about writing too, that’s important in journalling and planning as those tasks require a bit of thought and extra attention.

Do you have a ‘lucky’ piece of stationery – I’m hoping this one will serve me well as I am about to start a new job!

NSWbloglogo2

Kokuyo Staple-Free Stapler

I am delighted to be a National Stationery Week blogger, as a recent student and self confessed stationery-phile I love to try new products to the market. Kokuyo ’s staple free stapler is a revolution in stapling, it has no staplers but holds papers securely, magic!

Kokuyo Staple-Free Stapler

This little beauty makes two incisions in your paper, folds them back, then ‘staples’ the paper together using a special punch action – how handy is that!

I deliver a lot of training courses and frequently staple the materials for handouts on the train, this negates the need to take lots of additional stationery with me and can staple up to four sheets of paper at a time making it perfect for those powerpoint presentations and evaluation forms! As you guys know I also love anything that reduces waste so this is a pretty eco friendly option for smaller stapling jobs too.

I was sent the Kokuyo staple free stapler in green and couldn’t wait to give it a go, as well as securing my work it made light work of attaching some paper bunting I made for a blog background and the little arrow design is pretty unobtrusive for craft projects too!

IMG_4233

I may have also had a few other bits make their way into my stash this week, Project Life cards, new washi tapes and an eBay accident in which I thought I bought a single Totoro bookmark but 52 arrived instead!

stash1

What do you think? Will you be trying the staple-less stapler?!

NSWbloglogo2

Washi tape beach huts

washi tape beach hut

This one does what it says on the tin, it’s a swift tutorial using washi tape, I know it’s winter but I’ve made a stack of these using different tapes and am going to string them onto bunting for in J’s bedroom, there’s something really jolly about stripy beach huts, whether using traditional blue and white tapes or something a bit jazzy like this one!

How to make washi tape beach huts

Make yourself a beach hut template (essentially a rectangle with a triangle on top!) and draw around it onto plain card.

Use your tapes to fill out the design, hoops work well but any design would work really! You can overlap the tape and be quite rough with it as long as you cover the hut shape.

Finish the hut by using a wide tape in a contrasting colour to make the ‘roof’

Decorate as you wish, I used wide blue tapes to make a door and windows and decorated with a sharpie, a button and some washi curtains and a gold ‘rope’ effect embellishment.

Cut out your beach hut and use as a card topper, as bunting or a jolly postcard!


Displaying beachcomber finds

Displaying beachcomber finds

Finally I got round to doing something with the beachcombed finds we brought back from holiday in Druridge Bay late last summer. As we started our little hoard and Joss sat playing ‘shell shopkeeper’ on the beach I thought we should bring some home as souvenirs but it wasn’t until we got home and I photographed them that I realised how many we had!

Displaying beachcomber finds

I scoured Pinterest for ideas and settled on a simple glass jar for our bathroom window, TK Maxx came up trumps with this beauty for less than a tenner and I really love how it turned out after some careful curating. I saw lots of other ideas but felt they might detract from the natural beauty of the shells, displaying beachcomber finds is easy if you let the treasures do the talking!

Displaying beachcomber finds

Displaying beachcomber finds

That teeny tiny shell dangling from the top is smaller than my little fingernail and in perfect shape, Joss found it for me and I loved how perfect it stayed despite its tiny size, I may pinch it back and pop a jump ring on it to wear on a necklace from time to time!

Displaying beachcomber finds

So there we have it, happy memories captured to enjoy back home!

Air drying clay at Christmas

I absolutely love air drying clay, it’s really easy to work with and has a really nice finish.

I bought a pack for £2 and started with a project I’ve wanted to do for a while, making a little trinket dish, something I’d seen on Pinterest. Decorated with a sharpie and sprayed with some varnish to finish it off I was really pleased with the results.

Air drying clay at Christmas

Air drying clay at Christmas

I made a few more to give as gifts, then used the leftover clay to make some Christmas tags/ornaments. These probably worked out at less than a quid to make and I’m really happy with the results.

Air drying clay at Christmas

I rolled out the clay to about 5mm thick and cut out the shapes using heart and circle cookie cutters, then I used various stamps including alphabet stamps to emboss designs into the clay (the bobbly designs were printed using a scrap of an old jumper so you don’t need stamps to get a nice result!) A straw was used to pop a circle in the tops so they can be hung on ribbons.

After two days they were dry and ready to sand gently, then paint. I checked on them every so often to check they were still nice and flat, air drying clay can curl so do take care to check on them!

I used metallic paints from Joss’ stash to decorate them, then finished them with a spray of varnish too.

airdrying clay christmas ornaments

Milk Bottle Elephant

milk bottle elephants

Need an idea for a rainy afternoon with a toddler now the weather is on the turn? We’re finding the nights drawing in a little tough as we sometimes miss our evening walk and like to have an activity to do instead.

We’ve become a little bored of play doh, drawing and the usual cut and stick and decided to try something a bit different one night this weekend.

Why not join us and raid your own recycling – reuse those empty milk bottles big and small to make a little family of elephants together? Cue terrible pun:

milk bottle elephants 1

I saw this idea on Pinterest for Elmer elephants but Joss is too little to consistently stick on little squares of paper without getting frustrated about sticky fingers. Does anyone else’s little one really love glue but hate it at the same time? So instead we got to work with some stickers, washi tape and googly eyes for an afternoon of crafty fun. I used some decoupage materials and set about making a little Nelly of my own whilst Joss stuck on her buttons and tissue paper!

Instructions for making your milk bottle elephant

If you’d like to make your own milk bottle elephant then grab some milk bottles and lets get started!

YOU’LL NEED:
– Milk bottles
– Scissors
– Glue
– Tissue paper
– Or stickers
– Washi tape
– Pom poms
– Googly eyes

Simply follow these steps to start your own elephant family, use big and small bottles if you have them and just take care to cut any rough edges to smooth them before your little ones get stuck in too.

milk bottle elephant