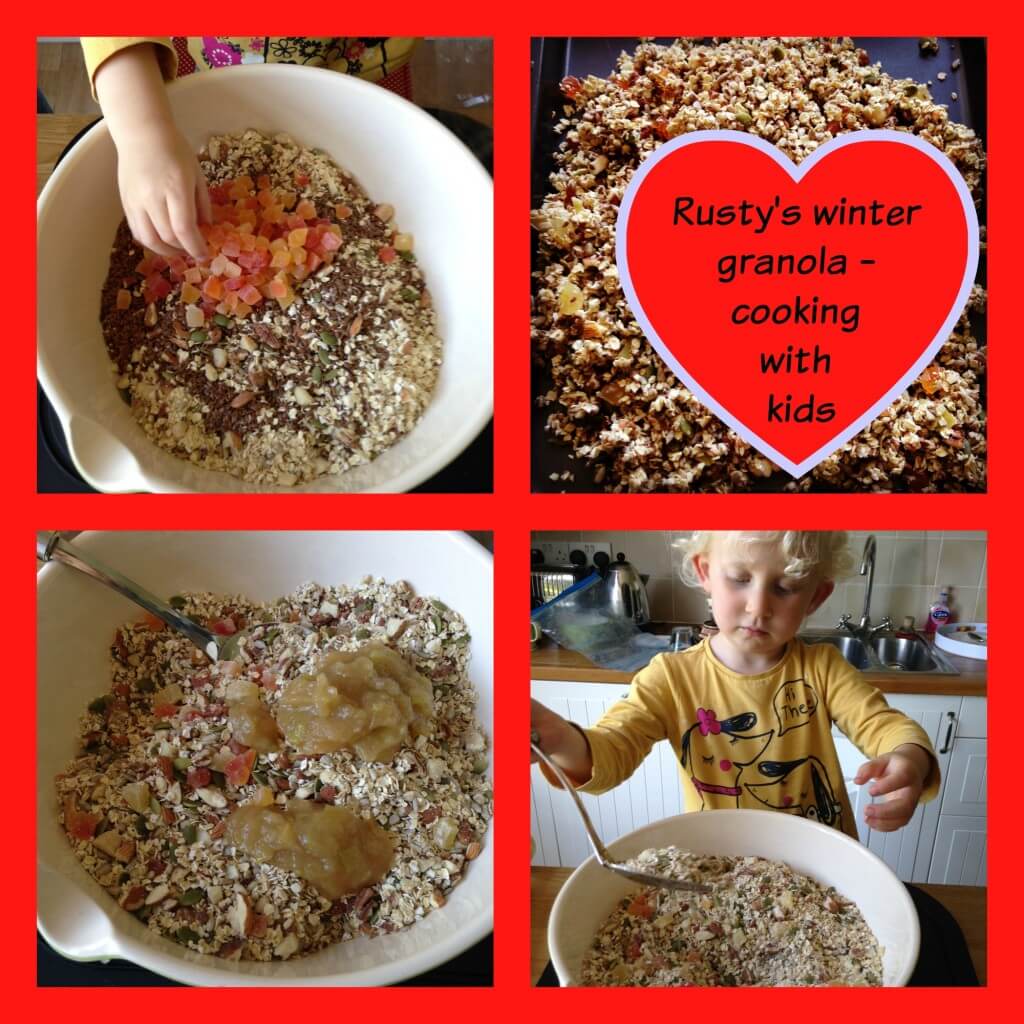
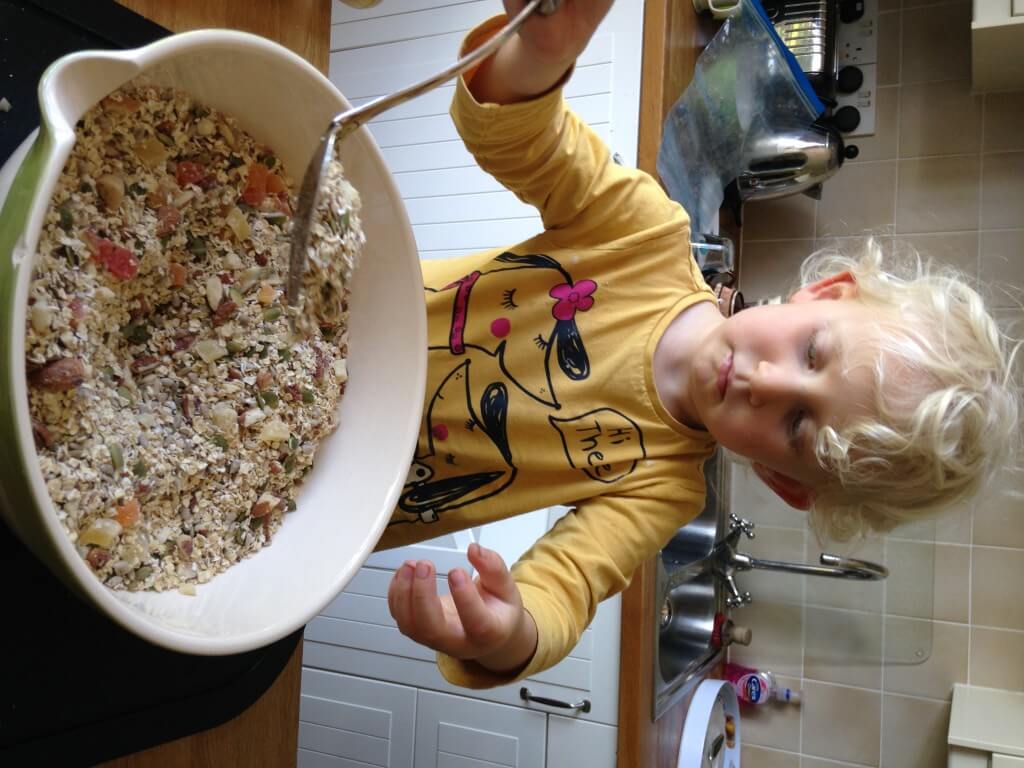
Cooking with kids: Rusty’s Winter Warmer Granola

Enlist the help of your toddler to make a healthy, tasty and pure Granola that’ll give you something guilt-free to look forward to every morning.

rusty's granola

Ingredients:

I use about 100 grams each of the below nuts / seeds:-

Linseed – great plant source of omega 3 fats, adds a nice crunchy texture to the granola

Walnuts – omega 3 fats, can reduce risk of cardiovascular disease, source of antioxidants, good for your brain

Pecans – Great source of vitamin E which is important for healthy skin

Brazil nuts – rich in mono-unsaturated fats, vitamin E

Almonds – good source of magnesium which is good for a healthy heart, potassium, vitamin E

Sunflower seeds – lots of Magnesium, vitamin E, Selenium (may be good for preventing cancers)

Pumpkin seeds – contain Zinc which is great for your immune system, mood, sleep, skin (and more)

Dried, diced papaya and / or pineapple – taste great

One large cooking apple – for binding the granola

Honey – so good for you in so many ways I can’t list them all here and anyway you need it to bind the granola together

Oats – I use quick cook oats as they’re easier to buy in a supermarket but simple rolled oats are a longer lasting energy source

How to

Slice up the large cooking apple into chunks and put in a pan with three or four tablespoons cold water. Put a lid on and give it 5-10 minutes at a low – medium heat. Have a look and give it a mix. Once it’s the texture of apple sauce take it off the heat and put it to one side while you prepare the rest of the granola.

This is where your toddler will love helping. Show her all the nuts you’ve bought for your granola and tell her what they are, what’s good for her about them and encourage her to have a taste (being mindful about allergies and choking – you know your own kids). She won’t like all of them but will hopefully like some. Eating nuts is a great habit to get children into – they’re great for snacking and keep really well. Very healthy in moderation.

Now help your toddler to pour all of the nuts into a big, strong freezer bag. Seal up the bag (be sure to squeeze the air out first) and get a rolling pin. On a large chopping board or tough surface, help your toddler to smash the nuts up with the rolling pin. Keep her fingers out of the way and be sure to make some serious noise. I personally like to make monkey noises as loudly as possible with Joss. It’s a fun way to let off some steam and smile. If the noise is too much for you or someone else at home, you could provide some monkey ear muffs for the duration. I try not to worry about the size of the nut fragments, it’s nice to have a bit of a mixture for texture and crunch.

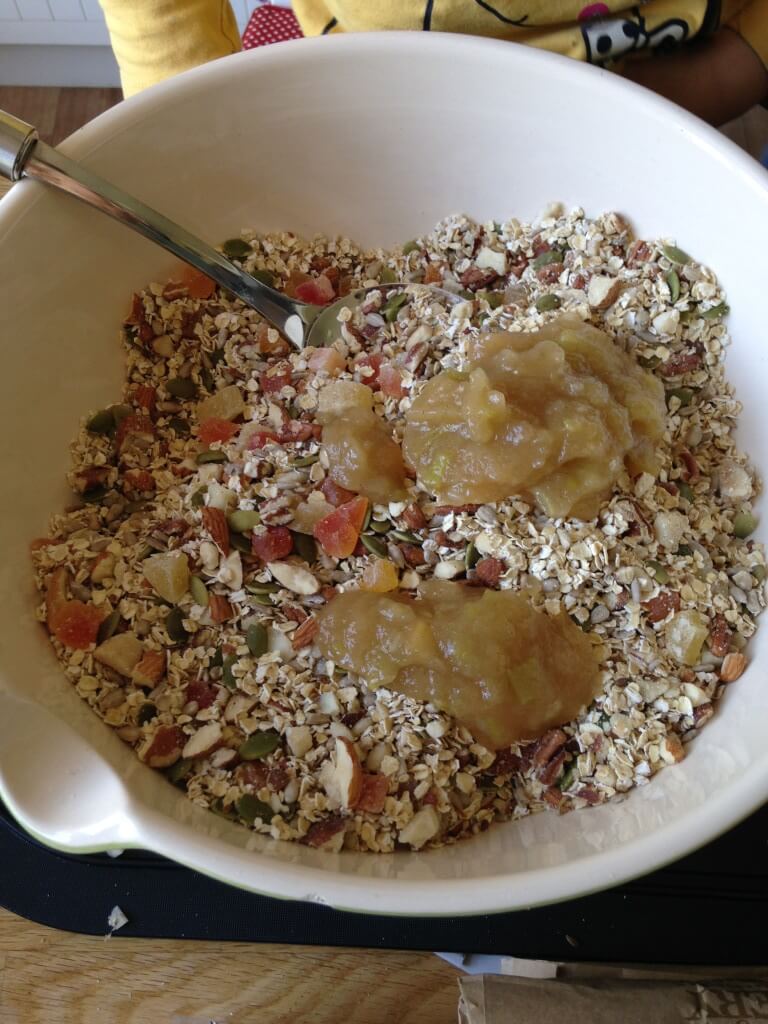
Get a big mixing bowl and pour in 500 grams oats, the smashed up nuts, seeds and dried papaya / pineapple. Ask your toddler to give it a quick mix to make sure the nuts and seeds are evenly distributed.

rusty's granola 3

Now take the pan of cooked apple from earlier which should still be warm. Help your toddler to add 2 – 4 tablespoons of honey and mix in. You can use whatever honey you like but I really like using an orange blossom honey for the citrus taste. I add a couple of teaspoons of ground cinnamon too and then ask Joss to mix it up really well, trying to make sure the cinnamon is well combined, get your toddler to have a smell, amazing!

rusty's granola 1

Ask your toddler to spoon about half of the apple / honey / cinnamon mixture into the bowl of oats, nuts, seeds and fruit and mix it in well with a big spoon. Once she has combined as much as possible, add the rest of the apple sauce mix too and ask her to give that a good stir in. You might need to help out to ensure that everything is well mixed in. The whole mixture should end up quite stodgy and moist. If it doesn’t fit this description you can always add another tablespoon or two of honey to help it stick together.

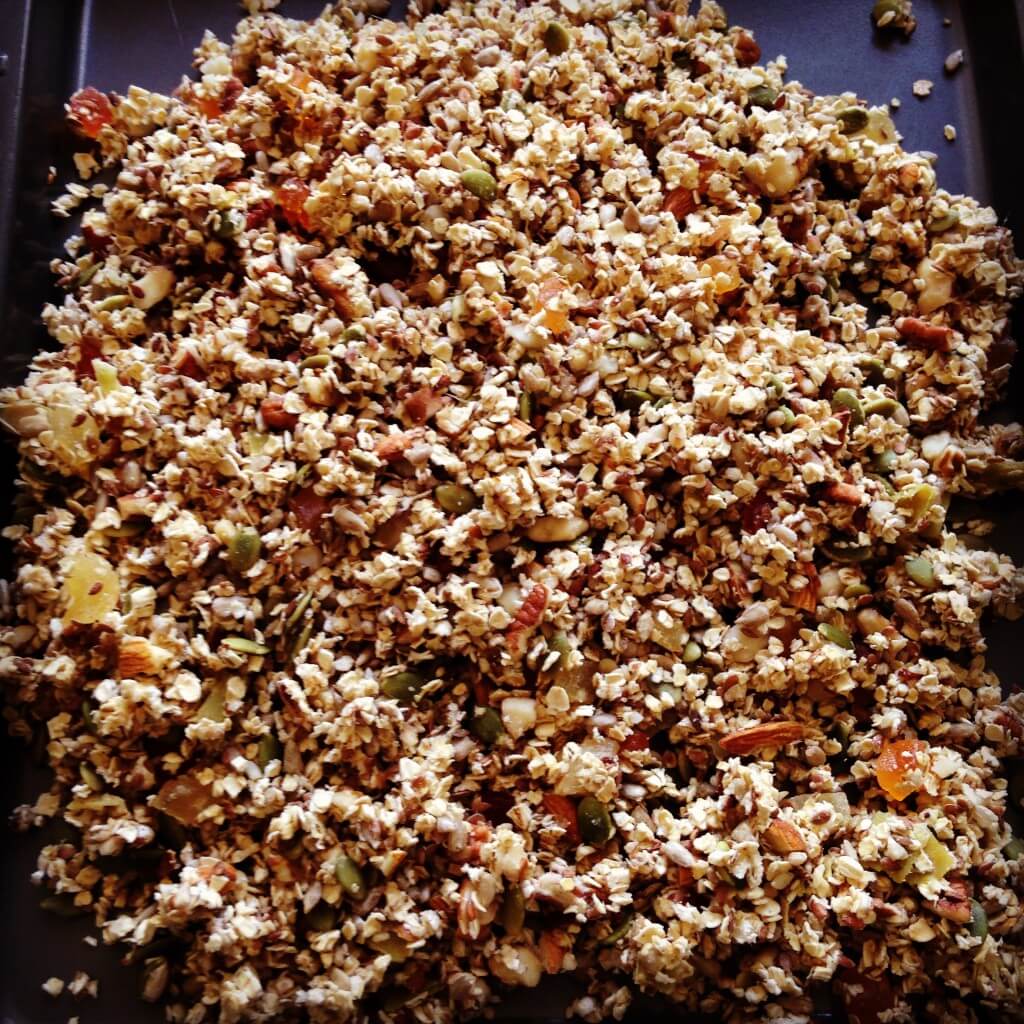
Preheat your oven to around 140 – 160 celsius and spread the mixture out thinly onto baking trays. The last time we made it, the mixture covered 6 baking trays so we had to cook it in three goes. Put each round of baking trays into the oven for around 10 – 15 minutes, checking regularly and redistributing on the tray if necessary. A little browned is ok, but take care not to burn it. Once done, leave out for a few minutes to cool down and fully dry out. Break up gently and store in an airtight container.

rusty's granola 2

I eat Rusty’s granola with either coconut milk or natural yogurt and a little honey. You could try adding fresh fruit to it as well. This granola lasts me a month; don’t overdo it – there are a lot of nuts and seeds in this granola so probably 3 or 4 tablespoons is enough for breakfast. What a great treat on those autumn / winter mornings!

Optional: I sometimes add finely chopped, crystallised ginger before baking. Use in moderation but it’s a brilliant winter warmer!
Beachcomber Finds at Seaham

index

Late last Summer we spent a week on the beach at Druridge Bay and logged our beachcomber finds - now I’m back with a part two, having spent the day at Seaham Harbour, famed for its seaglass.

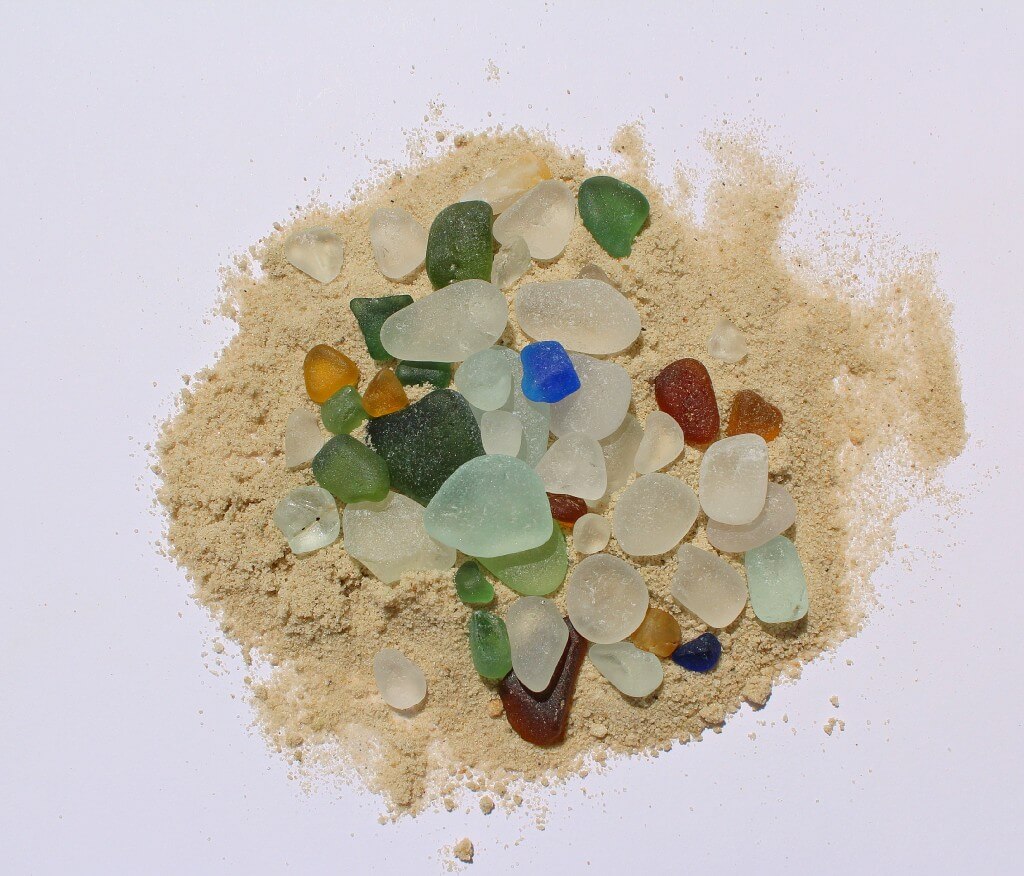
Until the early 1920s Seaham was the location of the largest glass bottle-works in Britain and the waste glass from the factories was dumped into the sea, time and tide has transformed the waste shards into polished beads and people head down to the Harbour to collect the End of Day sea glass.

1 5

Beachcomber Finds at Seaham

3

The beach is beautiful with great rockpools too. We started a tradition when she was tiny to always make a ‘family circle’ with our footprints whenever we visit a beach, and then Joss sits in the middle for a photo!

2

We are sea glass novices, although I ended the day with a keener eye, but we managed to gather a small handful of gifts from the sea.

11

index1

Now to think about a part two on displaying our finds!

Tommy

And finally we rounded off our walk with a visit to see ‘Tommy’ the WW1 sculpture installed last year, these photos don’t need any words

6 (2)

7 8

Country Kids from Coombe Mill Family Farm Holidays Cornwall

National Stationery Week: Get Writing! #NatStatWeek #GetBritainWriting #GetKidsWriting #WritingMatters #WritingisForever #lovestationery #stationeryaddict

Next week is National Stationery Week and I’ll be blogging all week about the stationery I love to use.

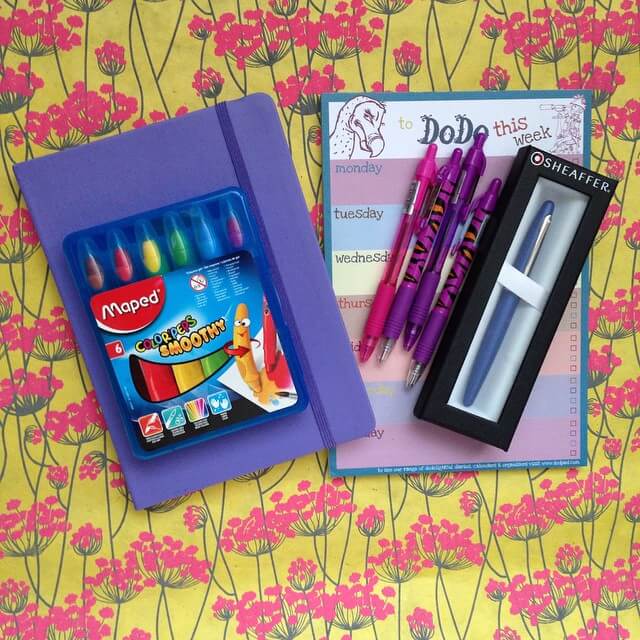
I thought I’d share a couple of favourites from the last few weeks; firstly this stash of goodies arrived to help me in my role as a National Stationery Week blogger – I love getting papery post!

natstatweek2

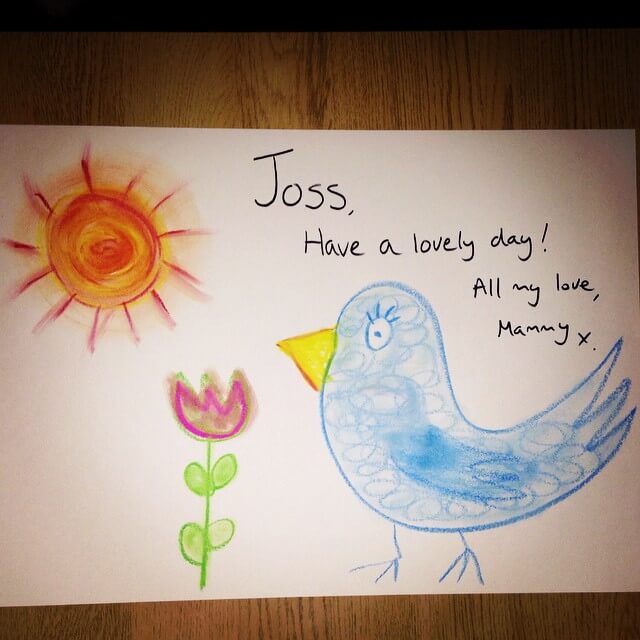
I have been working away a lot at the moment, generally I am back for bedtime but I am not always lucky to be there first thing in the morning to greet J; I have started leaving a special note for her and stepped it up this week using these Maped Colorpeps – they’re a watercolour crayon, you can draw with them, then use a damp paintbrush to mix your colours just like watercolour paints – so this is the note I left for her this week :)

natstatweek

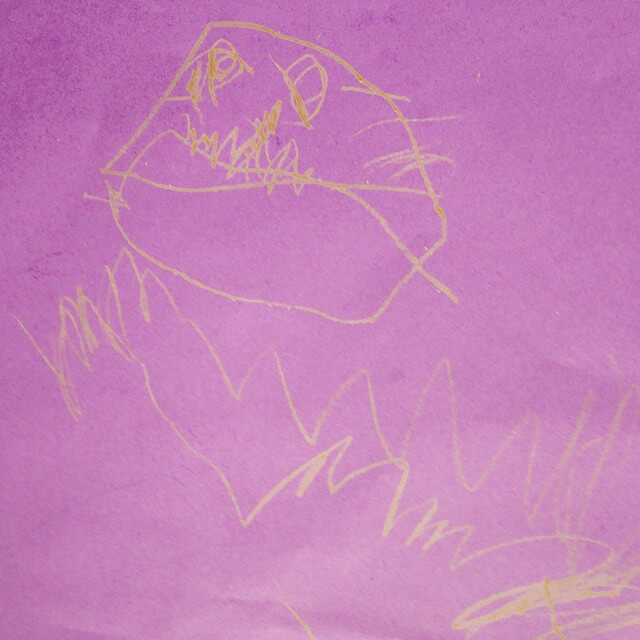
And finally, the Colorpeps also got J interested in drawing again, and boy am I a proud Mama; this is her drawing of her beloved Totoro this week, the first drawing she has produced (OK, well she draws daily but it’s the first where you can really tell what it is!)

natstatweek1

See you over on the blog for #Natstatweek next week folks!

Crafter’s Companion Easter Wreath Make

The challenge

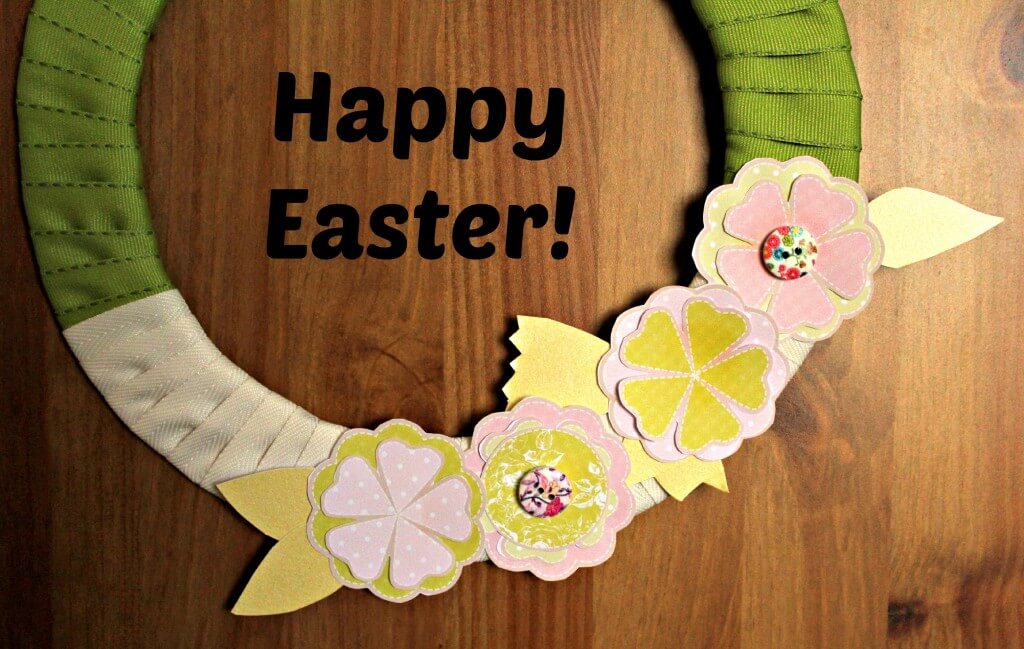
The lovely folks at Crafter’s Companion set me a little Easter challenge, to make an Easter wreath using some goodies they sent me in the post. I love a craft challenge, and haven’t done anything creative for a few weeks so I took up the mantle, and here are the results!

IMG_4497

Supplies

  • A cut out cardboard ring (I made my own by drawing around two different sized plates and cutting out carefully with scissors
  • Two different coloured ribbons (I used a spring green and cream)
  • Collal tacky glue and Collal all purpose glue
  • Crafter’s Companion Centura pearl card pack
  • Patterned paper flowers
  • Buttons

index

Easter Wreath Make: How to

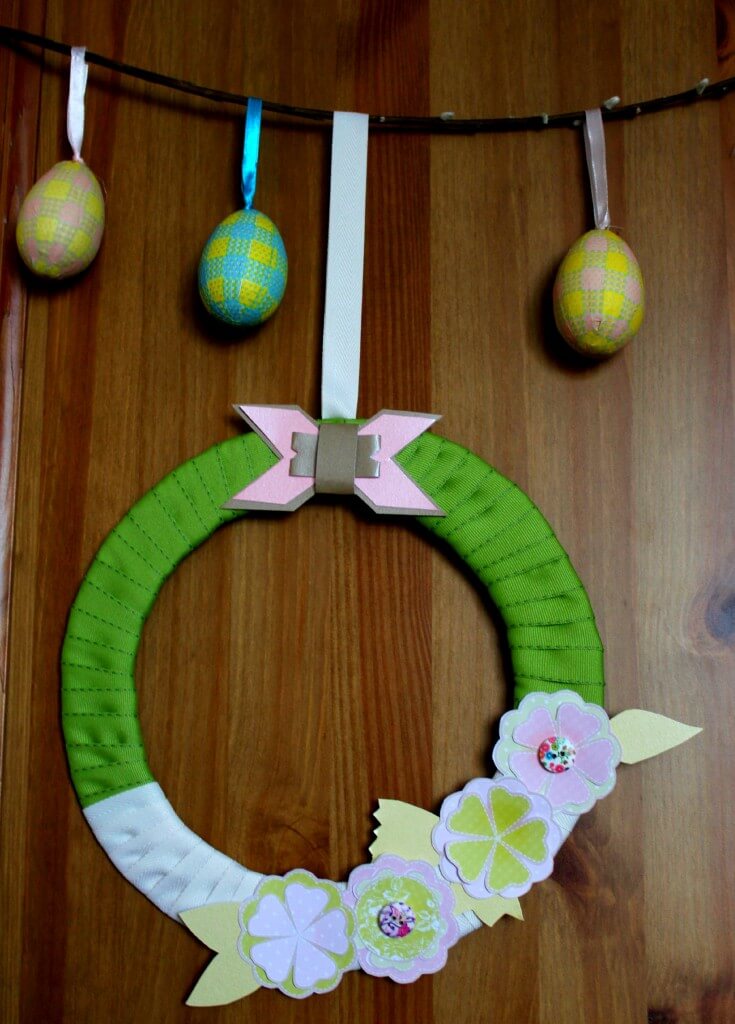
  1. Secure your ribbon to the back of the wreath with a little all purpose glue, then wind the ribbon around until you’ve covered just more than half of the wreath. Switch to your second colour ribbon until the wreath is completely ribbon-wrapped.
  2. Add another length of ribbon using all purpose glue to make a loop to hang your wreath
  3. Cut out your flowers from patterned paper (I used a printable) and cut out some rough leaf shapes from pearl card stock. Assemble your flowers in layers with tacky glue and pop a button in the centre of some of them to add to the 3d effect, stick the leaves to the back of each flower
  4. Assemble your wreath by gluing the flowers into position slightly off to one side of the lower wreath
  5. Cut some ribbon shapes from pearl card and assemble with tacky glue. I cut a large ribbon shape, a smaller copy in a contrasting colour, then assembled a simple 3d bow by gently folding the card stock to make the ribbon ‘stand out’ – a final loop of card to cover the centres of the ribbons finished off the look – again I used tacky glue to affix to the wreath

The finished piece!

I have hung my Easter wreath onto a piece of willow branch, with some contrasting coloured paper eggs to add to the festive feel! I’m really happy with the finished result – thanks Crafters Companion for providing me with the materials and the inspiration for this eggstra special make (no more Easter puns now, I promise!!)

IMG_4504 IMG_4516

Washi tape beach huts

washi tape beach hut

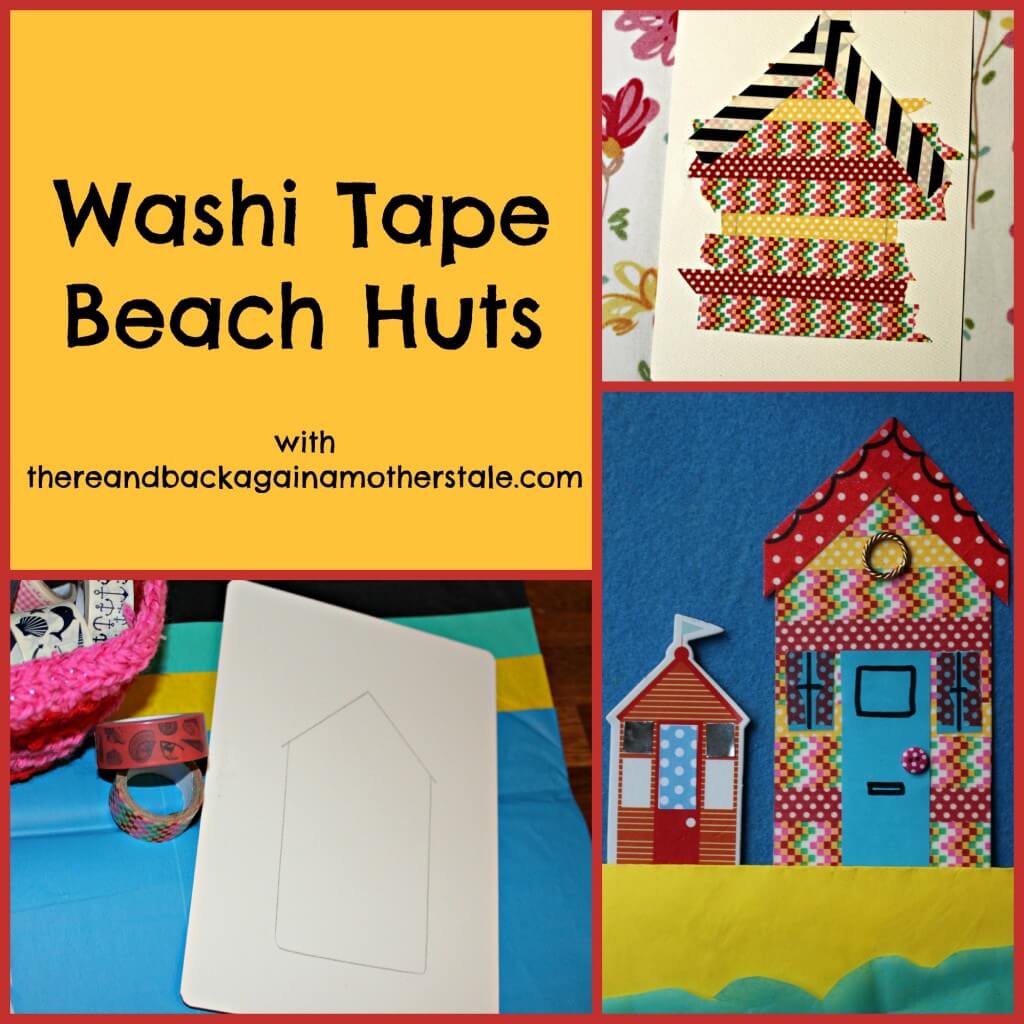
This one does what it says on the tin, it’s a swift tutorial using washi tape, I know it’s winter but I’ve made a stack of these using different tapes and am going to string them onto bunting for in J’s bedroom, there’s something really jolly about stripy beach huts, whether using traditional blue and white tapes or something a bit jazzy like this one!

How to make washi tape beach huts

Make yourself a beach hut template (essentially a rectangle with a triangle on top!) and draw around it onto plain card.

Use your tapes to fill out the design, hoops work well but any design would work really! You can overlap the tape and be quite rough with it as long as you cover the hut shape.

Finish the hut by using a wide tape in a contrasting colour to make the ‘roof’

Decorate as you wish, I used wide blue tapes to make a door and windows and decorated with a sharpie, a button and some washi curtains and a gold ‘rope’ effect embellishment.

Cut out your beach hut and use as a card topper, as bunting or a jolly postcard!


Chinese New Year Toddler Paper Fish Kite

chinese new year toddler kite

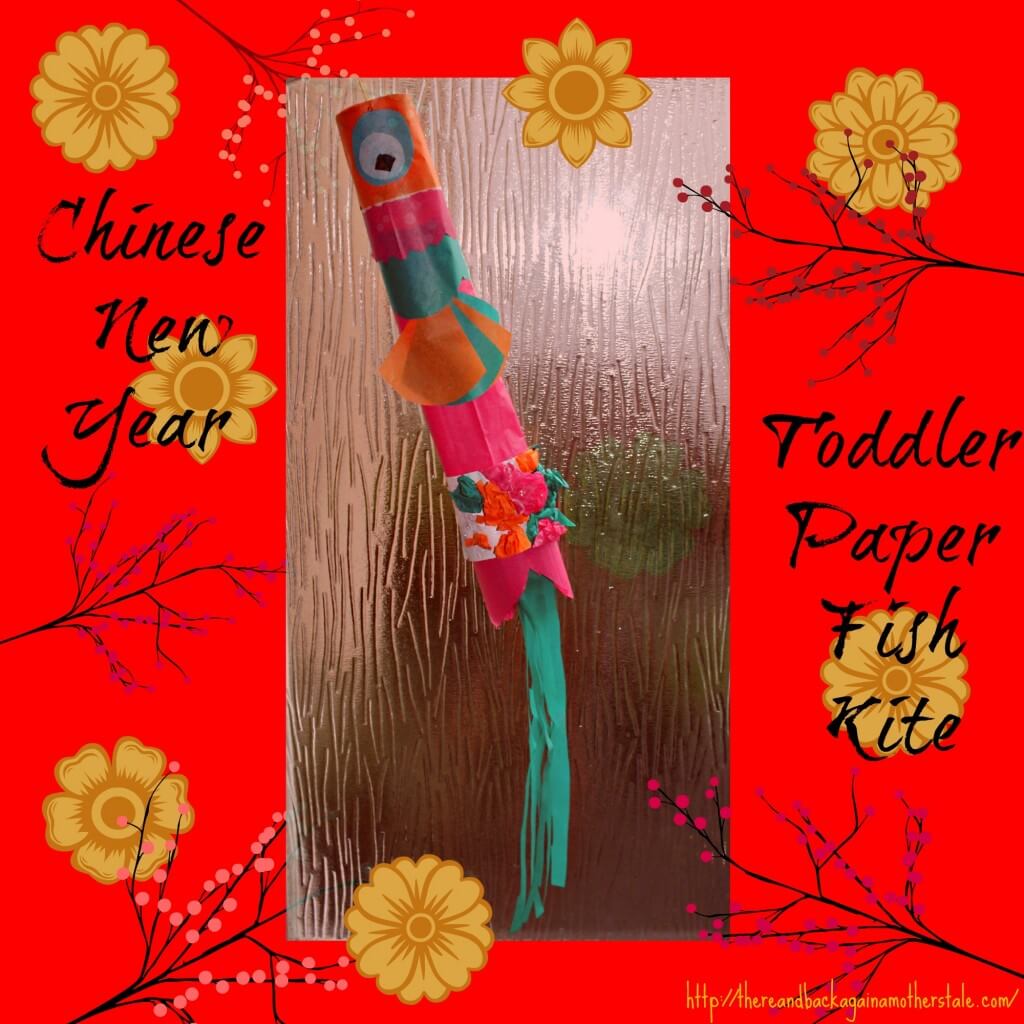
Newcastle’s Chinatown lies in the historic heart of Newcastle in Grainger Town and we use the Chinese supermarket down there a couple of times a month. I’ve always loved Chinese New Year, the street parade and fire crackers, and last year J visited with her Daddy and loved it too, coming home with fortune cookies and a paper dragon and a big smile on her face.

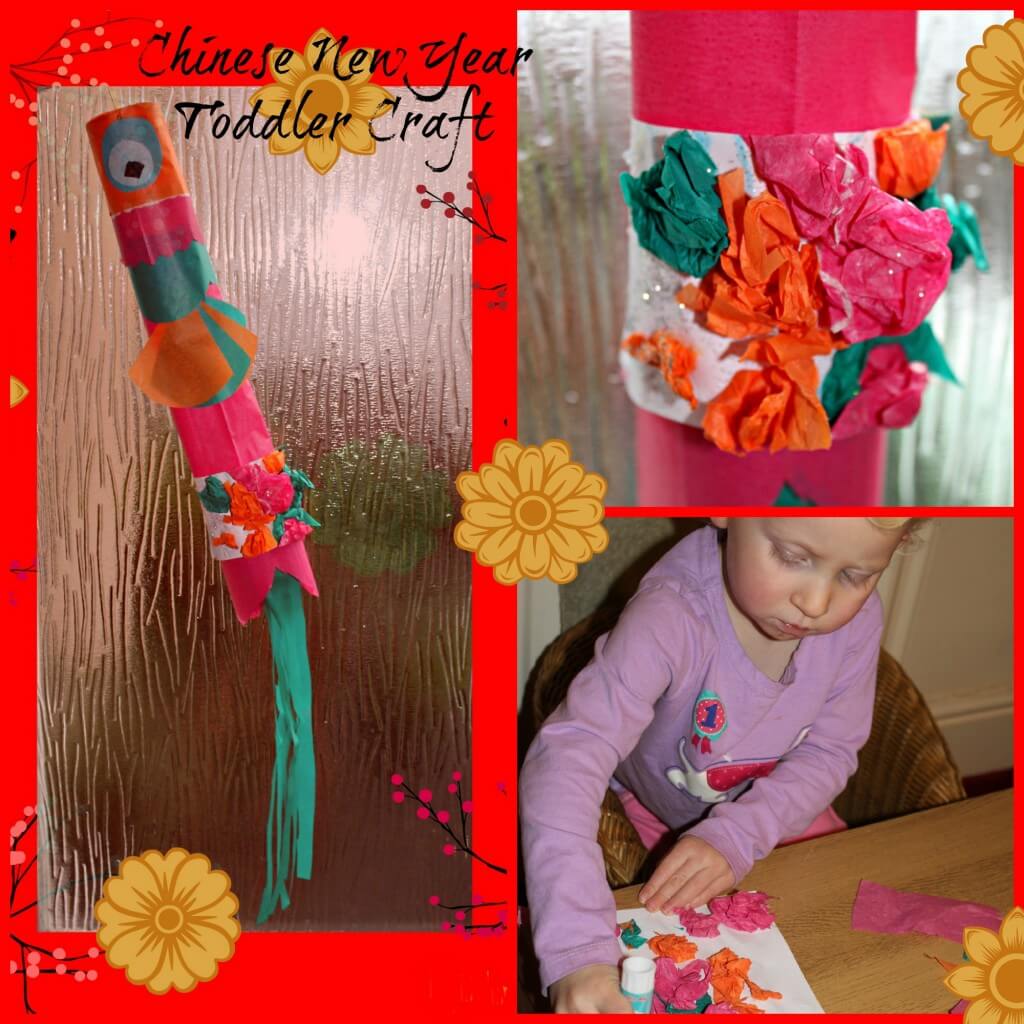
This year we’ve made some lanterns but I’ve seen lots of tutorials about those, we decided to make a paper kite this week and I’ve shared some step by step instructions below, with lots of room for artistic license. For J this activity was about a new skill, paper scrunching and sticking, so she made the scrunched paper cuff whilst I assembled the main body of the fish.

chinese new year toddler kite 2

Chinese New Year Toddler Paper Fish Kite – step by step

You need:

An empty toilet roll

Three sheets of tissue paper in different colours

Plain white paper

Glue

String/thread

Scissors

How to (tots)

Set them away with a sheet of paper and scraps of tissue paper and show them how to scrunch and stick the tissue down to make a cuff to decorate the fish. Adding glitter is always popular with toddlers! When finished attach the cuff to the fish with tape

How to (grown ups/older children):

Take a large sheet of tissue paper and place the toilet roll inner at the top left of the sheet, then roll the inner to cover it in tissue paper, secure with glue or tape, this forms the mouth of the fish, at the other end make a tail by cutting a deep v.

Decorate the body of the fish by wrapping with strips of different coloured tissue paper and tape/glue in place.

Cut fins from tissue and attach them to your fish

Cut and attach circle shapes for the eyes

Cut long strips of tissue to form the tail pieces and attach inside the tail with glue

Finish by carefully punching two holes in the top of the fish (in the toilet roll inner) to attach a string to ‘fly’ your kite!


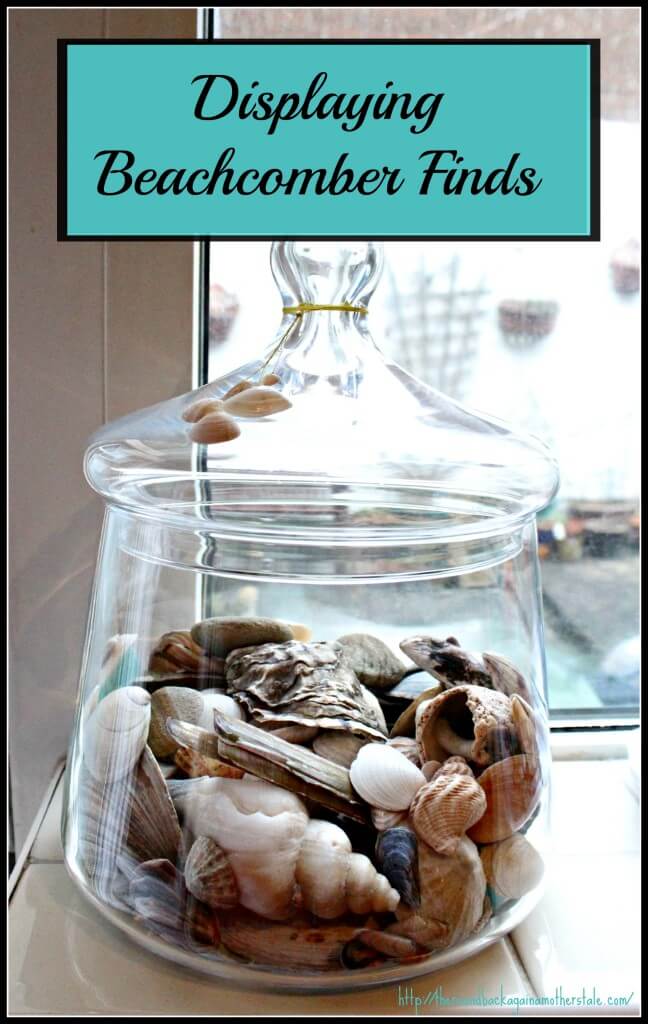
Displaying beachcomber finds

Displaying beachcomber finds

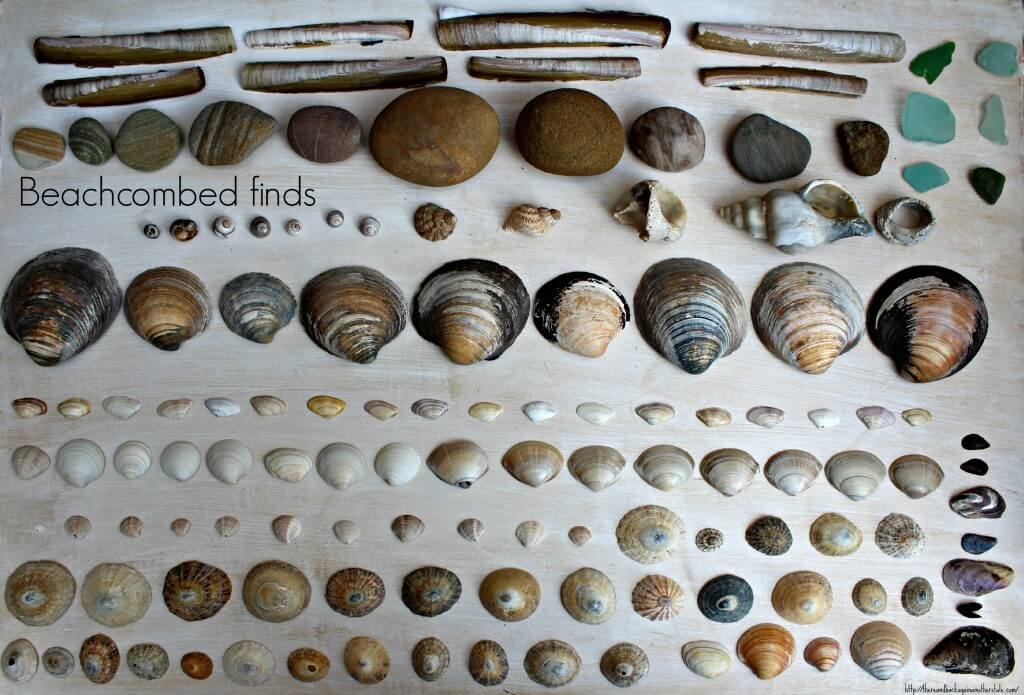
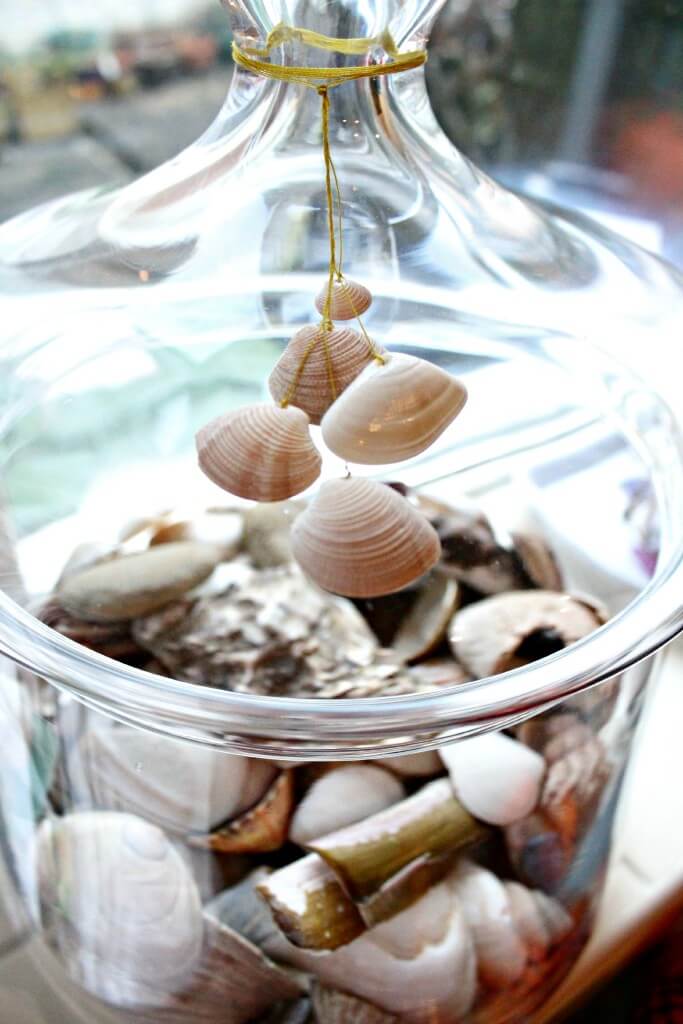
Finally I got round to doing something with the beachcombed finds we brought back from holiday in Druridge Bay late last summer. As we started our little hoard and Joss sat playing ‘shell shopkeeper’ on the beach I thought we should bring some home as souvenirs but it wasn’t until we got home and I photographed them that I realised how many we had!

Displaying beachcomber finds

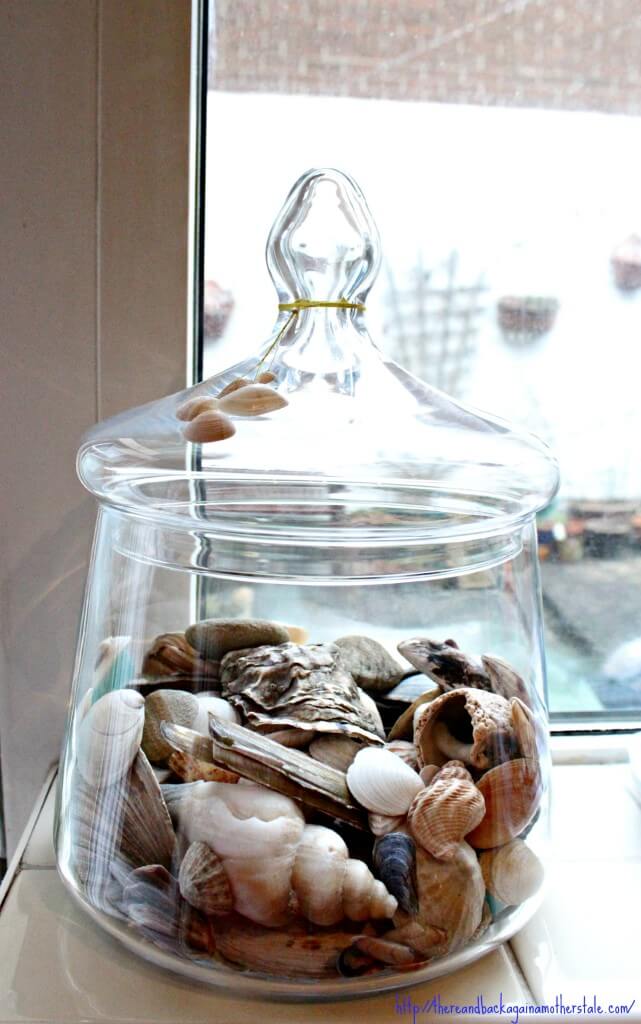
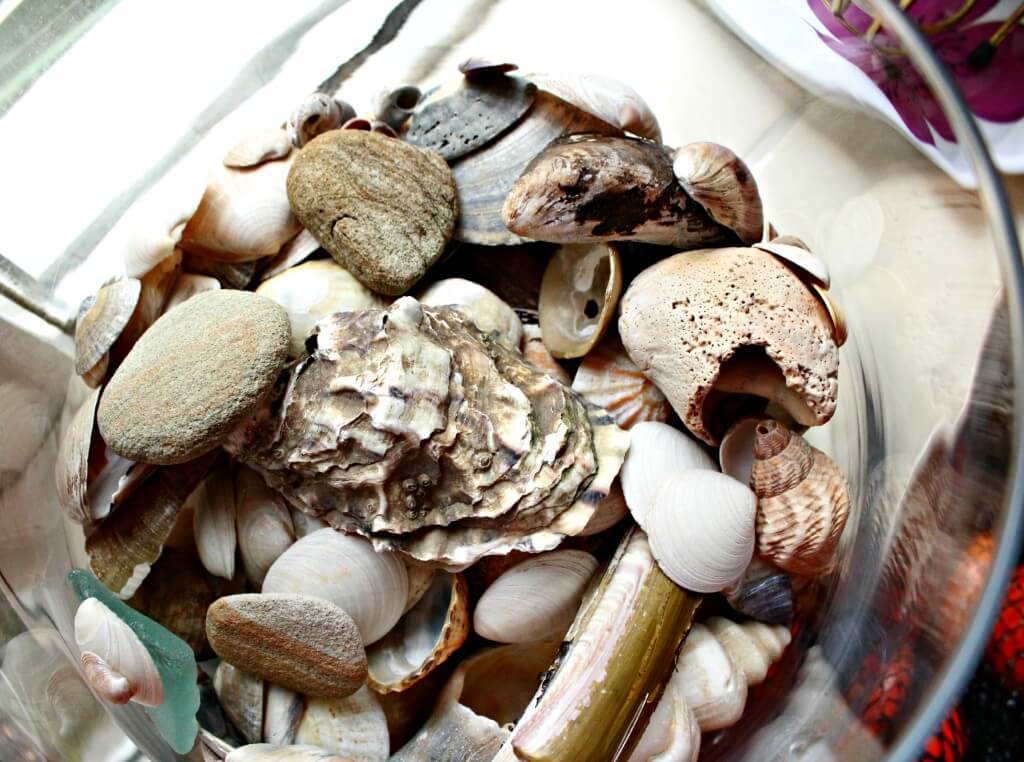
I scoured Pinterest for ideas and settled on a simple glass jar for our bathroom window, TK Maxx came up trumps with this beauty for less than a tenner and I really love how it turned out after some careful curating. I saw lots of other ideas but felt they might detract from the natural beauty of the shells, displaying beachcomber finds is easy if you let the treasures do the talking!

Displaying beachcomber finds

Displaying beachcomber finds

That teeny tiny shell dangling from the top is smaller than my little fingernail and in perfect shape, Joss found it for me and I loved how perfect it stayed despite its tiny size, I may pinch it back and pop a jump ring on it to wear on a necklace from time to time!

Displaying beachcomber finds

So there we have it, happy memories captured to enjoy back home!

Love Bird Valentine

Valentine’s Day is something I’ve always liked, not in a cheesy way, I just have fond memories of my mam buying a special cake or treat for supper on Valentine’s Day and it’s a tradition I’ve always kept to, sometimes baking something for the loves in my life, sometimes just grabbing a treat from the shops after a busy day.
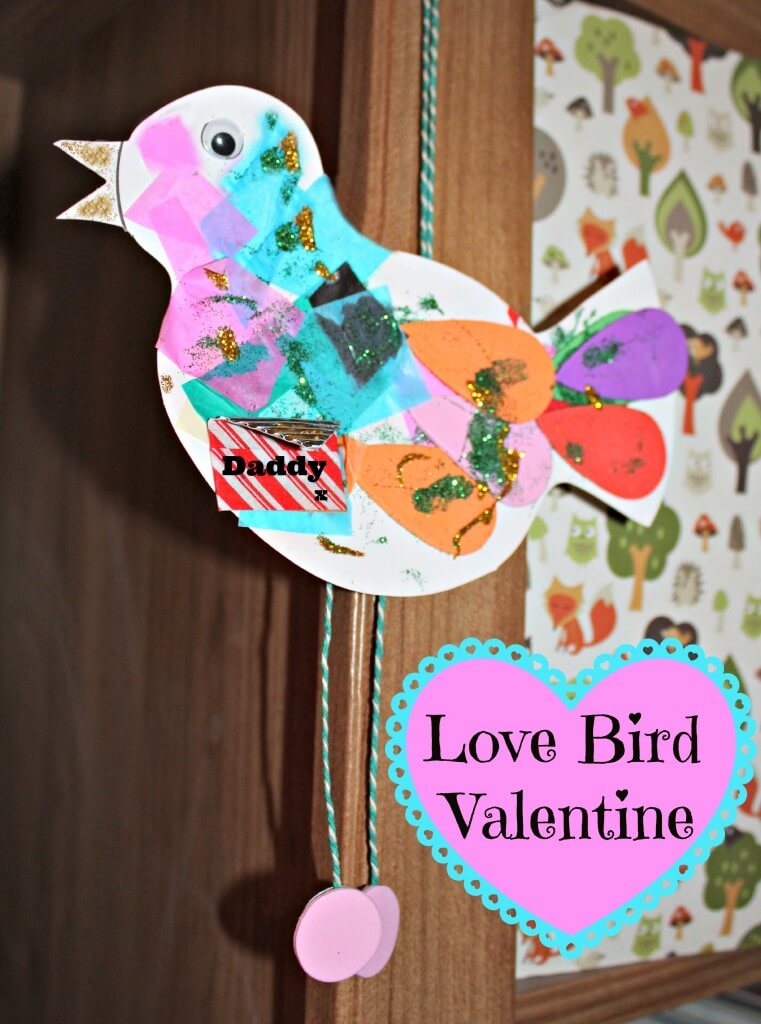
Joss and I have made a Valentine for Daddy this year, sadly she was too excited to keep it a secret but I’ve squirreled it away and I’m sure he’ll have forgotten in a month’s time!

If you’d like to make your own love bird it’s really easy.

Love Bird Valentine

I drew a rough bird shape on white card and cut it out for Joss to decorate.
Once she’d had free reign with the glue, glitter, foam stickers and strips I’d cut from leftover tissue paper wrapping we popped it to one side to dry. This took a long time, Joss LOVES PVA glue!

I took some twine and cut three lengths, one for the hanger which is taped in a loop with washi tape to the back of the bird, and two for the legs, adding a foam shape for feet and again attaching to the back of the decoration.

Finally I cut a rough envelope shape from stiff card to carry the love bird’s valentine message, ‘Daddy x’ and glued this to the bird’s body adding the finishing touch, a googly eye and ta-da, Happy Valentine’s Day Daddy!

valentine

November’s Organic Round Up

It’s time for my latest organic roundup. I’ve decided to try to do these every couple of months after my Organic September post was so popular! This month we’ve been trialling three new products that I’d like to share with you.
Organic Round Up

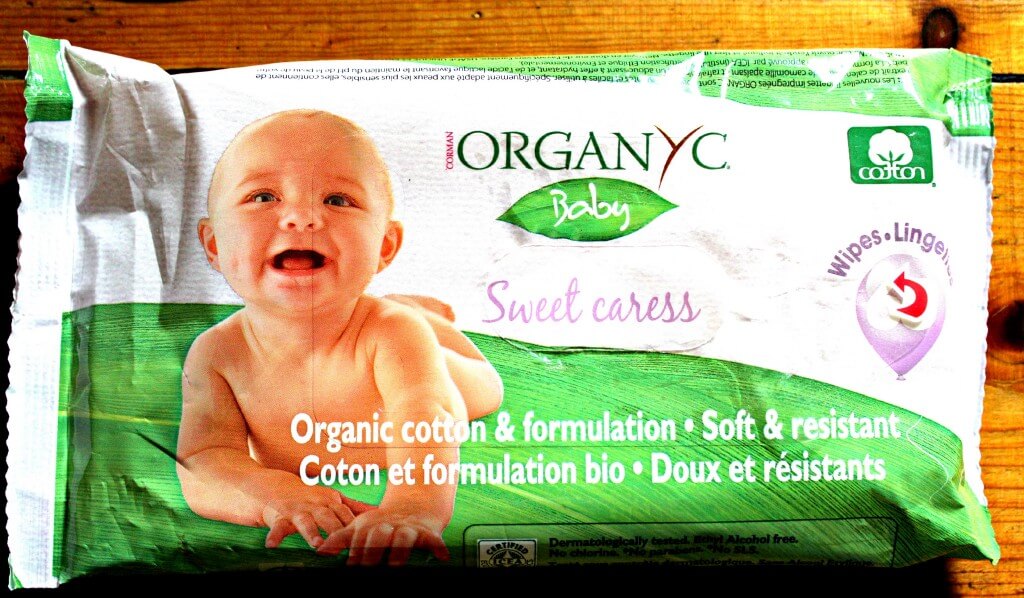
First up, and helping me with potty training on the go, is Organyc’s Organic Baby Wipes. About a week ago Joss woke up and announced she didn’t want to wear a nappy. A week on she’s doing brilliantly, we’re using cloth wipes at home but I needed something quick for out and about as she’s often using the potty when we’re literally on the go! Made from 100% organic cotton infused with organic Chamomile and organic Calendula these are a great choice of more eco-friendly wipe. They’re a really good thick quality cotton, smell refreshing but without overpowering and the addition of the essential oils is great as these are the same oils we use at home with our cloth wipes.
organyc

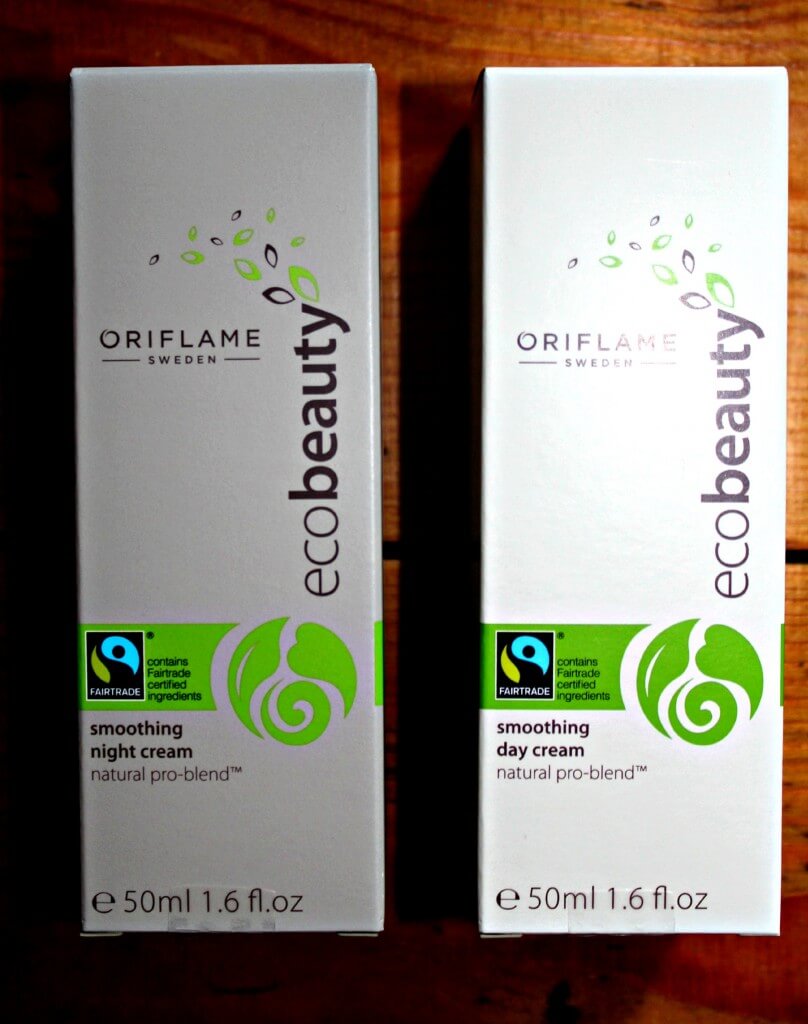
Next up, for the past month I switched my usual moisturiser for these Oriflame eco-beauty smoothing day and night creams, priced at £16.95 each the two come in cheaper than my usual buy. I really liked the packaging, with pump action nozzles they dispense hygienically and you can still control the amount you use. The day cream contains a blend of Fairtrade Shea Butter and Fairtrade Organic Coconut Oil for a gorgeously smooth base for my daily make up routine and after a few weeks people commented that I was looking well so I assume the cream did the trick! The night cream has a similar blend of shea and coconut oil but is slightly heavier, it smooths on nicely and after about ten minutes my skin felt plumper; this cream feels like a luxurious treat for my skin. That it’s paraben free, fairtrade and organic makes this a really attractive eco-buy too.

The most noticable result for me is that the flaky patches I struggled to fight with my usual cream are gone, this is a brilliant result for me as they were really stubborn and could leave my makeup looking patchy on a bad day. This is a product switch that I’m really pleased with, and sticking to!

oriflame

Organic News

In other news, Aldi, our beloved local store that we use so heavily because we don’t have a car have started stocking a range of organic fruit and veg, brilliant! They now have a wide selection of organic products to choose from including meat and diary produce too.

Air drying clay at Christmas

I absolutely love air drying clay, it’s really easy to work with and has a really nice finish.

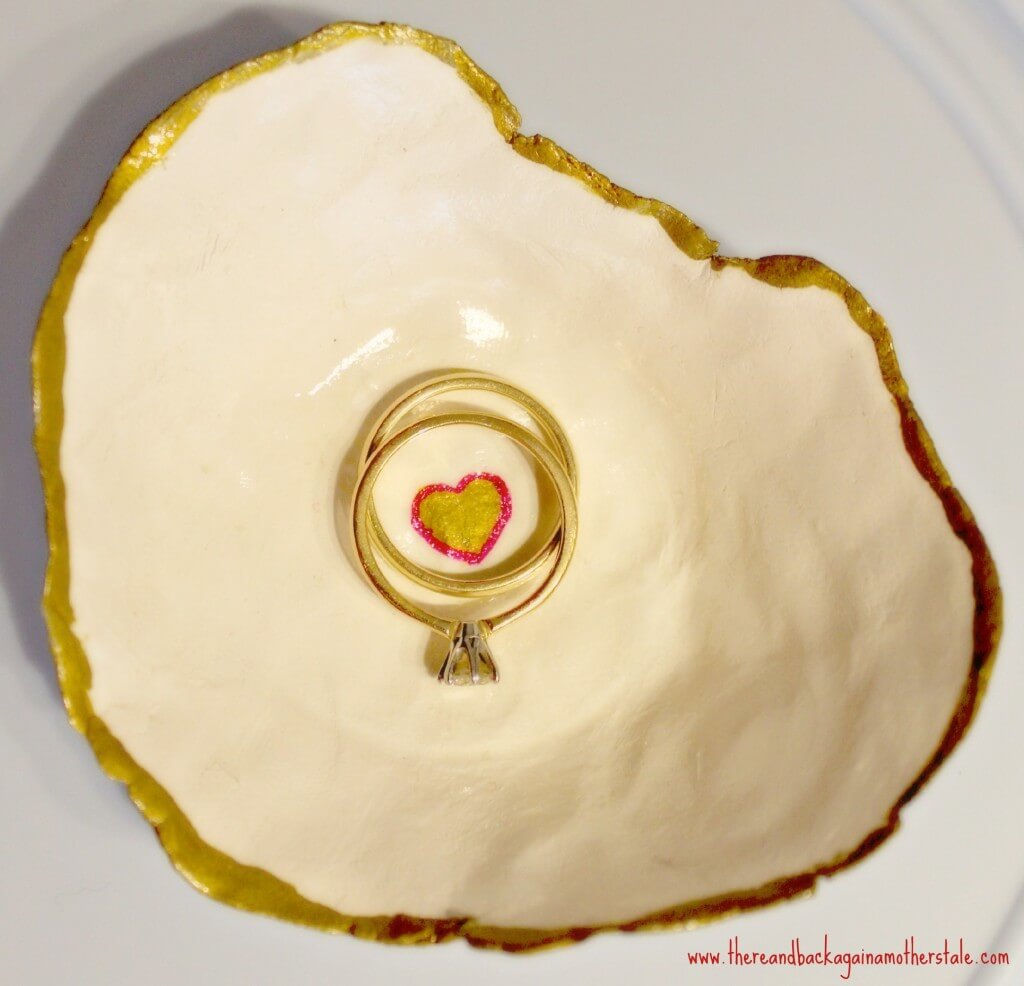
I bought a pack for £2 and started with a project I’ve wanted to do for a while, making a little trinket dish, something I’d seen on Pinterest. Decorated with a sharpie and sprayed with some varnish to finish it off I was really pleased with the results.

Air drying clay at Christmas

Air drying clay at Christmas

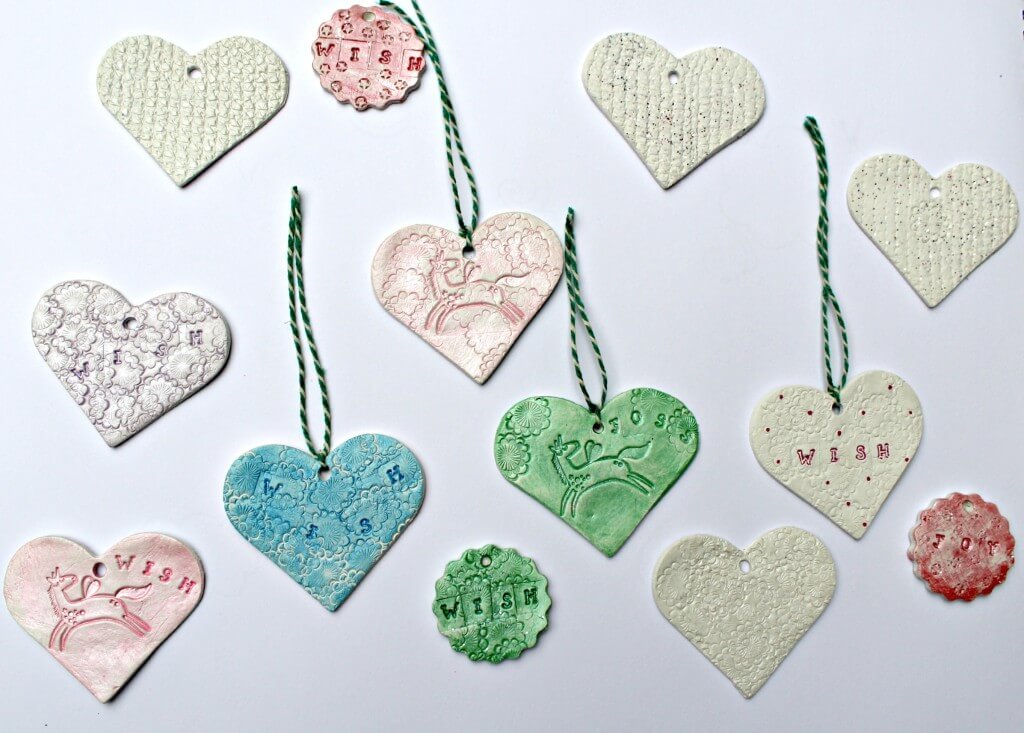
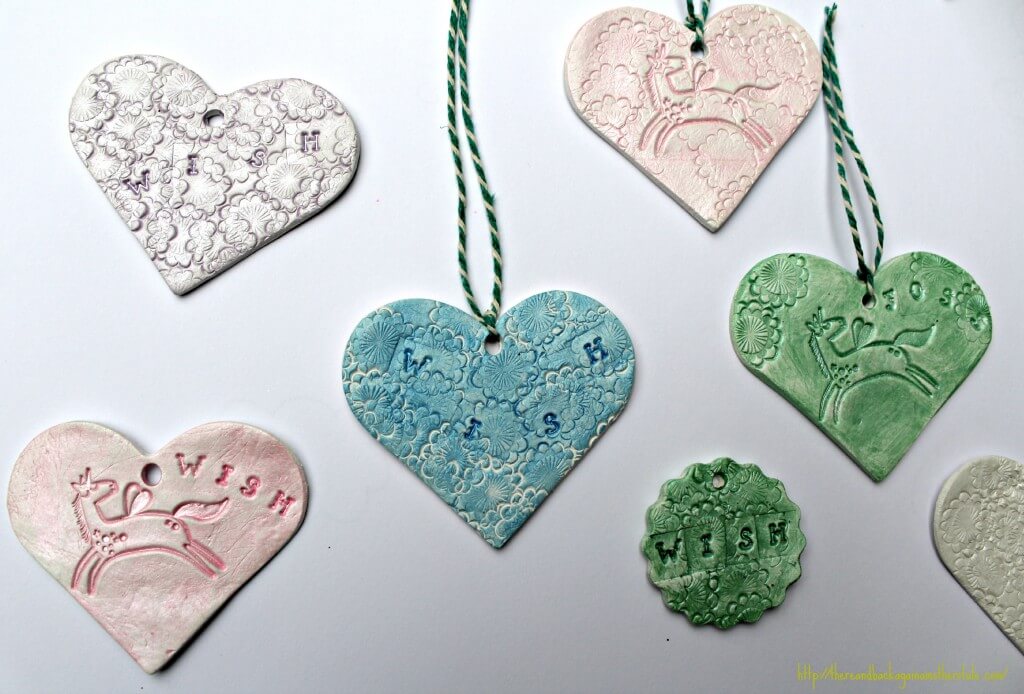
I made a few more to give as gifts, then used the leftover clay to make some Christmas tags/ornaments. These probably worked out at less than a quid to make and I’m really happy with the results.

Air drying clay at Christmas

I rolled out the clay to about 5mm thick and cut out the shapes using heart and circle cookie cutters, then I used various stamps including alphabet stamps to emboss designs into the clay (the bobbly designs were printed using a scrap of an old jumper so you don’t need stamps to get a nice result!) A straw was used to pop a circle in the tops so they can be hung on ribbons.

After two days they were dry and ready to sand gently, then paint. I checked on them every so often to check they were still nice and flat, air drying clay can curl so do take care to check on them!

I used metallic paints from Joss’ stash to decorate them, then finished them with a spray of varnish too.

airdrying clay christmas ornaments