Fabric transfer paper gift ideas

These 5 fabric transfer paper gift ideas were inspired by some great tutorials over at Wolves in London, Sabrina’s blog is a great resource and so I have to start this post by thanking her for introducing me to a great new craft addition! If you’re of the crafty ilk I urge you to check out her tutorials

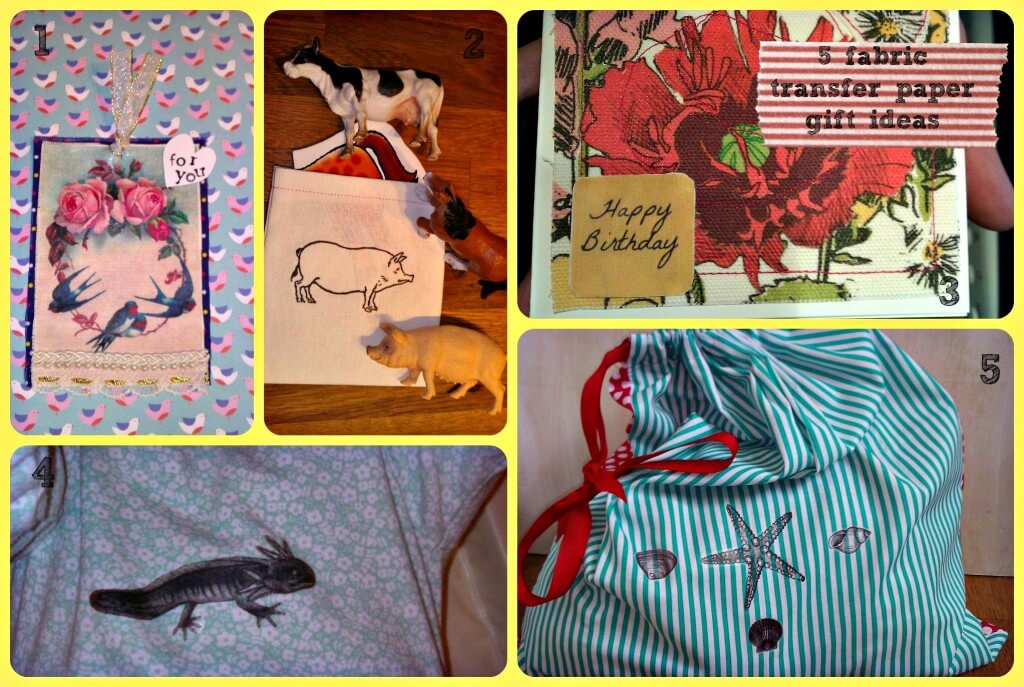
I have been beavering away with making gifts for a while now, part of my moneysaving plan for birthdays and ahead of this Christmas I have been trying to make as many cards, gifts and wrapping as possible. I sort of hit on a slow period this Summer and decided to look around. When I saw Sabrina’s lovely fabric transfer projects I had to have a go and made a list of fabric transfer paper gift ideas. As I was going for a low cost base I picked up transfer paper in Poundland. Two sheets for a quid made all of these projects plus I have made a further ten tags, five mini cards and countless fabric drawstring bags! Essentially I pasted all the images I wanted to print into a Word document and adjusted the sizes til they fitted on two pages, then I printed them and cut out the images ironing them onto my projects as and when needed.

I sourced my images from a range of places, including by searching for ‘free vintage printables’ on Pinterest.

Here’s my rundown of 5 fabric transfer paper gift ideas

Five fabric transfer paper gift ideas

1 – Vintage sweetheart print gift tag with lace and pearl embellishment

Ironed onto some plain calico and then cut out and layered onto fabric this sweet tag was then embellished with a piece of lace from my stash and some pearl braid which I use for so many projects but picked up from my local fabric store for a bargain 5p a metre in their fantastic sale. I have since made oodles of these little tags, they make simple presents look really special!

2 – Children’s party favours or travel storage bags

I made this little calico bag in about ten minutes to store Joss’ farm puzzle pieces which kept getting lost. She loves this simple pig print and I think it would look great on a tea towel too! These would make cute party bags filled with sweeties or a little colouring book and crayons

3 – Fabric cards

This does what it says on the tin, I have loads of fabric samples and often stitch them freehand onto card but don’t always have complementary Happy Birthday stickers, instead I typed and printed up some Happy Birthday motifs to add to my cards!

4 - An Axolotl’y Fabulous Tee

Joss’ favourite word is axolotl, for those not in the know an axolotl is a ‘walking fish’ and there is one at our local museum. Joss loves them, she also loves printed tees but the chances of me ever finding an axolotl tee were pretty slim, now she has one! I know this won’t be for everyone but it’s made a Mama and her Girl very happy!

5 – Fabric drawstring storage bags for shoes, undies, you name it!

These become an altogether nicer gift for the addition of a little ironed on motif, this beachcomber print is perfect for my seaside loving girl and stores her precious cuddly toys, I made myself one with a print of a pair of special shoes and another to give as a gift with the recipient’s name printed on.

I hope you like these fabric transfer paper gift ideas, if you have a go yourself do let me know what you make!
Button Craft Tutorial Mumslist

Real Life

This week has been more relaxed but relaxing myself if something I find hard so I took to crafting again as I like to have busy hands to keep a busy mind calm! We’ve also been potty training but more on that later!

index

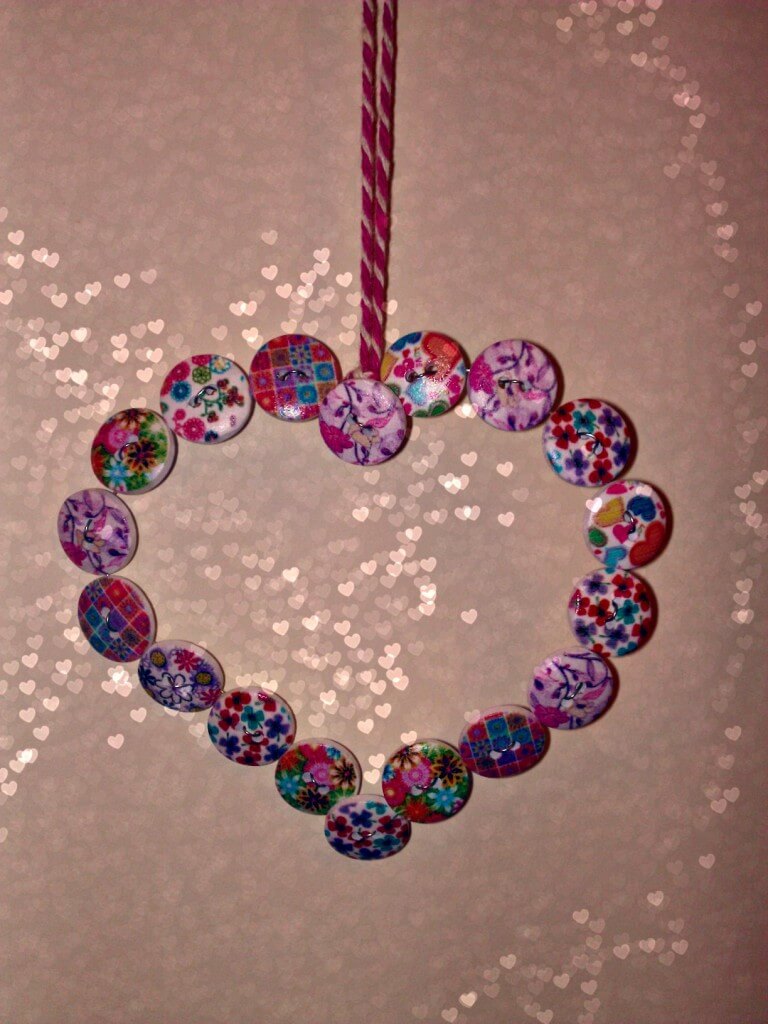
You can make this little button heart in less than half an hour with some fine craft wire and an assortment of buttons. Just thread your buttons onto the wire one after the other gently bending the wire to get the buttons to sit close to each other, then when you have a long line of say eighteen buttons bend the ends of the wire together to form a circle, then bend into a heart shape and keep moulding the wires til you’re happy with it. add a ribbon and admire your handiwork. This works really well with little crystal buttons or a mix of crystal and silver too!

heart

Blog Life

This week I have been joining in with some comment linky groups and have come across some lovely new (to me) blogs in doing so. I have also been working on my photography, still not great but I thought I’d share some of the things I’ve been trying here with my five photo tips for fellow non artistic bloggers!

Inspiration

I came across Keri-Ann’s blog through a blog comment linky Gingerlillytea is pure whimsy and gorgeousness you must stop by with a cuppa and have a good old read!

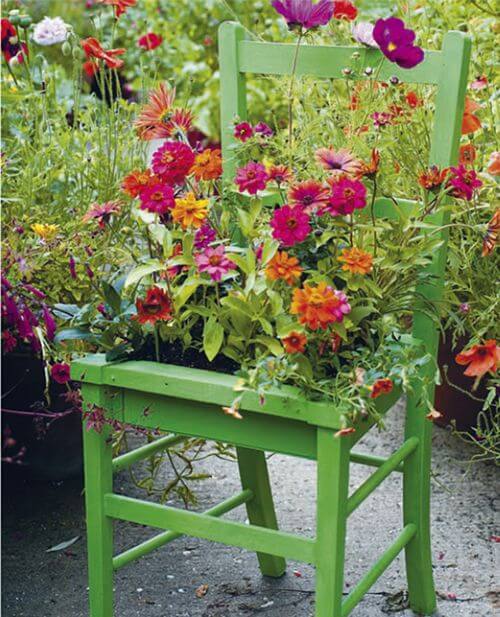
I am also hugely inspired by this pin and am looking at creating something similar in our little space!
c97e802db6ddd6a0e54116cabc3de6d1

- See more at: http://www.mumsdays.com/#sthash.afvKx888.dpuf
 

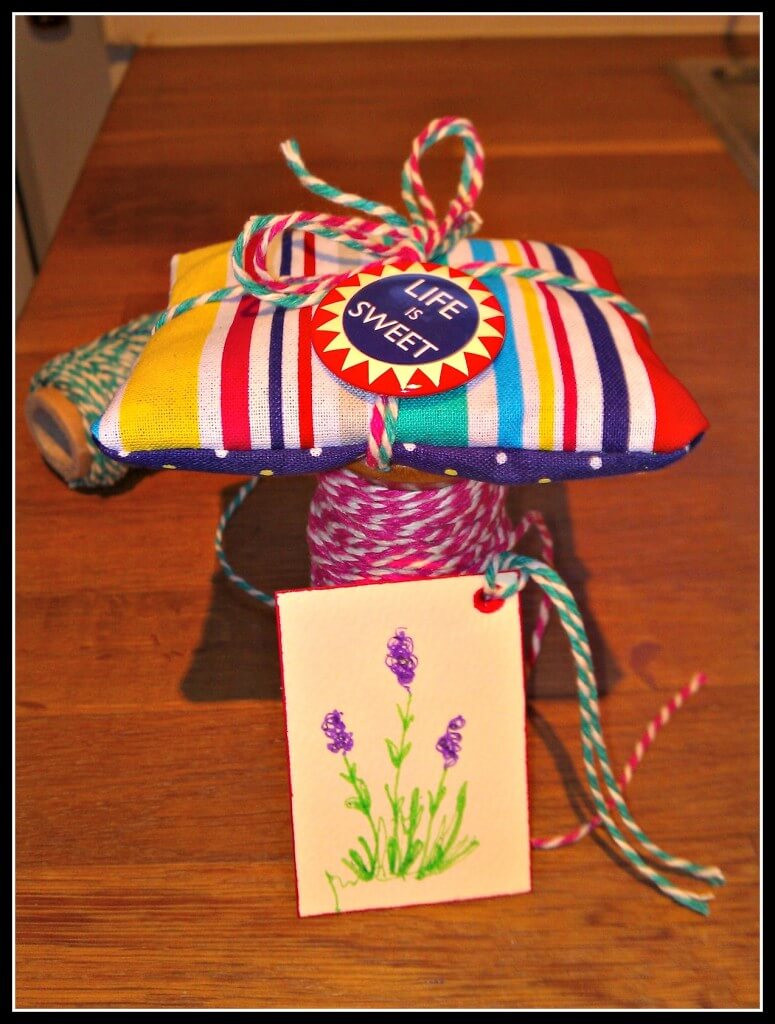
Deckchair Stripe Lavender bags

I made some of these little lavender bags as a gift for my Mam; I’d booked a massage for her birthday and wanted her to have something relaxing to unwrap as I don’t like giving a gift token as a gift with nothing else, must be related to my wrapping paper obsession!

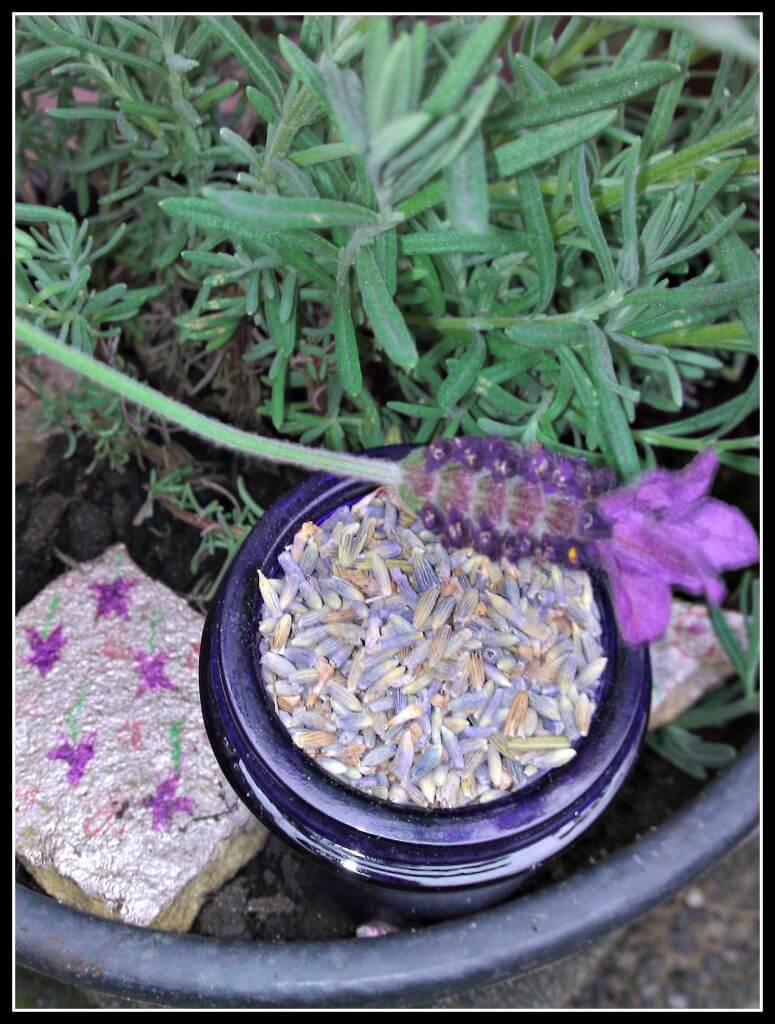
These are really easy to make up, if you have your own lavender plant as I do harvest the heads as they are drying at the end of their season, bundle and hang them together and then when they’re dry take the husks and store them in a dry place until you’re ready to use them. Stitch together two scraps of complementary fabrics insides facing, I liked a summery deckchair stripe, leaving a small gap to turn the right way round through, then fill with lavender and hand stitch the gap closed.

index1

So satisfying seeing something from your own garden brought back to life!

index

Woodland Themed Nursery Fabric Picture Tutorial

I’m finding that it’s all very well and good having this free time to relax and get involved in some crafting but there’s really not much that I ‘need’ to make at the moment, we’re stocked up with birthday cards and the likes so I decided to turn my hand to making some birthday gifts.

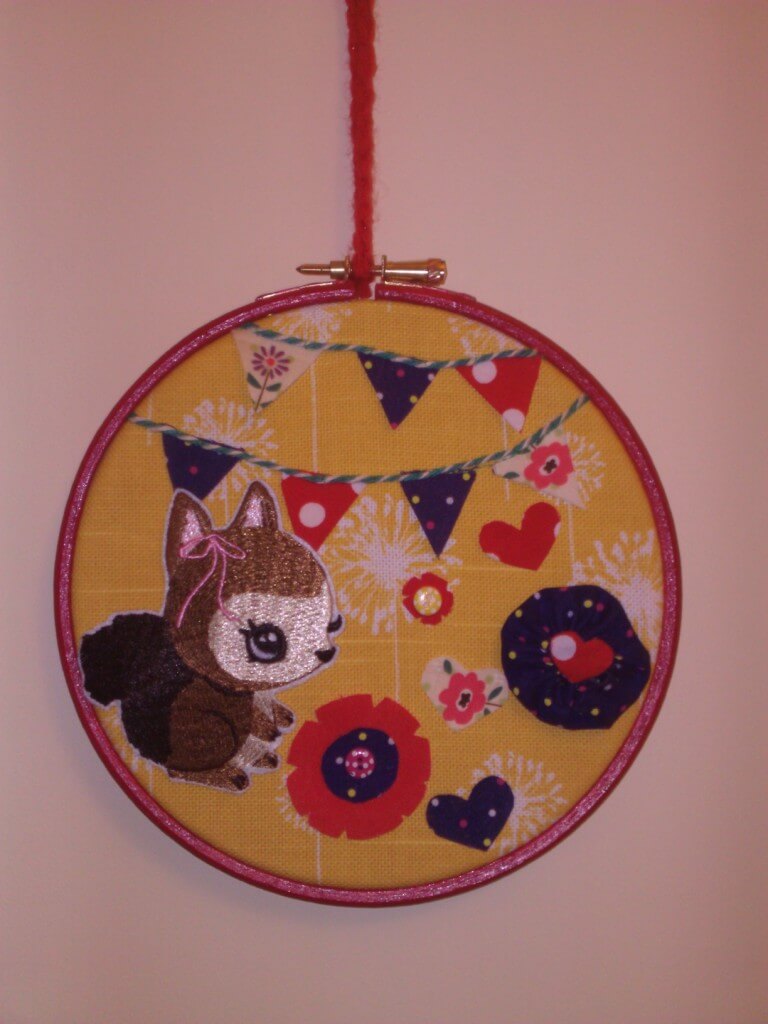
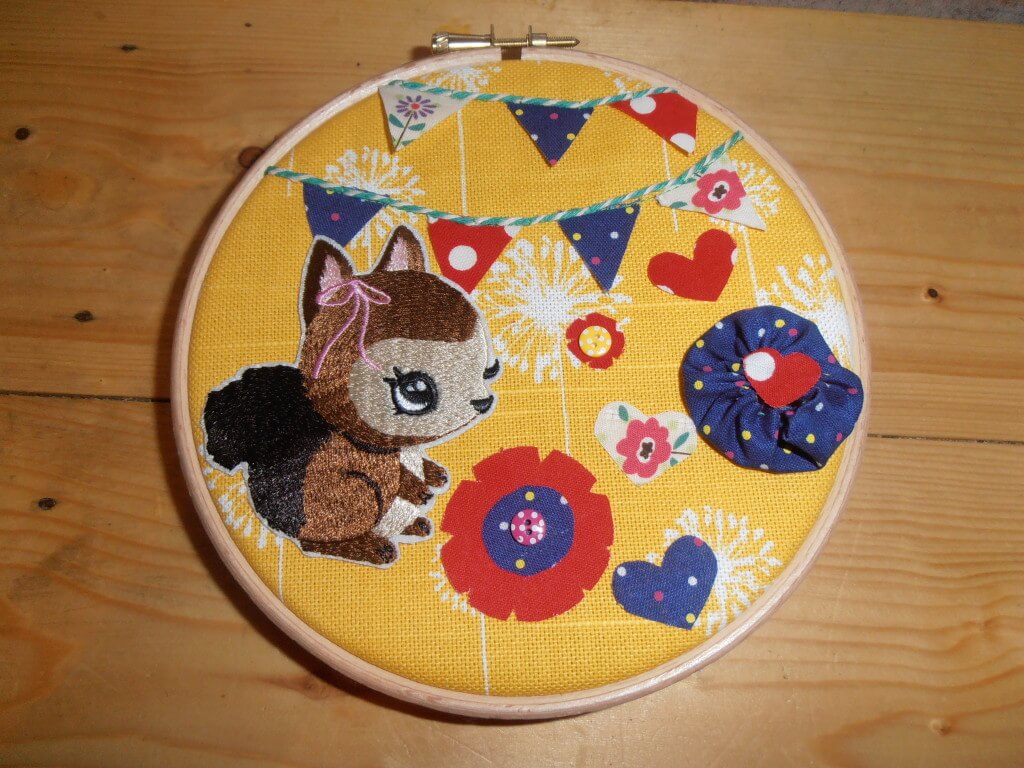
This little framed mixed-medium picture was thrifty and fun to make.

WP_004161

Perfect for a toddler or young child’s room I hope that its recipient will like it!

If you’d like to make one yourself I suggest checking out charity shops for a similar embroidery hoop, I think they make really sweet frames for these fabric pictures, painted or plain they look good with a ribbon to hang them!

Materials

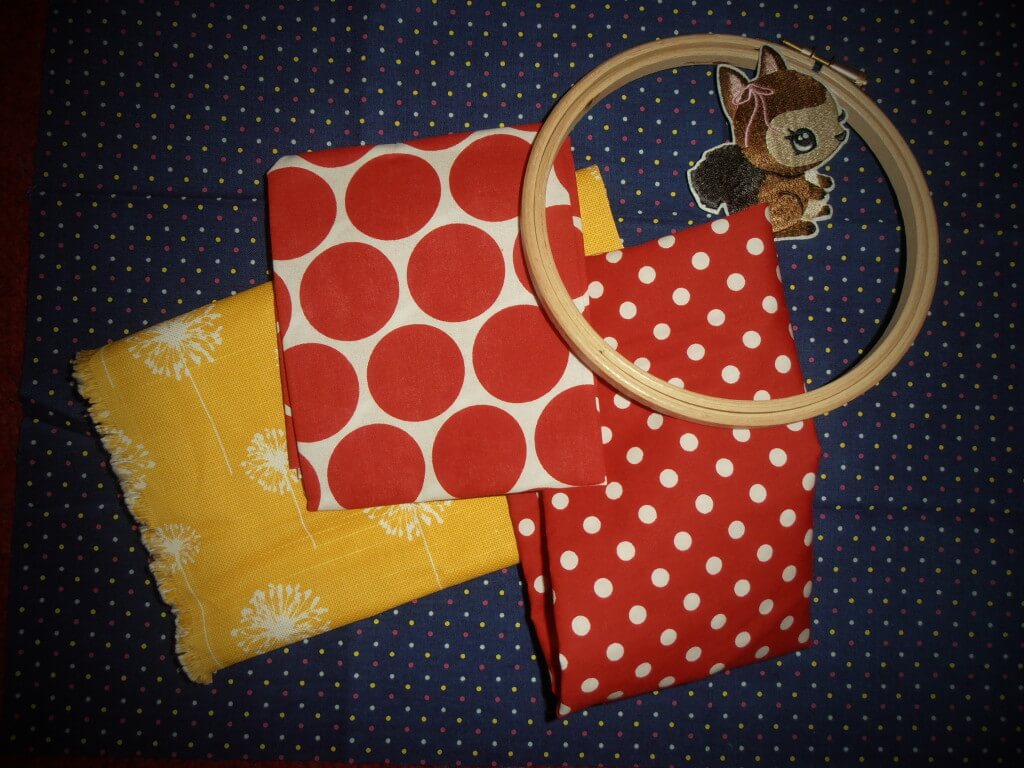
I started with an embroidery hoop (50p in a charity shop), some twine and little buttons and a selection of fabrics from my own stash, my sewing machine, but you can do much of it by hand, and some red project paint left over from this project. I had the little squirrel iron on patch from a set from H&M that I bought to decorate some plain t-shirts for Joss, so this one cost about 40p.

OLYMPUS DIGITAL CAMERA

Base fabric

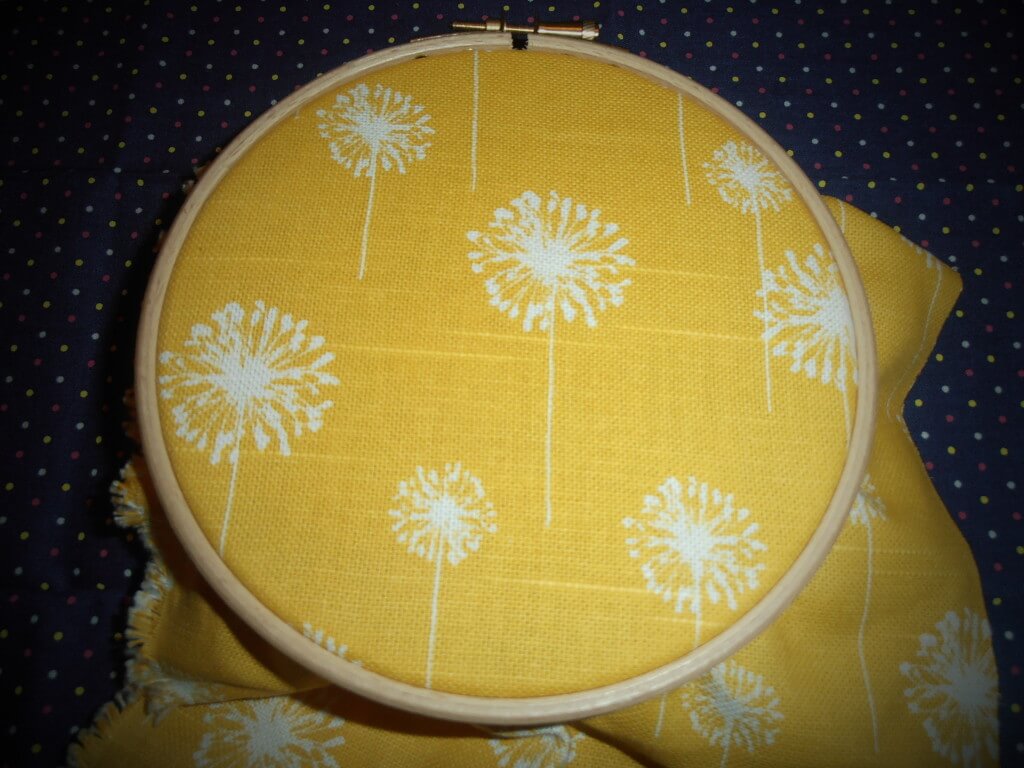
I selected this bright yellow flower print base fabric as it is pretty robust.

OLYMPUS DIGITAL CAMERA

I drew around the outside of my hoop to give a guide for cutting the excess fabric, then drew around the centre piece to mark out the workspace I will be adding embellishment to.

Theme

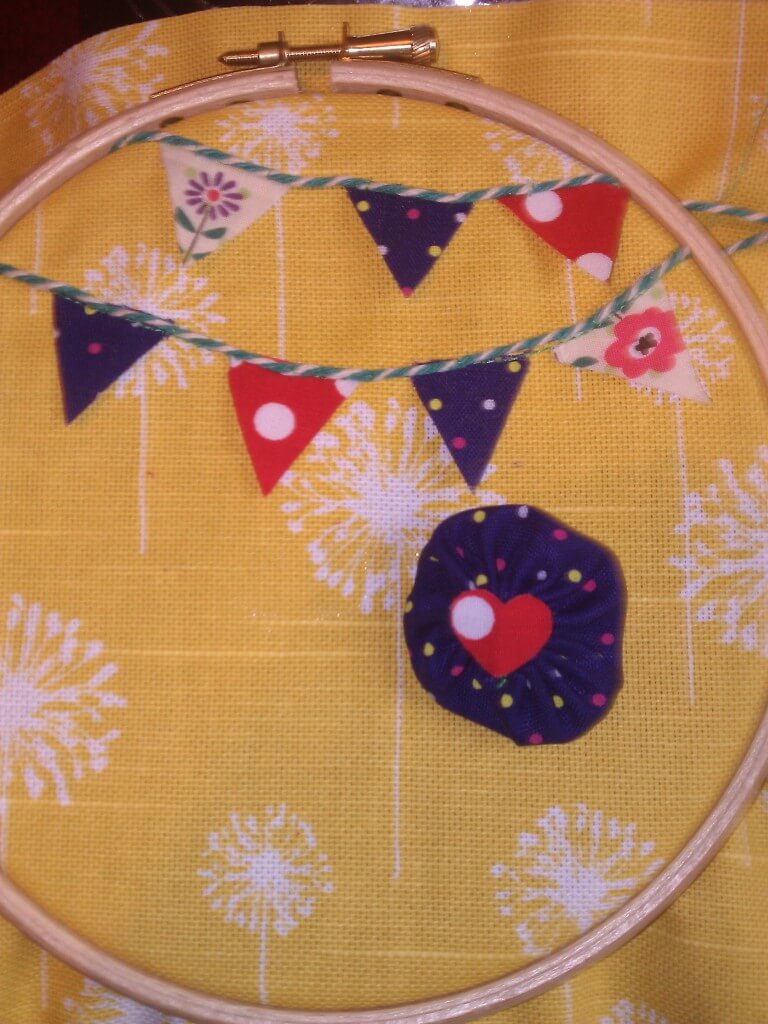
Then I laid out my various bits and bobs to go apply to it as I went along. I decided on bunting and flowers with the woodland squirrel as these are pretty safe toddler themes, and as I prefer brights for a little one’s room I went with blues and reds to complement the yellow.

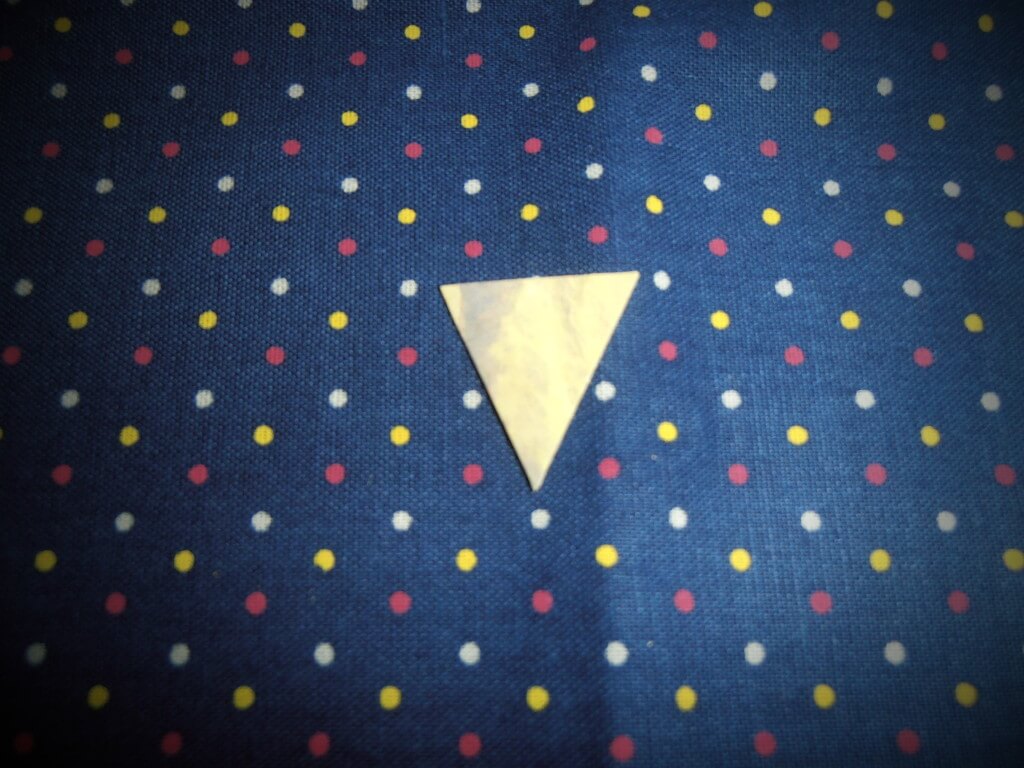
I cut a cardboard triangle to use as a template for my bunting flags, drew around it and cut out seven flags.

OLYMPUS DIGITAL CAMERA

Getting started

I stitched the bunting flags in place

sewing

Then I cut two lengths of twine which I overlaid with a few stitches at inch intervals to hold in place
twsine

Embellishments

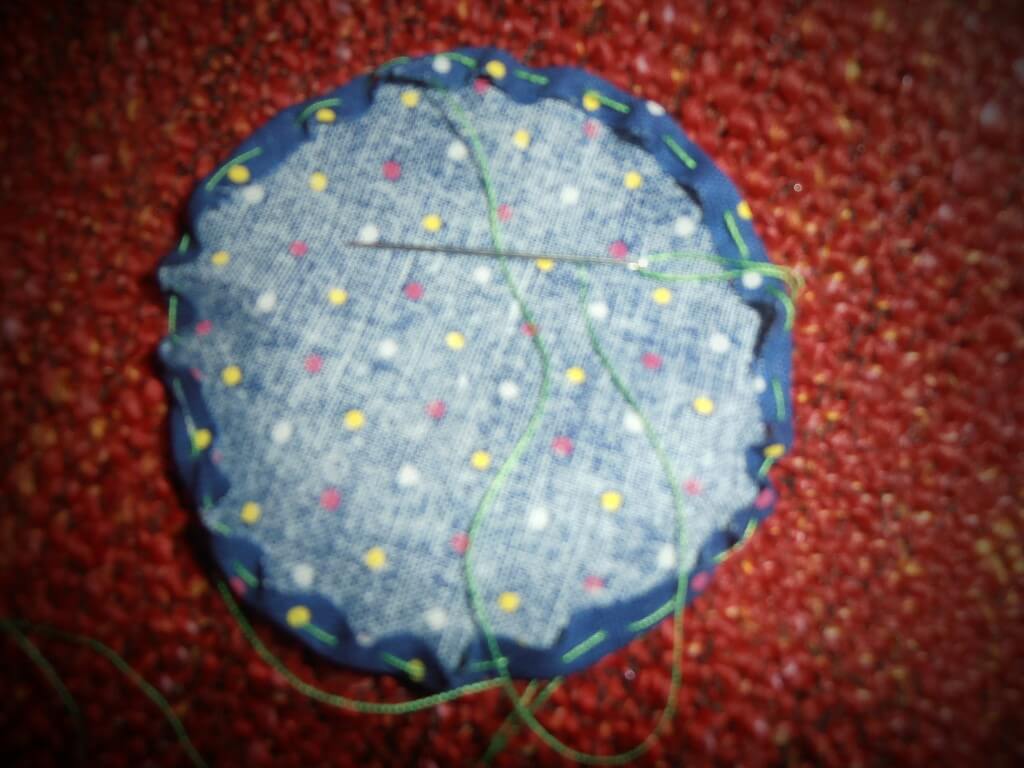
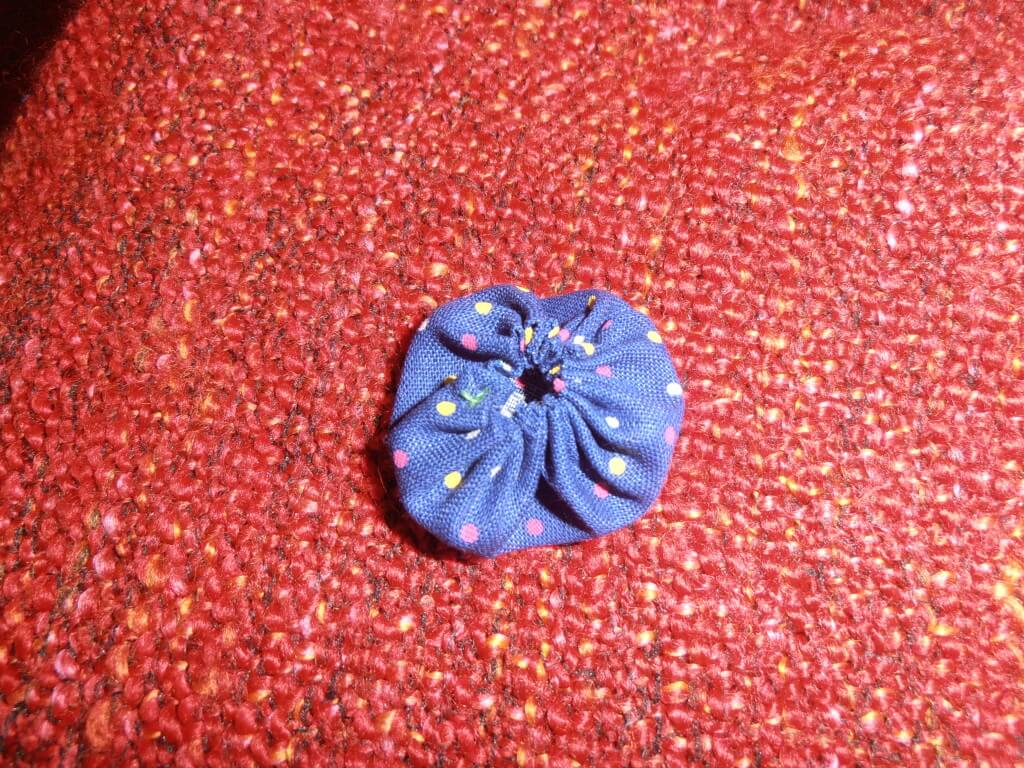
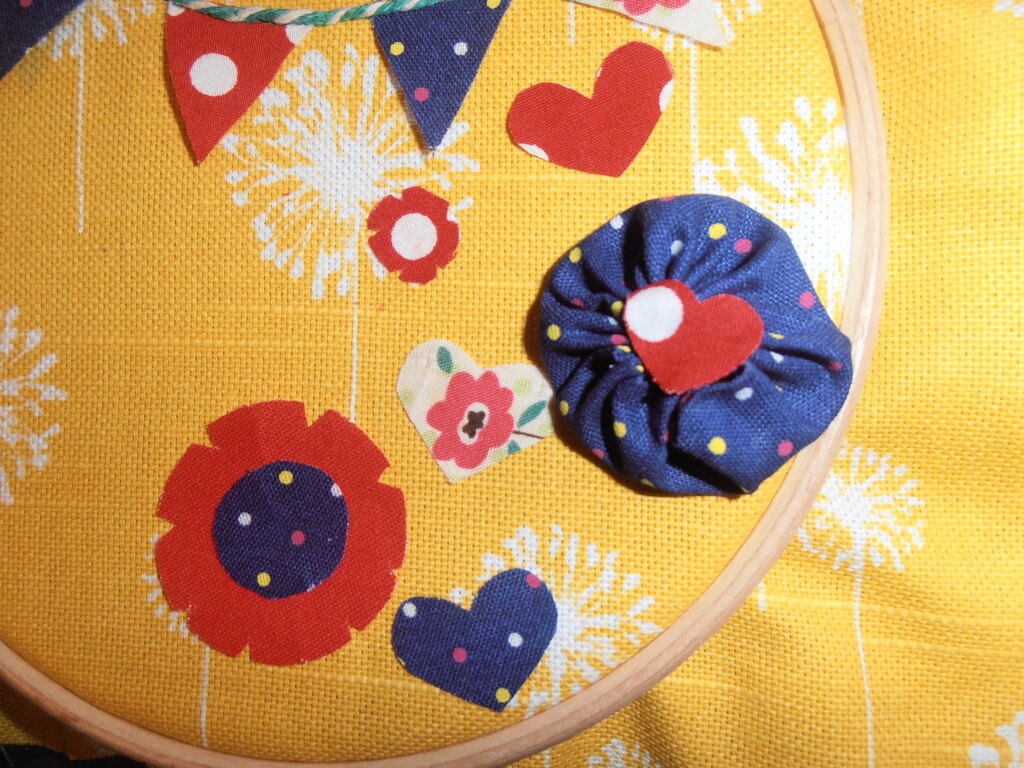
I made a fabric yo yo as a flower embellishment, I love yoyos, they’re very simple. There’s a great tutorial here, but basically you cut a circle of fabric and leaving a long tail of thread as you start fold and tack a quarter of an inch under on the wrong side of the fabric as you go with a needle and thread, once you reach where you started hold both ends of the thread and pull tightly to gather the fabric, then knot the ends of the thread and neaten with scissors leaving as it is or in my case adding a small red fabric heart to cover the hole where the yo yo fabric gathers in the middle.

OLYMPUS DIGITAL CAMERA

OLYMPUS DIGITAL CAMERA

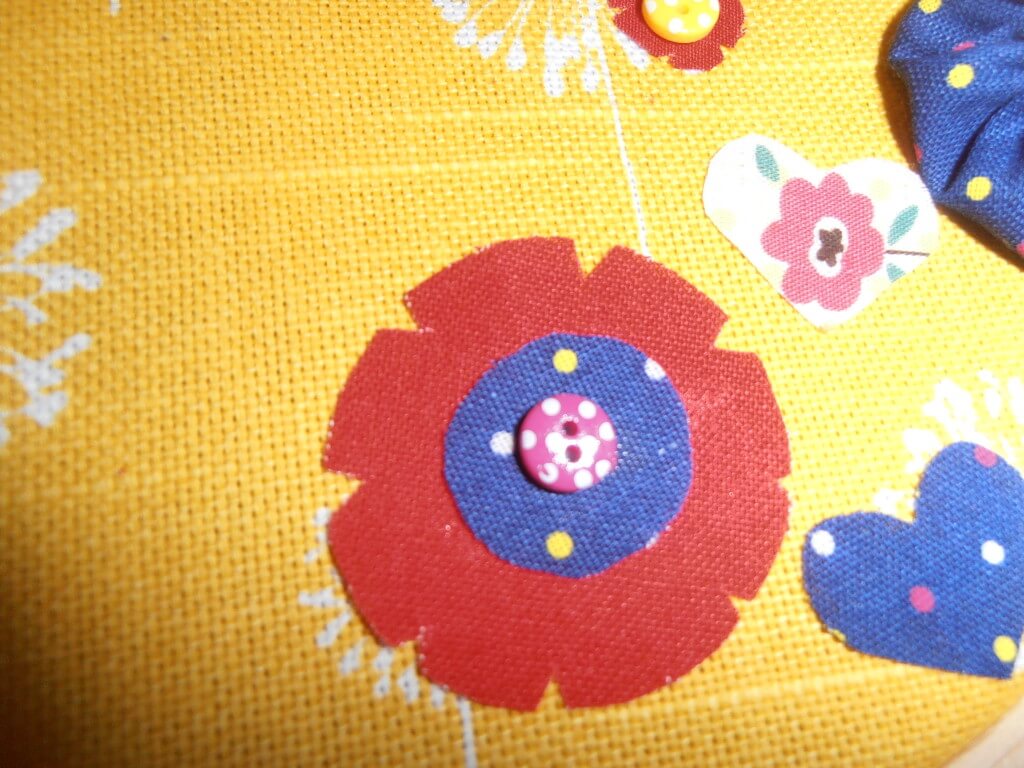
I cut fabric hearts and fabric flower shapes by cutting more circles and then cutting out notches to form petals, layering where I fancied and adding button centres to add interest, I decided to glue some in place and stitch others to add to the homespun effect.

OLYMPUS DIGITAL CAMERA

OLYMPUS DIGITAL CAMERA

Finishing touches

Finally I ironed my little squirrel motif in place.

OLYMPUS DIGITAL CAMERA

Once I’d trimmed the yellow fabric back and tightened the frame using the screw fix I decided it needed a little lift

OLYMPUS DIGITAL CAMERA

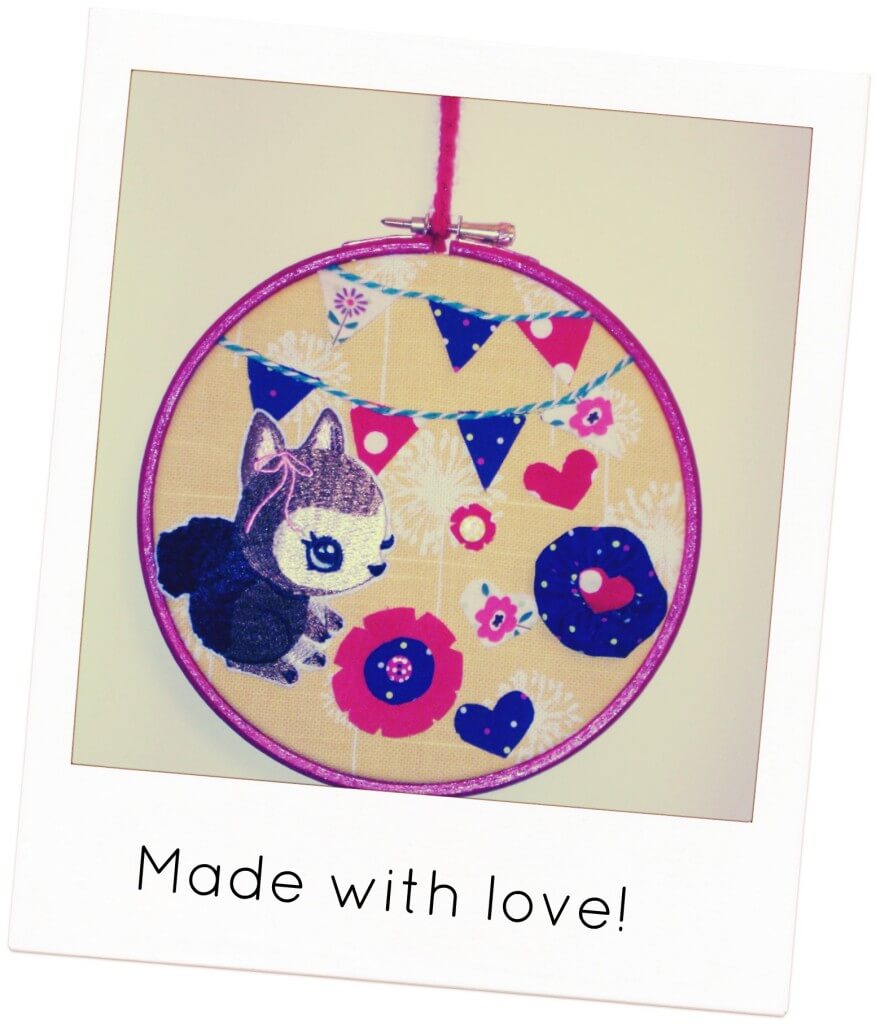
I painted the frame red and as I didn’t have ribbon I crocheted a strand of single crochet to add a loop to hang up the frame (I am a great believer in using what you have to hand)!

Tada!

index

Thrifty-Thursday-Badge

Taxedo / Tagxedo tutorial – recording memories, first words and phrases

My last Taxedo / Tagxedo tutorial had a lot of interest, I wanted to share my latest, which captures some of the interesting phrases Joss has been coming out with!

Here it is!

heart

You can either point Tagxedo to a website, your blog perhaps, and have a tag cloud created out of common words on the site, or write a string of words as I did.

You may need to install Tagxedo first:

1

Click on Load on the left and type your text in the box:

2

If you want to record a phrase use a tilde between words to keep them together i.e. sit~down
Click submit and have fun playing with the colours and shapes on the left, there is a lot of choice!

3

Click save and share to save your design and upload to your blog as you would any photograph or print to make a sweet greetings card (and remember that you cannot use Tagxedo for commercial purposes)

Thrifty Tutorial : Five uses for recycling and reusing wrapping paper

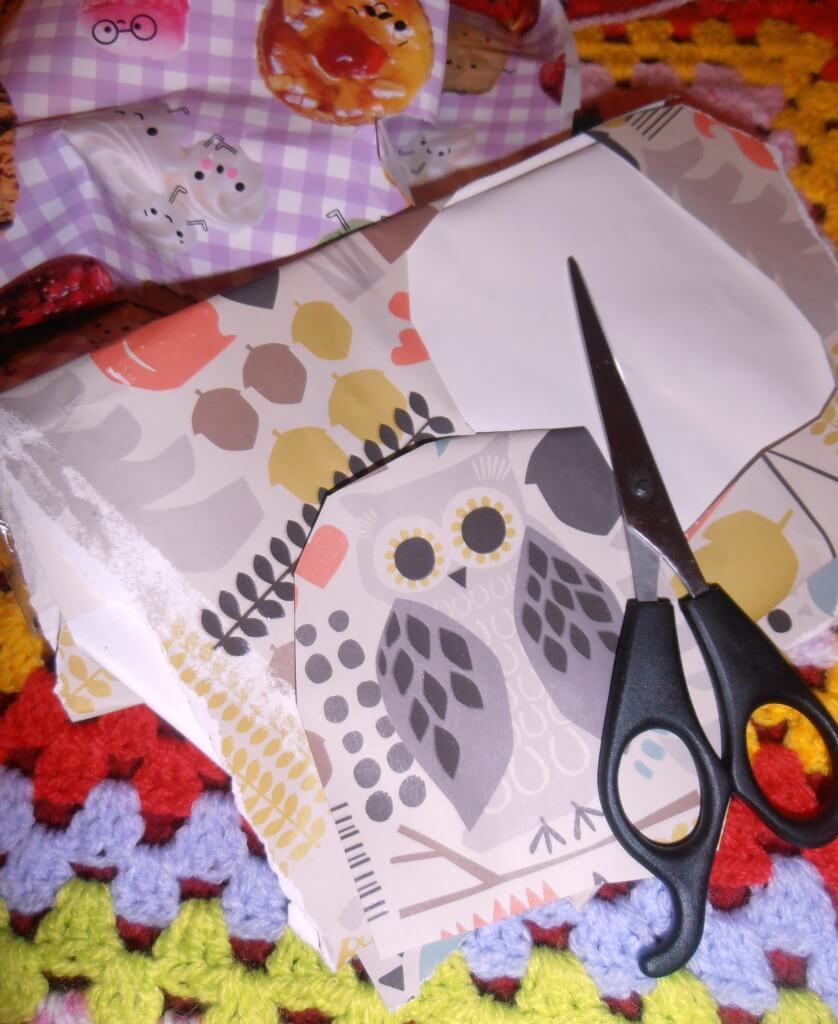
I’m a sucker for pretty paper, if someone’s unwrapping a gift that’s wrapped in lovely crisp paper I cringe when I see them ball it up for the bin! This is one of those occasions when thrift turns me into a total square, but waste not want not is just who I am!

What’s the story with this photo?!

Here are my five uses for wrapping paper!

OLYMPUS DIGITAL CAMERA

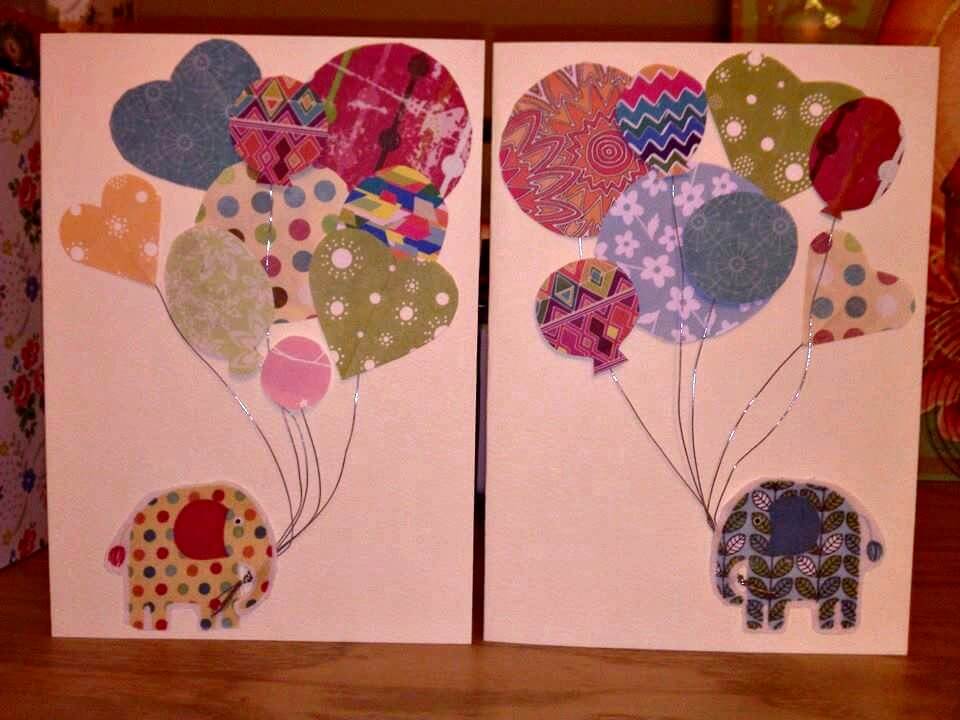
1) Use for cardmaking supplies

These were made with wrapping paper scraps

index

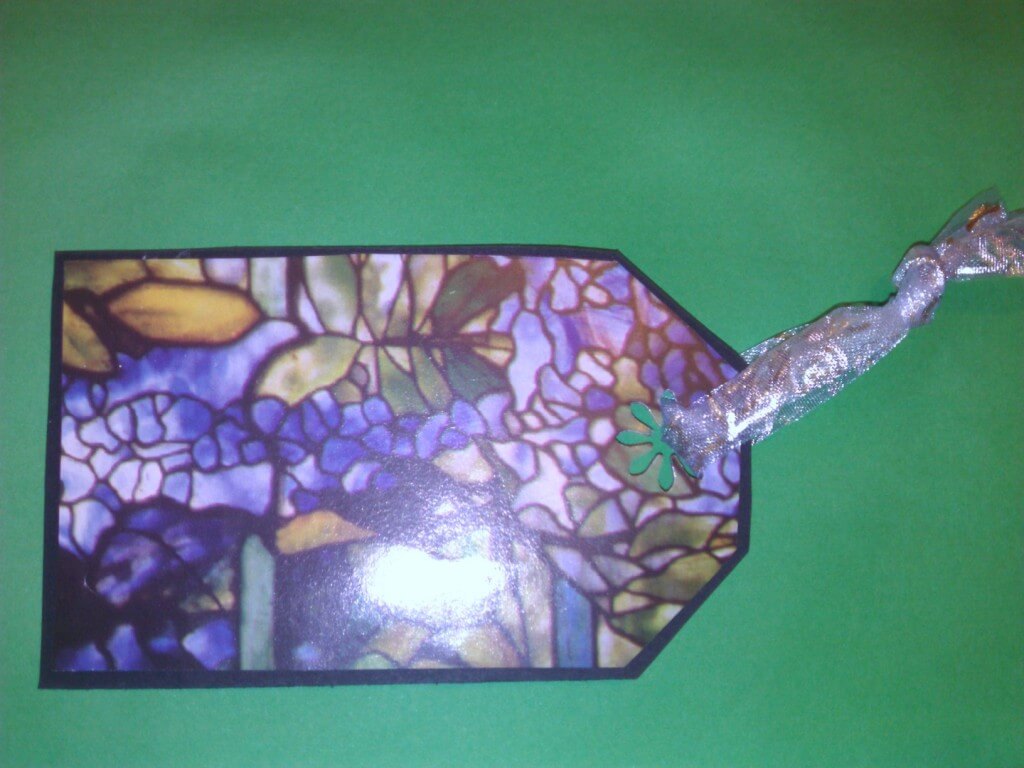
2) Whip up some gift tags

WP_003975

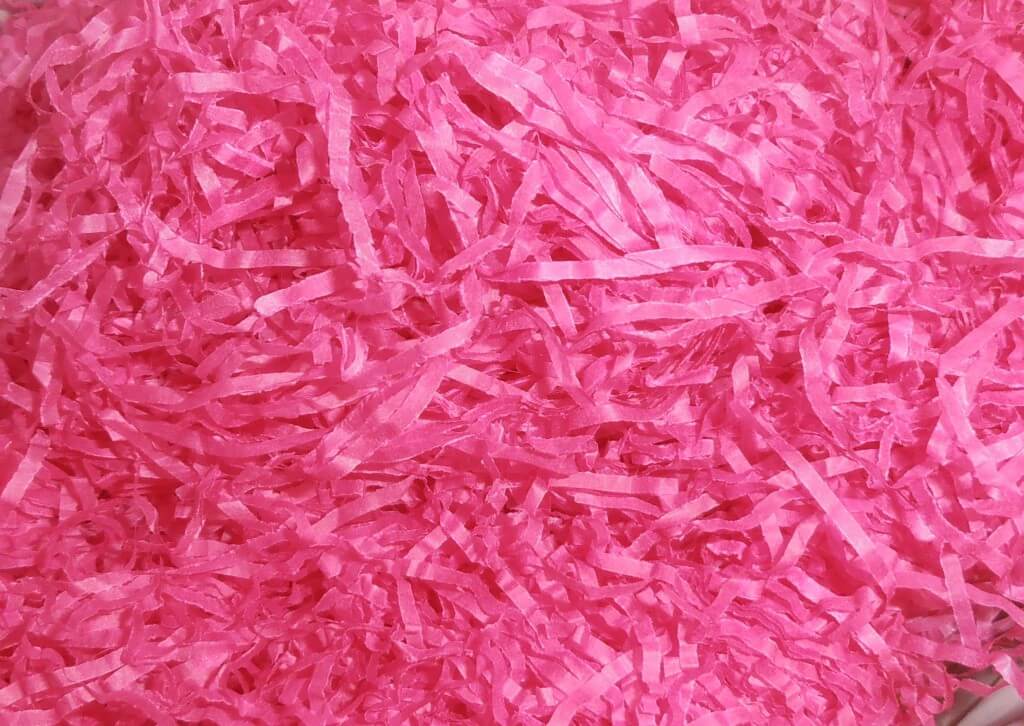
3) Make giftbag filler

This is great for slightly crinkled paper that wont do for cards etc, just run through a straight cut shredder!

OLYMPUS DIGITAL CAMERA

4) Make gift card envelopes

Photo_F7947FFB-8555-A7D1-5419-775D39EB45D6

5) Keep bits for your toddler craft box

I always think, ooh Joss would like that for cut and stick!

Photo_F41C6228-BDAE-BD1A-37A1-A3B80B4D4FC4


This post is linked into Thrifty Thursdays

First Words Taxedo / Tagxedo Tutorial

I had some positive comments on my post about Joss’ first words and some readers were interested in how I created this little picture showing her new words. I used a website called Taxedo / Tagxedo and thought I’d do a little tutorial so that you can do the same! It’s at www.tagxedo.com

tags

You can either point Tagxedo to a website, your blog perhaps, and have a tag cloud created out of common words on the site, or write a string of words as I did.

You may need to install Tagxedo first:

1 First Words Taxedo Tutorial

Click on Load on the left and type your text in the box:

2 3

Click save and share to save your design and upload to your blog as you would any photograph, and remember that you cannot use Tagxedo for commercial purposes! Oh and it’s quite addictive!

Frustrated by crochet…

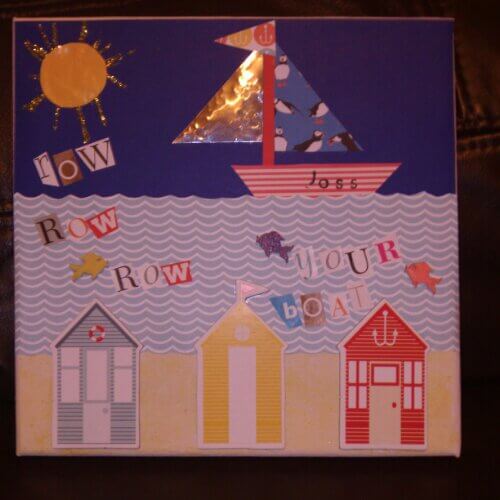
I am not good at crochet, I am a perfectionist but cannot achieve perfection with this and so I’ve put away my hook and yarn for the night and indulged in a spot of collage. One £1 canvas and a blog search later I remembered seeing a post on Make, Do and Push and in keeping with a similar theme I used more papers from this month’s Papercrafter to create a collage. Hannah’s lovely tutorial can be found here http://www.makedoandpush.co.uk/2013/06/make-step-by-step-over-rainbow-collage.html

I have three canvases left so I feel a group coming on to fill some bare space in Jossy’s room.

image

In other news, I saw the ONS data on baby names 2012, just two other girl Joss’ in 2012 and 11 boys!! If you’d like to look up the data on your own little one its usually table 6 that all the names are ranked, here http://www.ons.gov.uk/ons/publications/re-reference-tables.html?edition=tcm%3A77-318071

Crochet bow brooches

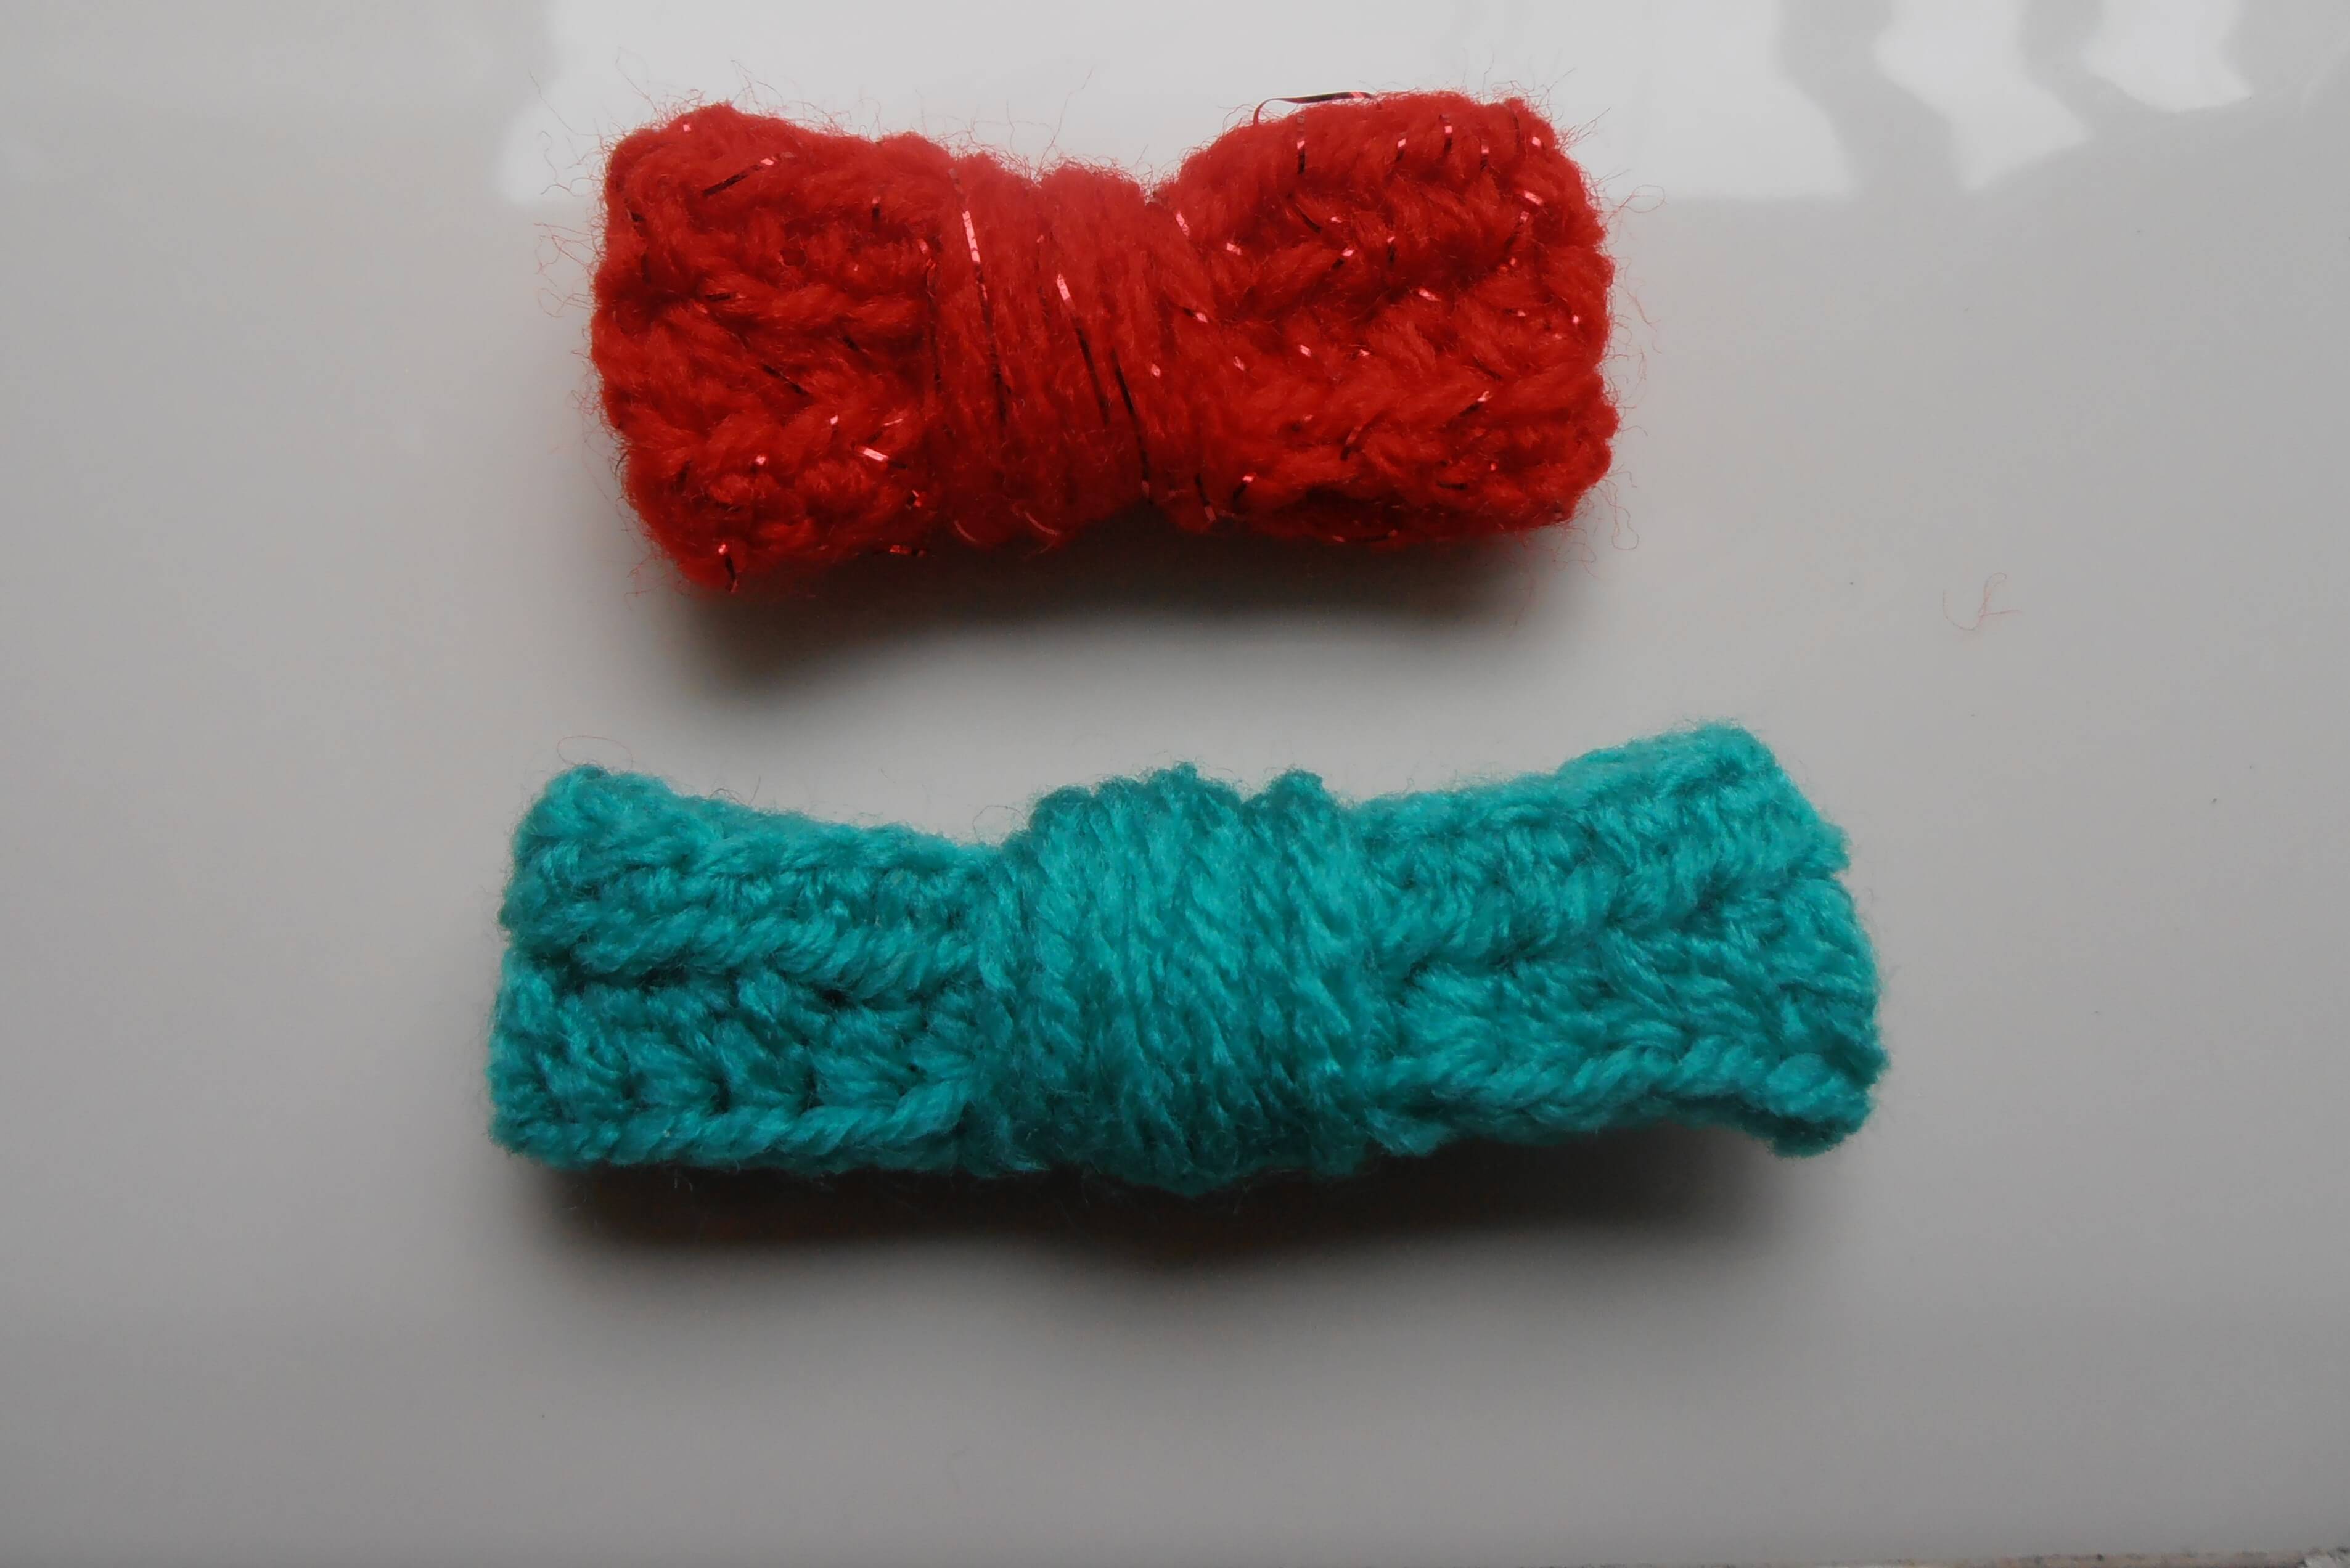
I’m really enjoying learning to crochet, but need to practice my basic stitches so I was pleased to find a simple project as I don’t much enjoy practice for the sake of it! The brilliant crochet bow tutorial from Craftiness is not Optional was a simple one hour in front of the TV task (The Returned if you’re interested in what I was watching) – you can find the tutorial here http://www.craftinessisnotoptional.com/2013/01/easy-crochet-bow-tutorialpattern.html I love step by step pictures so this is great, my Mam tried to help but she doesn’t have the patience to watch me get it wrong, we start off with her helping me hold the work and after about four minutes she’s away hook and yarn flying way to fast for me to keep up!

The end results were cute, not perfect, I want the next one to be a bit nippier in the middle to have a classic bow shape, but these will make a sweet brooch for a plain cardigan, no?

OLYMPUS DIGITAL CAMERA