Present and Party Life Hacks and Moneysaving Tips

I’ve been invited by Voucher Codes to take part in their Life Hacks challenge and I’m really excited to share my tips with you!

Why present and party life hacks?

I decided that I’d theme my ideas around presents and parties because I think birthdays are such a special occasion that it’s important we treat our loved ones to the personal touch; it’s one area where we save whilst having fun crafting too.

1) Handmade cards and gifts demonstrate that we want to put the time and energy into showing that we care, and these small touches can often mean more to their recipients than big flouncy gestures! This is where life hacks and budget busting tips really come into their own as they’re the gifts that keep on giving, both to the person receiving them and also to your purse!

present and party life hacks

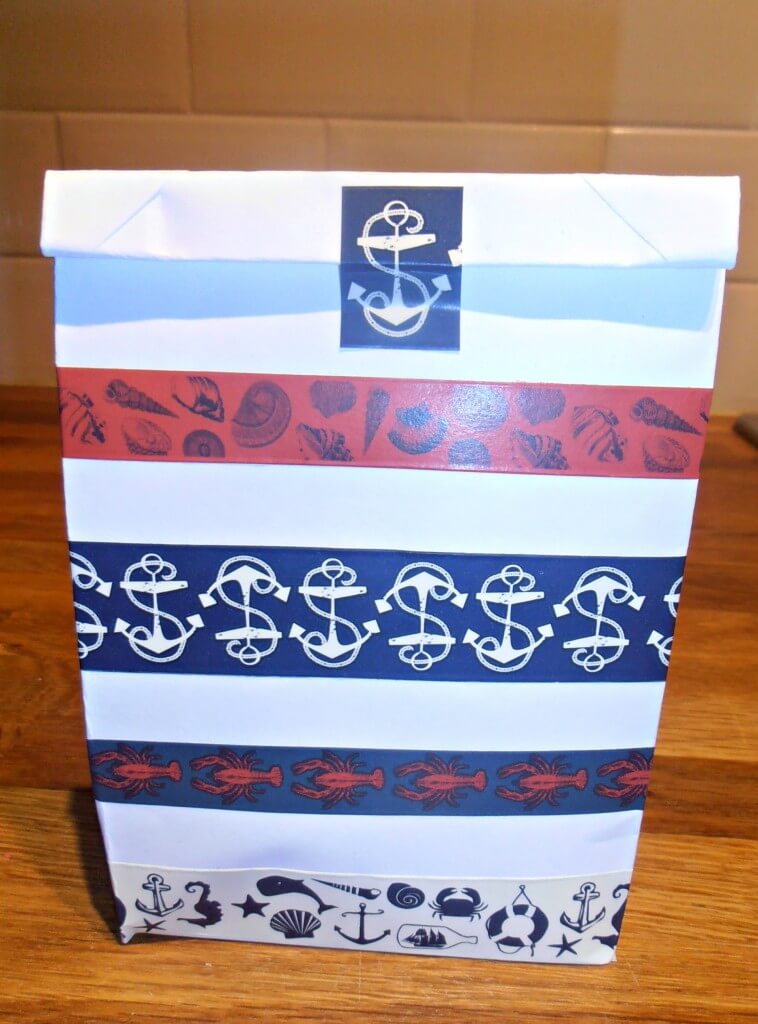
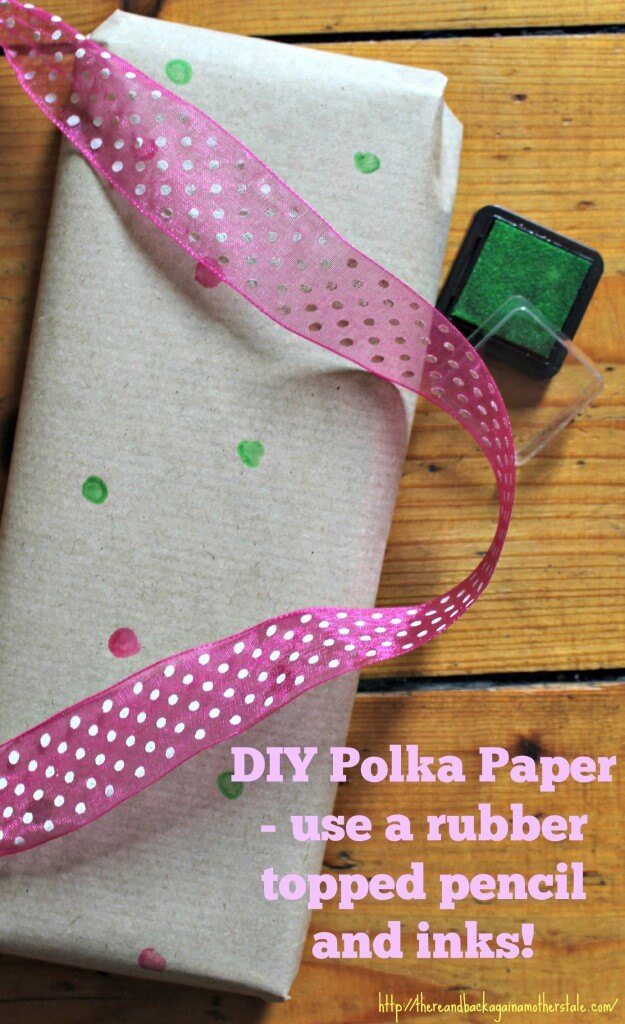
2) This past year all of the gifts I’ve given have been prettily wrapped on a budget. I buy huge, huge rolls of brown paper from our post office for £1.20 for a whopping 30 metres and either cut off sheets which I get Joss to decorate or I use my stamp sets to decorate them myself. A favourite life hack is to get a pencil that comes with an eraser on the end and dip the eraser in paint to stamp cute polka dot paper! This means we can tailor the decoration to each person and don’t have loads of rolls of half used paper around the house.

Present and Party Life Hacks

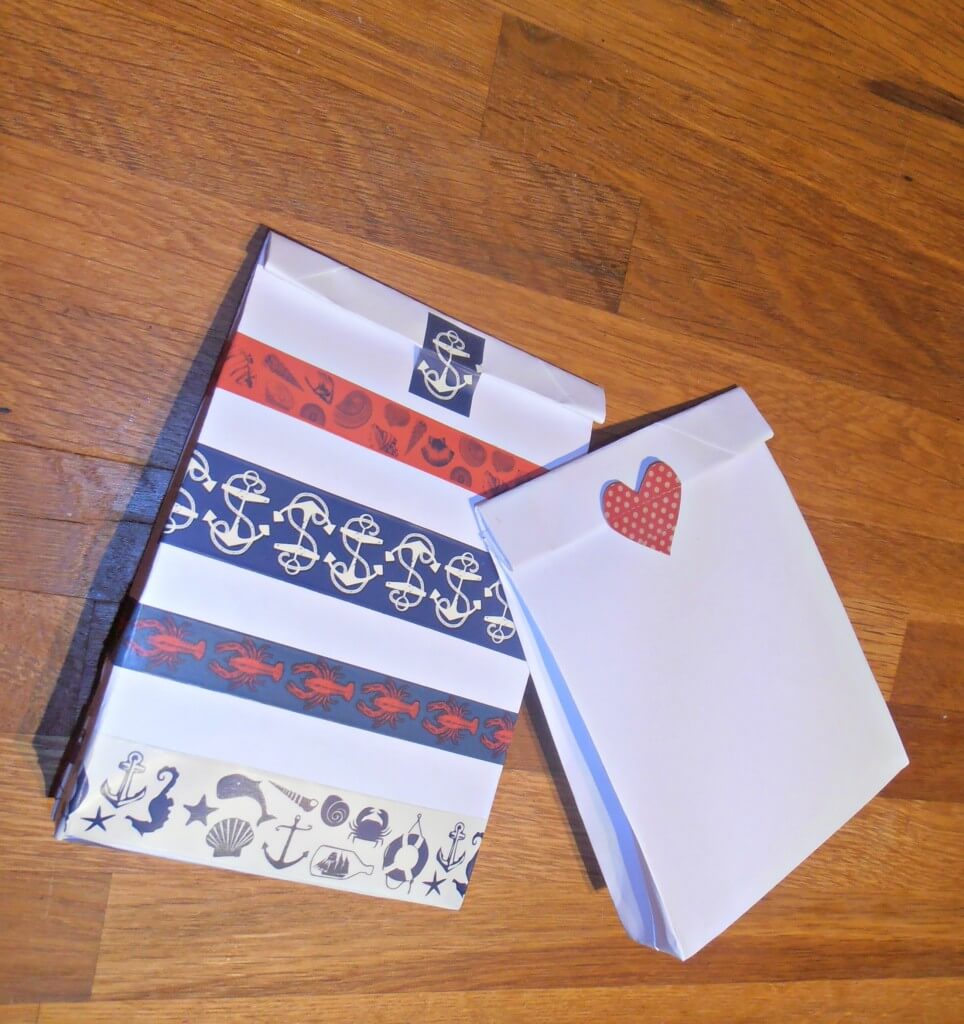
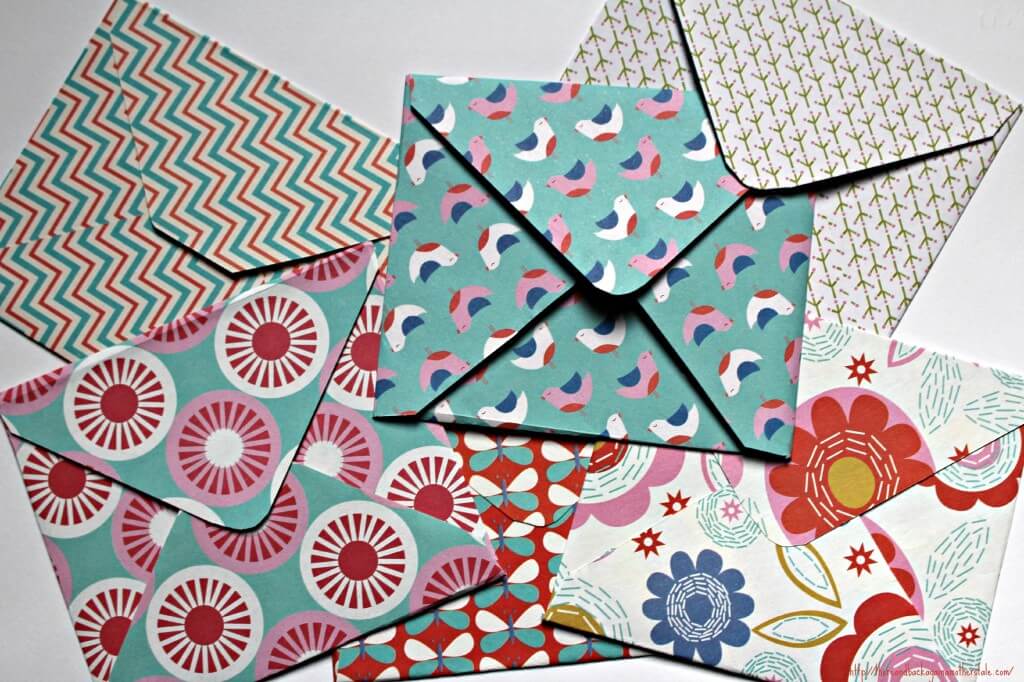
3) This brings me to my next hack, recycling wrapping paper. I’ve blogged about this before but my favourite tip is to use wrapping paper to make pretty envelopes. Look for a simple template online, print and hey presto, you’ve a sweet little envelope to pop that giftcard into, or to house a homemade greetings card!

Present and Party Life Hacks

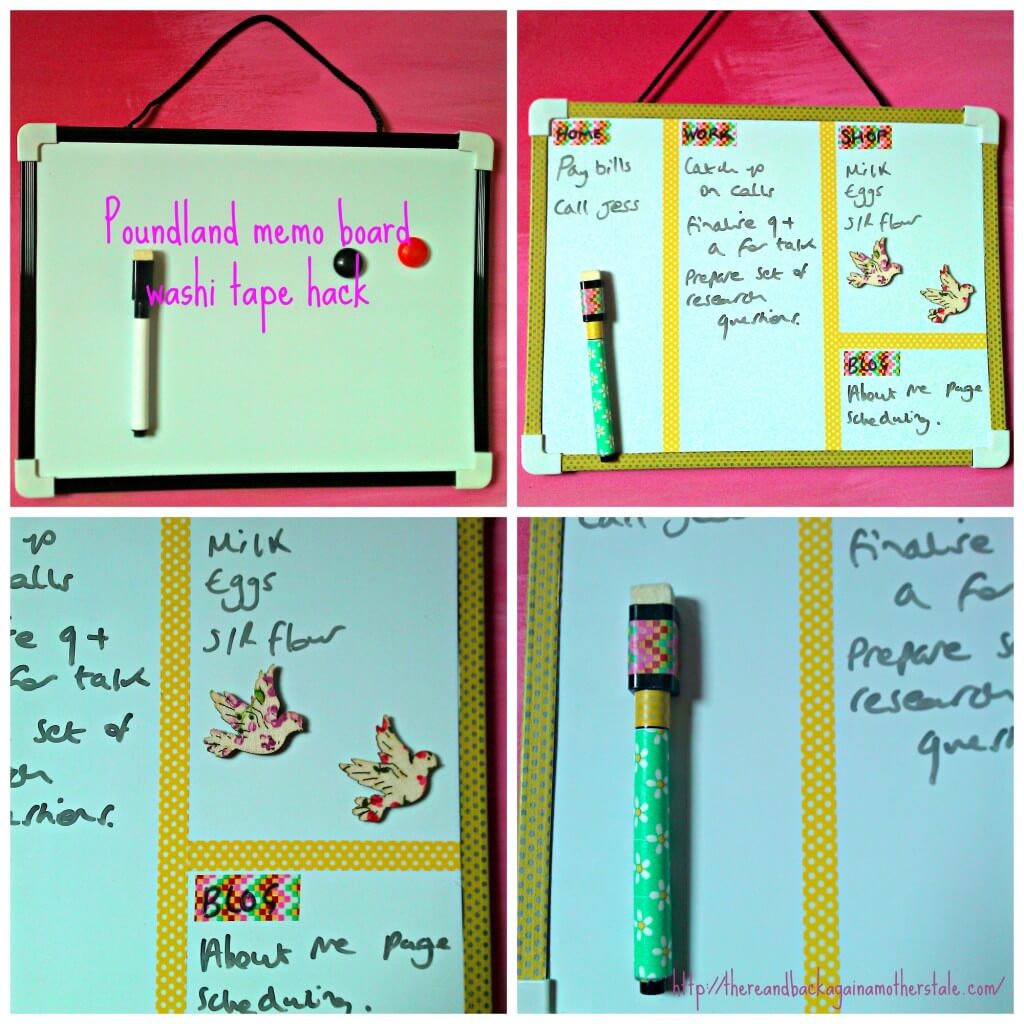
4) One of my favourite home organising tips is to keep a wipe clean board in the kitchen to jot down bits and bobs you need from the shops as you finish them, this one was just a quid but it’s so handy. Try to get everyone into the habit of writing on there when they notice the washing up liquid is running out or they’ve just used the last scourer and as you’re washing up or cooking you also have a space to make a note of any random ideas that pop into your head, I often jot down ideas for birthday gifts for people whose celebrations are coming up!

Present and Party Life Hacks

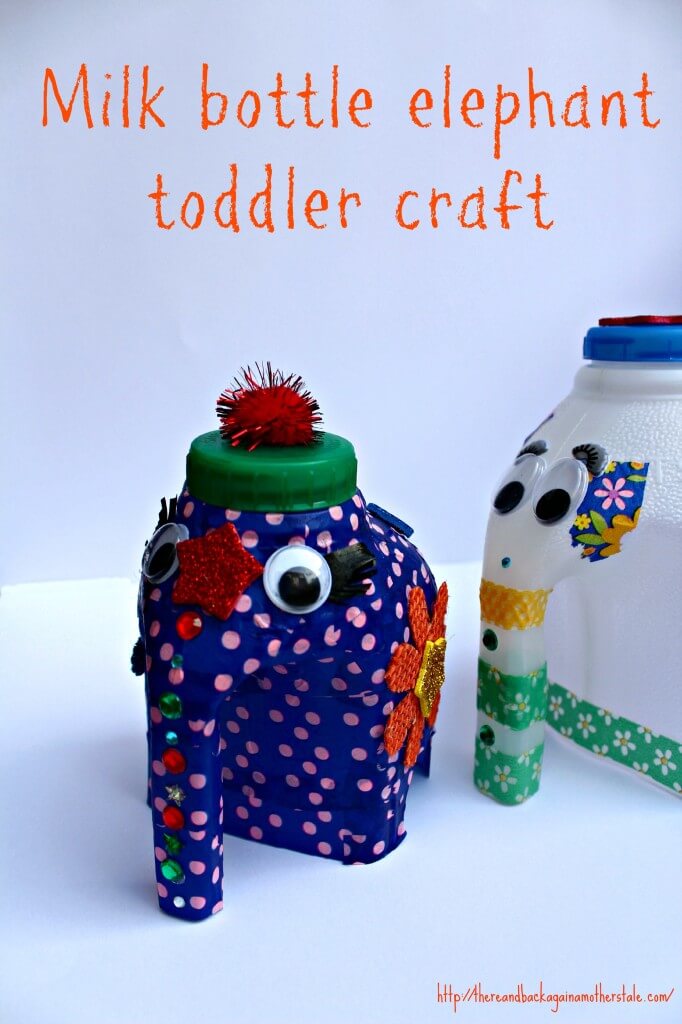
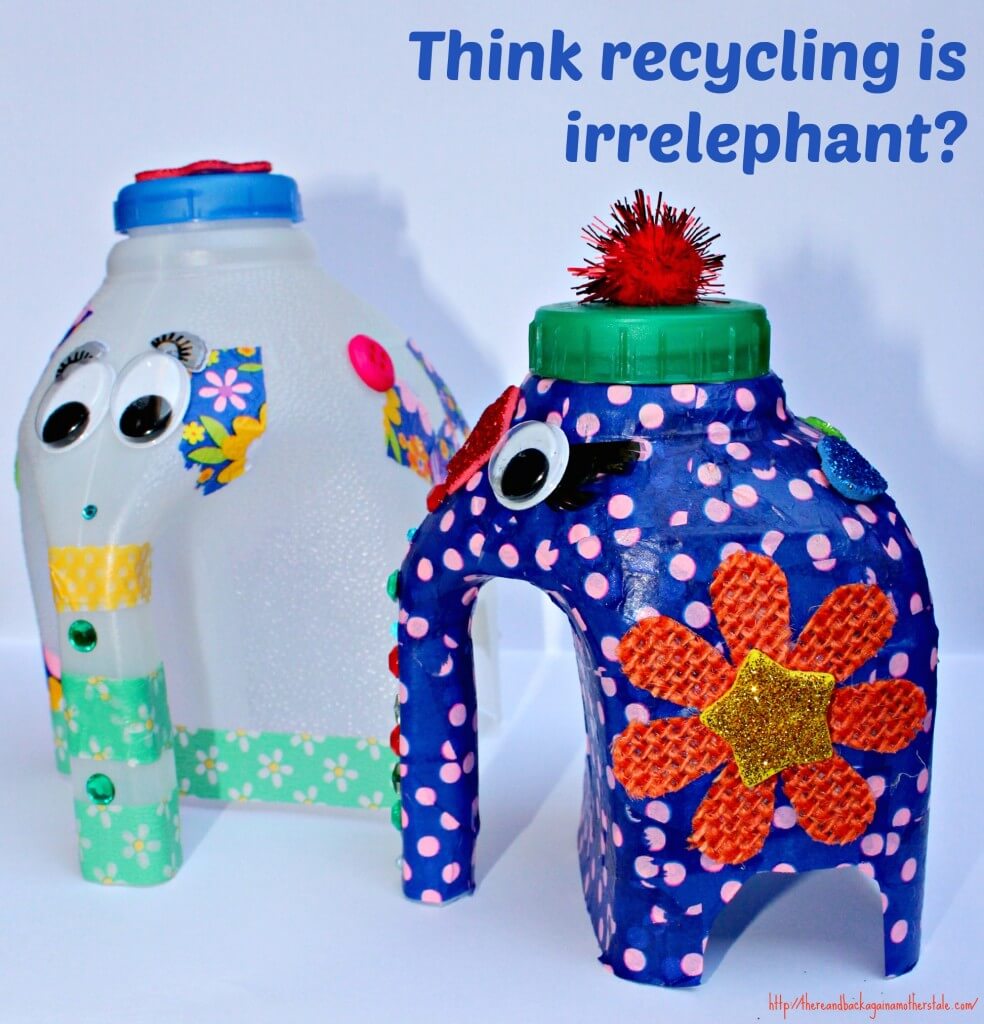
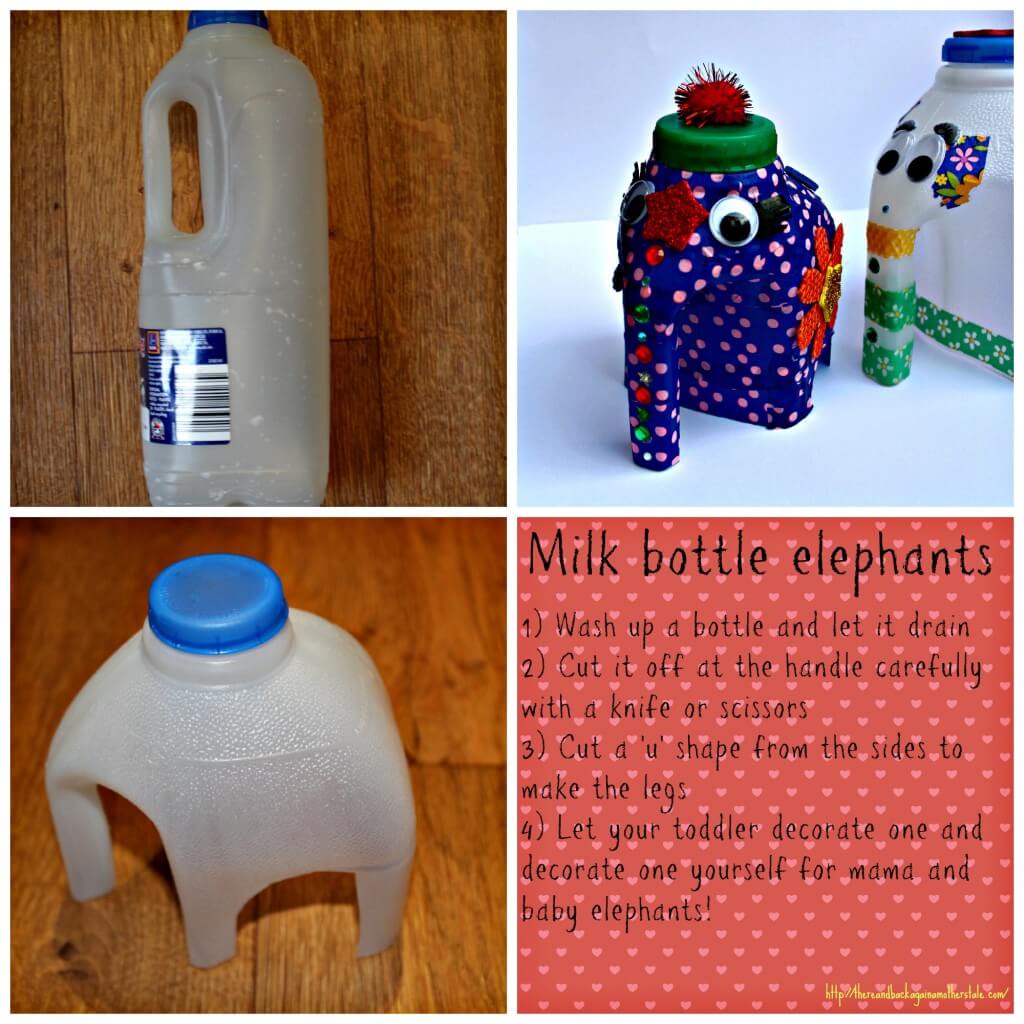
5) When I made these recycled milk bottle elephants it struck me that this could make a great kids party theme; you could have enough bottles washed and pre-cut for little ones to decorate, just pop some glue and crafty bits and bobs out for them, and everyone gets their own recycled Nelly to take home!

Present and Party Life Hacks

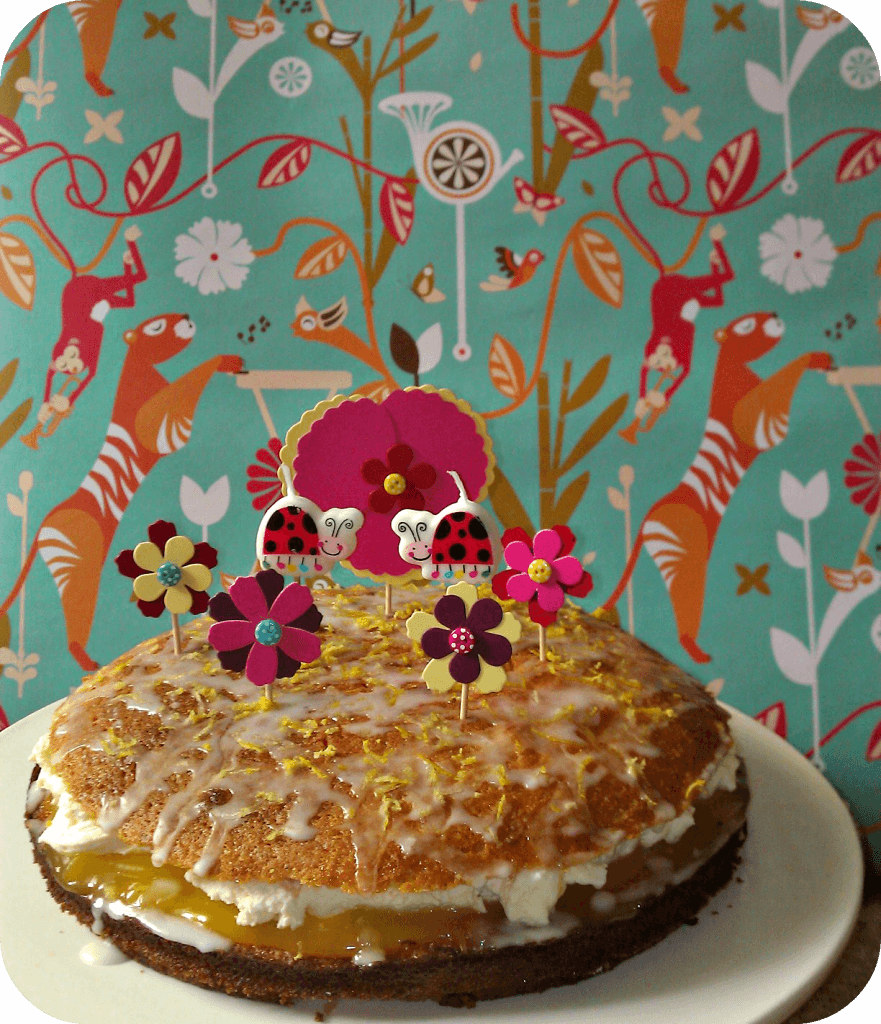
6) Keeping on the party theme I settled on a winner when I started making our own birthday cakes, my top tip for tasty bakes is to use value jams and preserves for fillings, this gorgeous lemon curd cake was made with a 59p jar of lemon curd and it was so zingy that I’d definitely use a budget buy again!

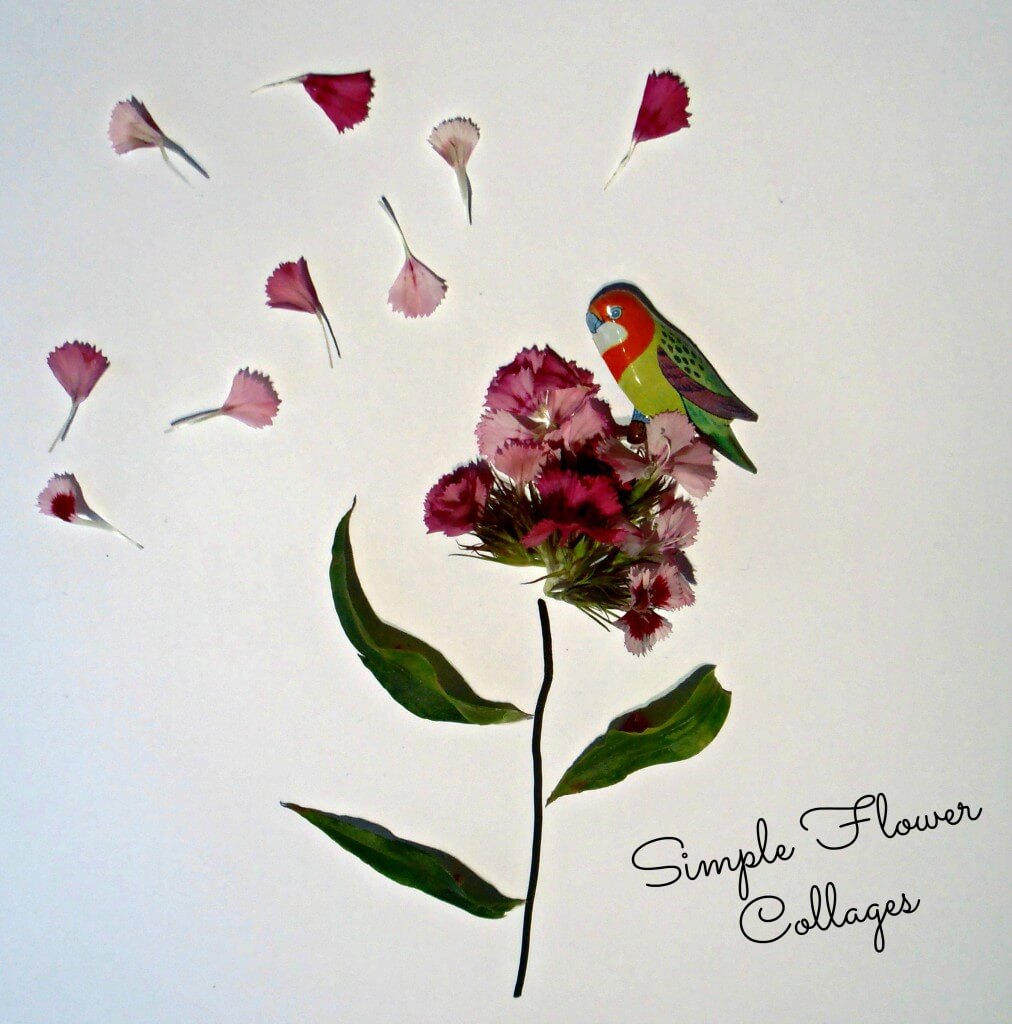
7)I also made the little flower decorations with bits and bobs from my cardmaking set, decorated with buttons and stuck onto skewers, this was one seriously thrifty cake!

Present and Party Life Hacks

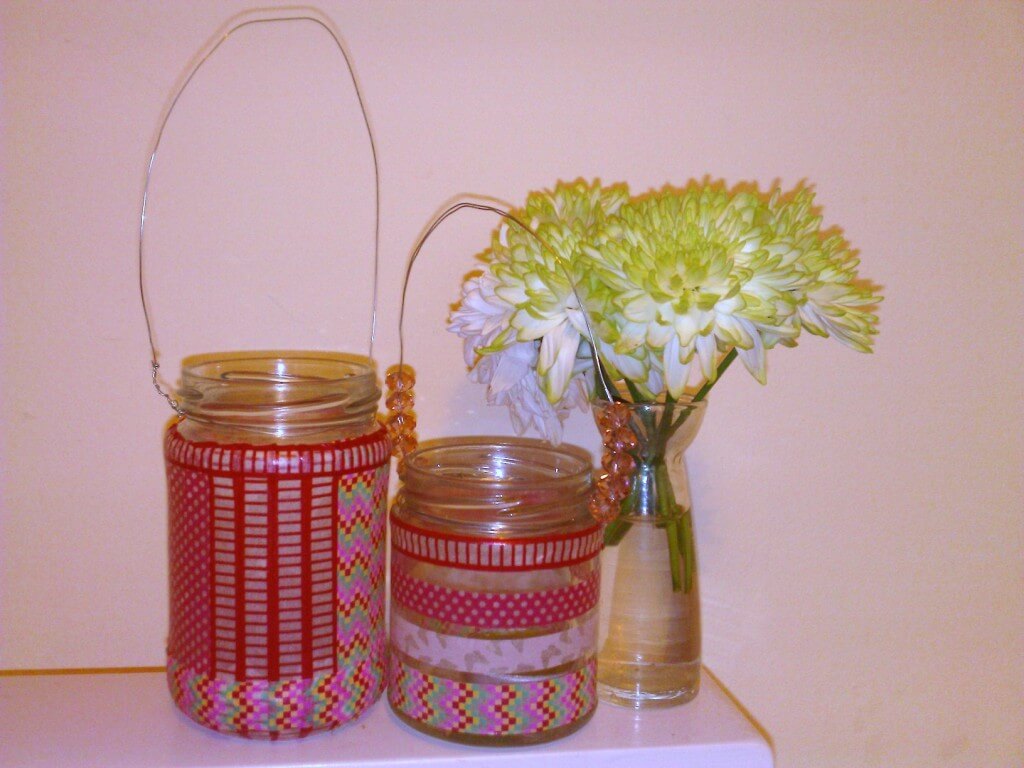
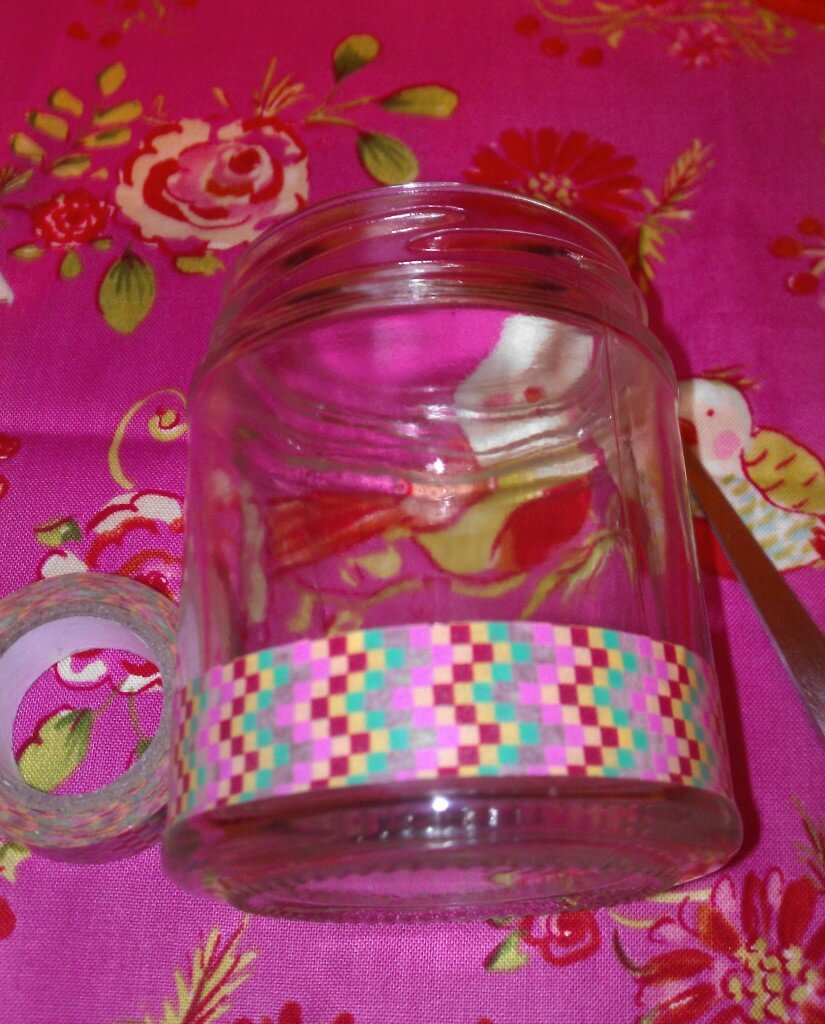
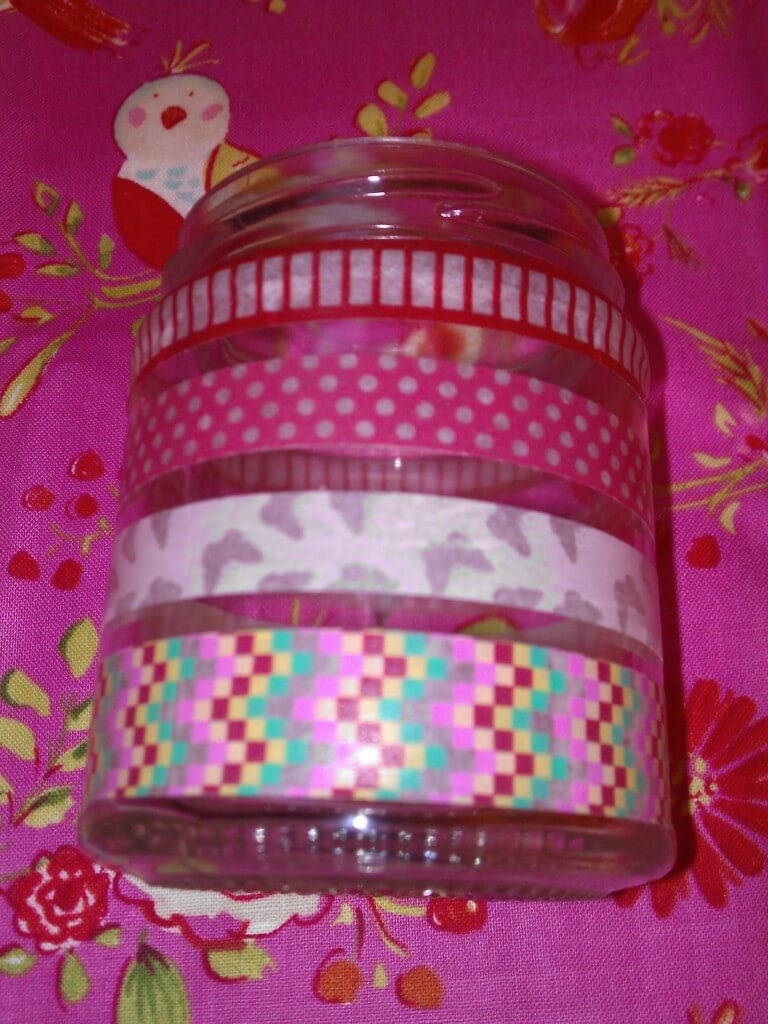
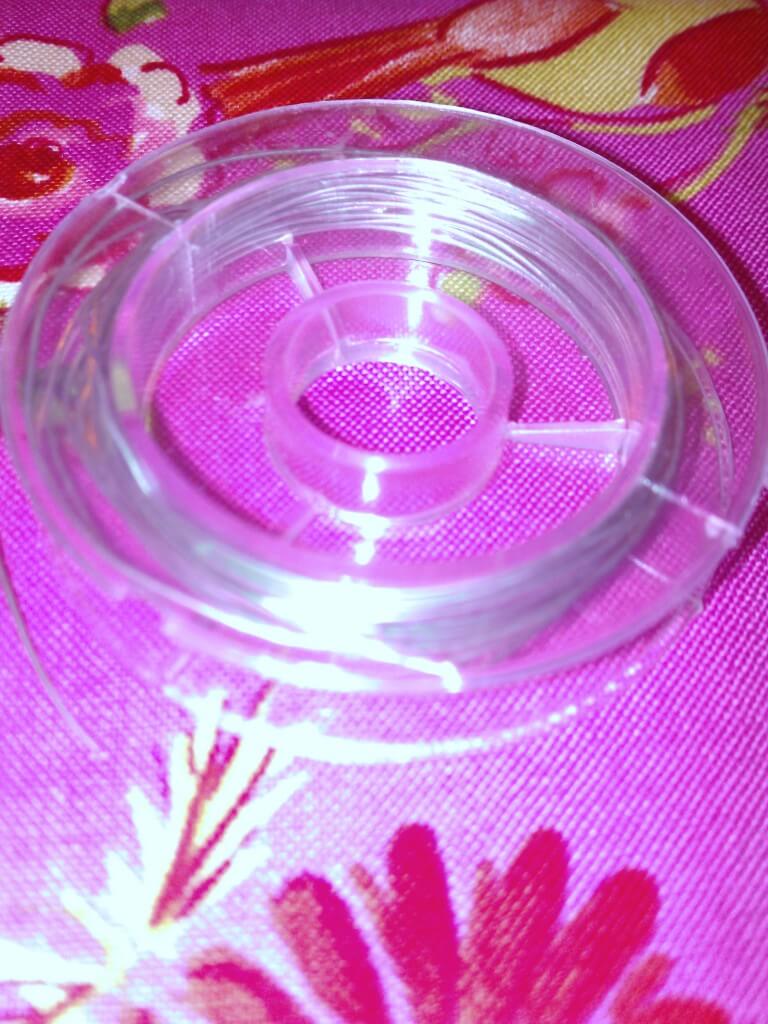
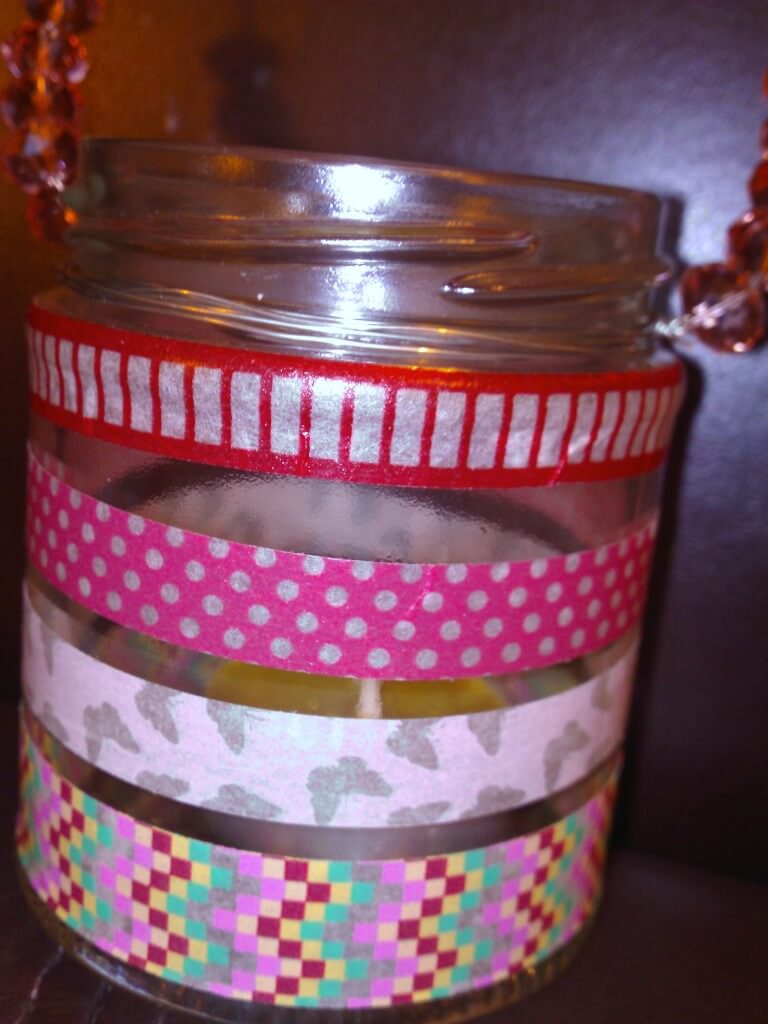
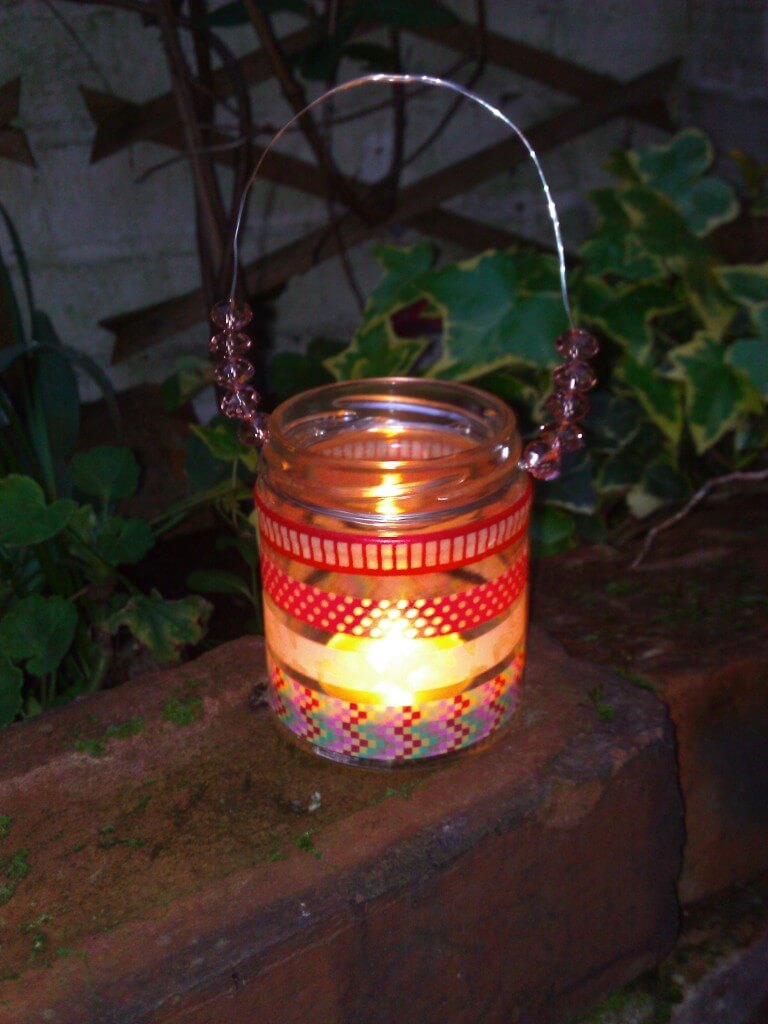
8) Two more tips from the recycling box, this time using old jars, I like to make party lanterns with mine, simply wash them out and decorate with washi tape, then pop a tea light in and enjoy the glow.

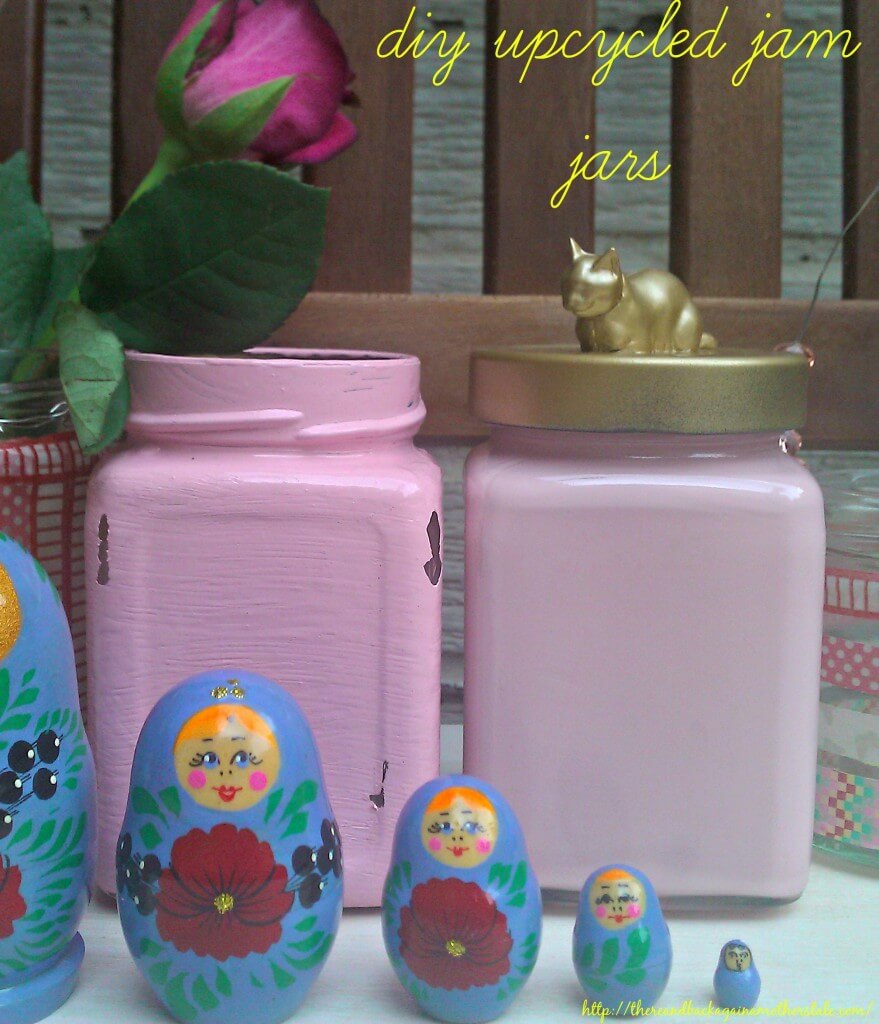
9) Or make party sweetie jars by gluing a small plastic character or animal to the lid and spraypaint, filled with sweeties these would make lovely take home gifts!

Present and Party Life Hacks

Present and Party Life Hacks

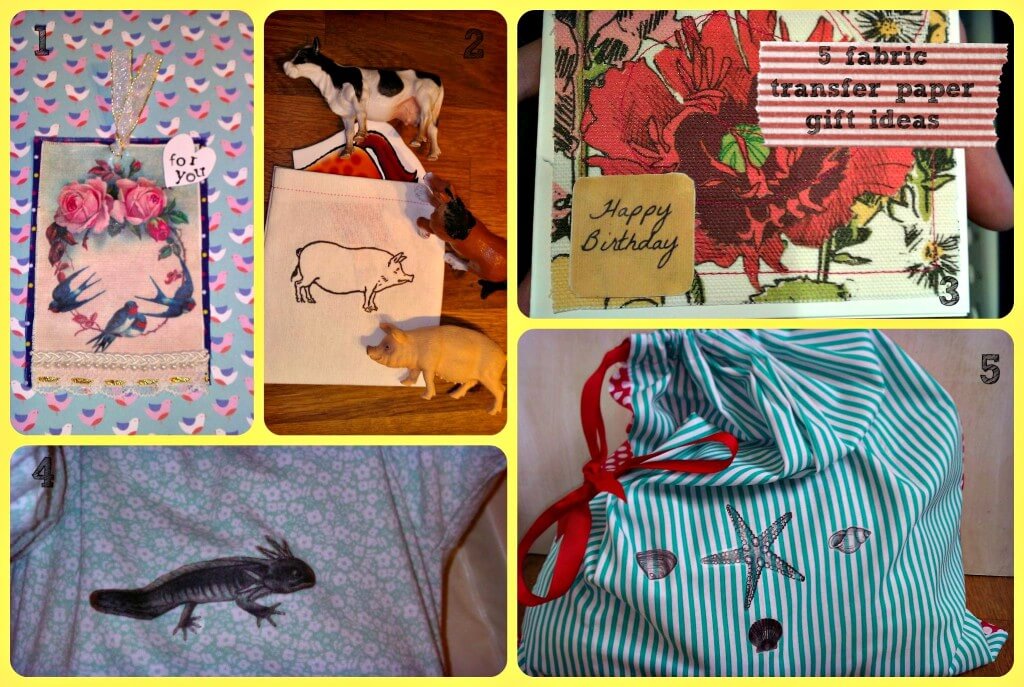
10) And finally, one of my favourite hacks uses printable transfer paper, this stuff is great and can be picked up for a couple of quid for two sheets. I used my transfer paper to make affordable personalised gifts like these drawstring toy bags, sometimes I’ll print the recipients name out and iron on the fabric, most recently (pic 5 below) I used a seashell motif with some jazzy striped fabric for a summer seaside feel!

Present and Party Life Hacks

Happy Partying Folks!

Disclaimer: In association with Voucher Codes

Milk Bottle Elephant

milk bottle elephants

Need an idea for a rainy afternoon with a toddler now the weather is on the turn? We’re finding the nights drawing in a little tough as we sometimes miss our evening walk and like to have an activity to do instead.

We’ve become a little bored of play doh, drawing and the usual cut and stick and decided to try something a bit different one night this weekend.

Why not join us and raid your own recycling – reuse those empty milk bottles big and small to make a little family of elephants together? Cue terrible pun:

milk bottle elephants 1

I saw this idea on Pinterest for Elmer elephants but Joss is too little to consistently stick on little squares of paper without getting frustrated about sticky fingers. Does anyone else’s little one really love glue but hate it at the same time? So instead we got to work with some stickers, washi tape and googly eyes for an afternoon of crafty fun. I used some decoupage materials and set about making a little Nelly of my own whilst Joss stuck on her buttons and tissue paper!

Instructions for making your milk bottle elephant

If you’d like to make your own milk bottle elephant then grab some milk bottles and lets get started!

YOU’LL NEED:
– Milk bottles
– Scissors
– Glue
– Tissue paper
– Or stickers
– Washi tape
– Pom poms
– Googly eyes

Simply follow these steps to start your own elephant family, use big and small bottles if you have them and just take care to cut any rough edges to smooth them before your little ones get stuck in too.

milk bottle elephant

Toddler Printable Library in a Box!

If like me you have a child that absolutely adores libraries, stickers, stamps and books then I have the perfect Toddler Printable Library in a box for you!

Joss loves our local library and asks to help stamp the books when we pop in on a Saturday, I wanted to recreate this as a play activity we could do during her quiet time at home. She’s really into role play so this will make a nice change from playing ‘shops’ for a while!

I made Joss a little Library Box with bookplates, a date stamp, library cards and stickers and other stamps so that she can play ‘librarian’ at home, and now you can too!

OLYMPUS DIGITAL CAMERA

These Toddler Printable Library cards and labels are free for you to download and print as many times as you like! Just paste the label onto a shoebox, cut out the cards and bookplates and fill your box with stamps, ink, pens, stickers and hey presto, your little one is a Librarian!

Library label

library cards Printable cards

I’d love to see what you add to your own library boxes, if you print them pop back and let me know how your library play goes!


Envelope Gift Bags for Father’s Day

Who knew you could make a gift bag from an envelope in less than five minutes? How About Orange inspired these Father’s Day envelope gift bags made from a plain envelope and some washi tape, but you could use stamps or stickers too!

Sweets are readily eaten in this house, and Mr B likes Wine Gums especially. I think these gift bags make good sweetie bags or a smart way to present an awkward to wrap small gift.

How to:

Seal an envelope and cut off a quarter inch from one side. Decorate your envelope. Fold both sides an inch in towards the middle and then fold the base (the uncut end) an inch too. Then pop your hand in the opening and push the base up as shown in this vid :) then stick down the corners with a little tape, fill and seal before handing to your lovely loved one!

Nautical envelope gift bag

Envelope gift bags

Upcycling From Adult to Toddler Apron

Joss loves to help out in the kitchen and I looked for a little apron but didn’t like all the plastic ones we saw. Eventually I spotted an adult apron in Poundland and liked the sweet ditsy flowers so this was a cut and stitch job waiting to happen! Upcycling From adult to toddler size is easy, if you want to do the same just chop off the bottom and either use to make a pocket or save for a hairband or other project.

Then chop the sides saving the ties (I used a dress of hers for basic measurements for length and width) then I cut off the neck tie and repositioned a couple of inches closer together and stitched up all the hems finally repositioning the waist ties after she tried it on to give a comfy fit.

Cute and thrifty in less than an hour!
fabric toddler apron

Taking Baby for their First Haircut and Other Adventures

Real life

What a change in the weather, back to grey skies and rain but it’s been a lovely week nevertheless. Last weekend started with a child-free day to myself, a rare treat and time for a haircut and spot of shopping. The weekend saw the arrival of mr sunshine and the building of a garden bench, then we had a lovely Tuesday seeing Hannah and Reuben from Mumsdays in the morning and a first haircut for Jossy too.

OLYMPUS DIGITAL CAMERA

At the Hancock

I was delighted to be handed her first curl for our tots memory book, it completes her book and though I feel sad that we’re drawing a close on the ‘baby’ months this little girl is a joy to be around!

OLYMPUS DIGITAL CAMERA

The hairdresser was brilliant with Joss, I recommend going somewhere you go yourself, I love our stylists at my local salon, friendly and bubbly they really put Joss at ease, they asked her about her day and talked to her like she was a grown up which she loves, then when she was relaxed she had a quick trim to get her used to the experience, there were no tears, no need for distractions and a lot of smiles!

Blog life

In blogland I had a really popular post on making a summer garland this week, if you’d like to make one yourself details are here!

OLYMPUS DIGITAL CAMERA

Inspiration

I also lost a few hours this week on a bit of a bloggy jaunt which started with this beautiful book, following some of the blogs it mentions somehow led me to find the blog Junkaholique for which I am very grateful, what a treasure-trove of inspiration and loveliness!

homemade

- See more at: http://www.mumsdays.com/#sthash.mTNrKCA9.dpuf

Deckchair Stripe Lavender bags

I made some of these little lavender bags as a gift for my Mam; I’d booked a massage for her birthday and wanted her to have something relaxing to unwrap as I don’t like giving a gift token as a gift with nothing else, must be related to my wrapping paper obsession!

These are really easy to make up, if you have your own lavender plant as I do harvest the heads as they are drying at the end of their season, bundle and hang them together and then when they’re dry take the husks and store them in a dry place until you’re ready to use them. Stitch together two scraps of complementary fabrics insides facing, I liked a summery deckchair stripe, leaving a small gap to turn the right way round through, then fill with lavender and hand stitch the gap closed.

index1

So satisfying seeing something from your own garden brought back to life!

index

DIY body scrub…very very bright pink!

I adapted a Martha tutorial to make this bright pink scrub today, all for under £3 (I had some ingredients at home but still waaaay cheaper than a shop bought spa version!)

Image

I used two cups of epsom salt, 100ml of almond oil, five drops of lavender and chamomile blended oil and mix mix mixed with a small amount of natural red food colouring to give the satisfyingly pink colour. These photos are taken half way through, once topped with the second cup of epsom and a little more almond oil it mellowed to a lovely rosy pink! A real softening treat on a budget!

Image

Washi tape ideas 101 – Summer Garden Lanterns Tutorial

We’ve been working on our back yard for a while now and decided to buy a wooden bench so that we can sit out and enjoy the summer evenings.

As well as making some robust cushions I’ve been working on some little garden lanterns made from jam jars, to light the way on summer nights. I’ve posted a lot of washi tape ideas lately but this is my fave!

8

Want to make your own?

You’ll need:

A clean sticker free jam jar

Some fine wire

Washi tapes

Scissors

(Optional beads)

A tealight

Start with your jam jar

1

Add washi tape in rows or stripes, you can leave a gap for the night to shine through or cover the whole jar, whatever takes your fancy

2

I’ve done stripes

3

Take your wire and cut roughly half a metre, folding in half

4

Wrap the wire twice around the jar and twist at the side, then create your handle, tuck the handle wire under the wire wrapped around the jar to secure in place and twist firmly to make a sturdy handle (I added beads but you don’t have to, just be careful to make a long enough handle so it doesn’t get really hot!

5

Slip a lit tea light in there (carefully!) and enjoy!

6